Winter Activities for Kids
If you're looking for fun and easy winter activities to keep your toddlers and preschoolers busy, learning and entertained this winter, you're in the right spot.
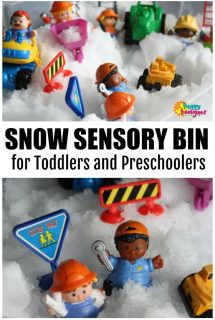
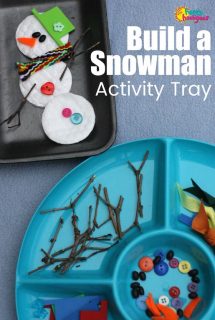
Below, you'll find all kinds of activities for snow-days and snowy days, indoors and outdoors. Many of these activities are perfect for a daycare or preschool snow or winter theme.
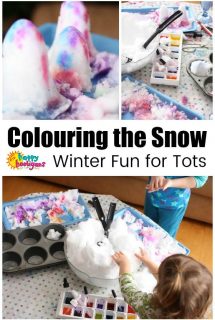
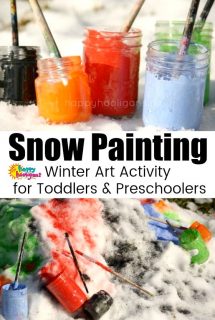
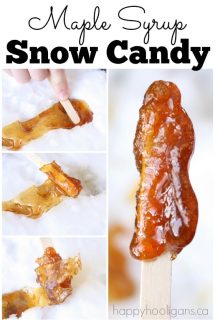
From snow sensory bins and snowflake crafts to making snow ice cream and painting the snow, you'll find plenty of fun winter activities for young children.
You'll even find a few for your older kids too!
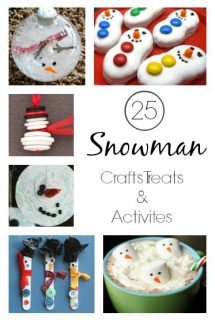
A few of our most popular winter activities are:
3-Ingredient Snow Ice Cream
32 Homemade Bird Feeders
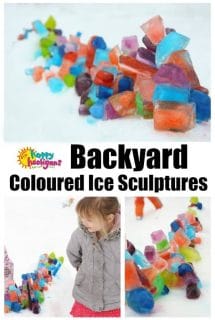
Backyard Ice Sculptures
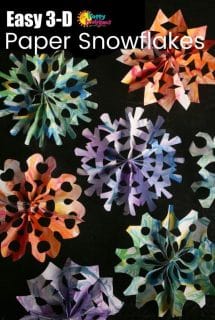
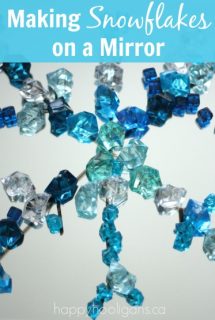
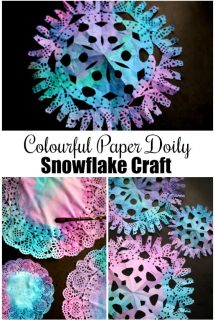
How to Make 3-D Snowflakes
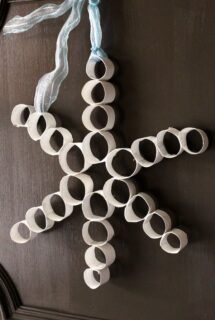
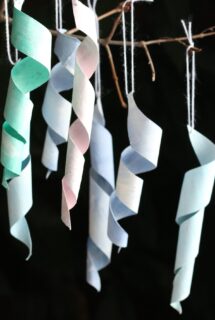
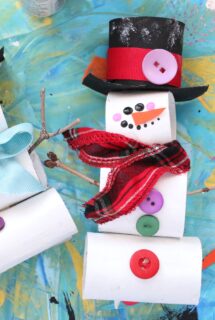
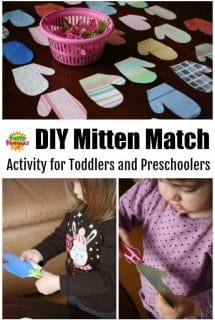
Click on the images on the pages below for the instructions and details for each activity.