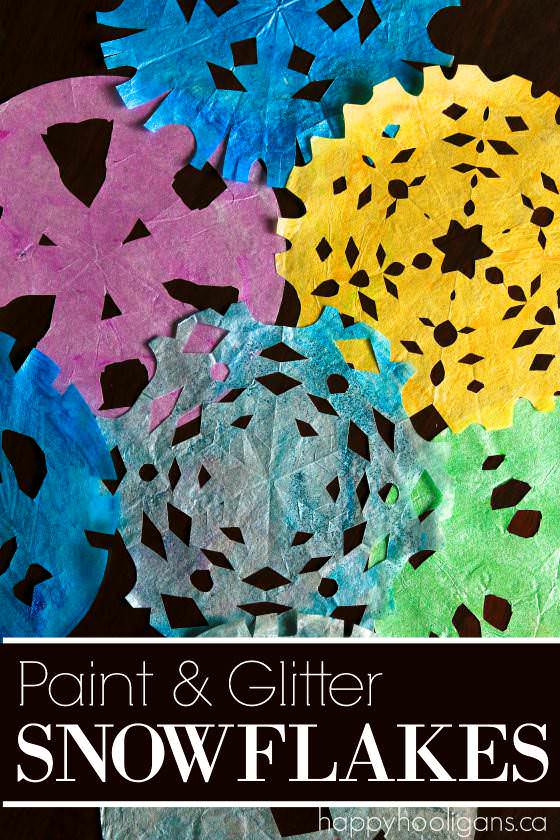
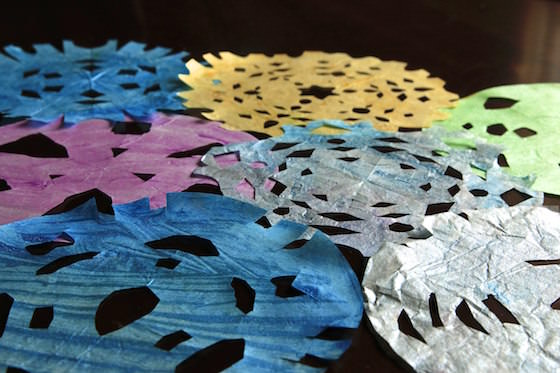
Kids can make a shimmering, wintery window display with these PAINTED COFFEE FILTER SNOWFLAKES. The process is fun and easy, and it takes the classic paper snowflake craft to a whole new level.
Here’s another terrific snowflake craft for the kids to try this winter!
Making a paper snowflake is one of those activities that takes me right back to my childhood. Does it do the same for you?
Remember being a child, and the thrill of folding a plain, white piece of paper just so, and snipping carefully along the edges with your scissors?
And that the curious excitement you felt as you slowly unfolded the paper, wondering what your finished snowflake would look like? It was always so magical, opening up that last fold to see the one-of-a-kind pattern you’d created.
Gosh, that feeling never gets old.
The hooligans have made a LOT of different snowflake crafts here in my home daycare, often using unusual materials like wool, sticks, buttons, and tissue paper to create them.
When it comes to paper snowflakes though, I like to use coffee filters.
Coffee filters are great for crafting. I always keep a stash of them in my craft cupboard.
Coffee filters are perfect for making snowflakes because they’re light and delicate, but they’re durable enough to hold up to liquids like watercolours and paint when we want to colour our snowflakes.
You may also like our colourful 3-D paper snowflakes and our Coloured Doily Snowflakes.
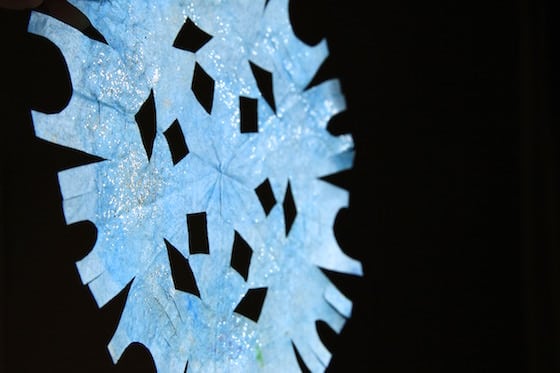
Today we’re using metallic paint to colour our snowflakes in a dazzling rainbow of colours, and we’ve added glitter to a few of them as well.
Let me show you how we made them.
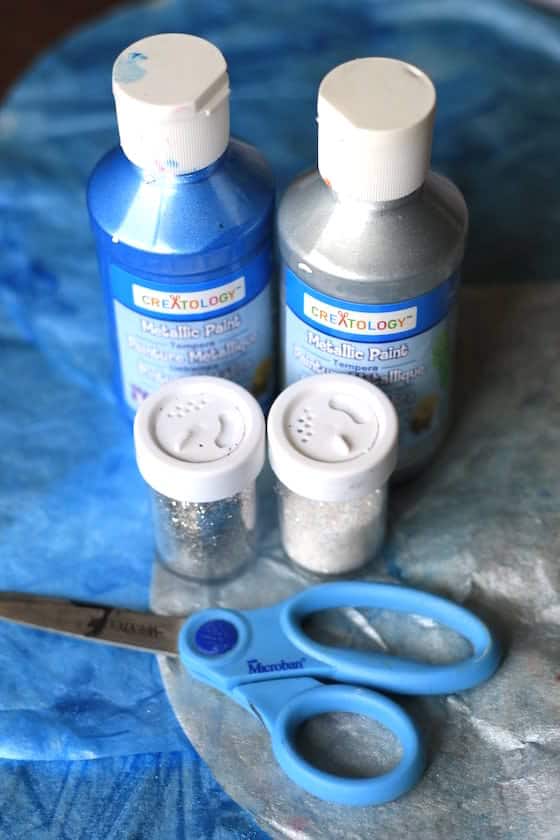
To make our Painted Coffee Filter Snowflakes, you’ll need:
For your convenience, this post contains affiliate links.
- coffee filters
- paint brushes
- metallic paint
- fine glitter (optional)
- glue (only if you’re using glitter)
- scissors
Painting our snowflakes:
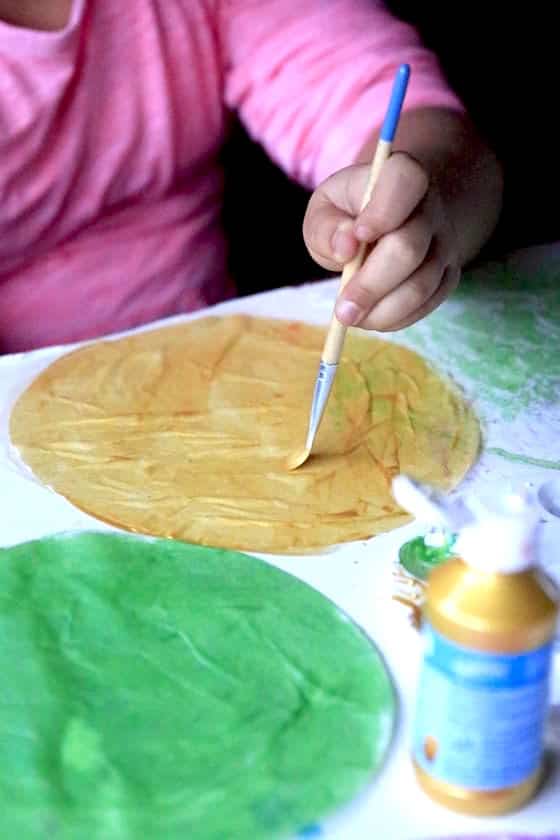
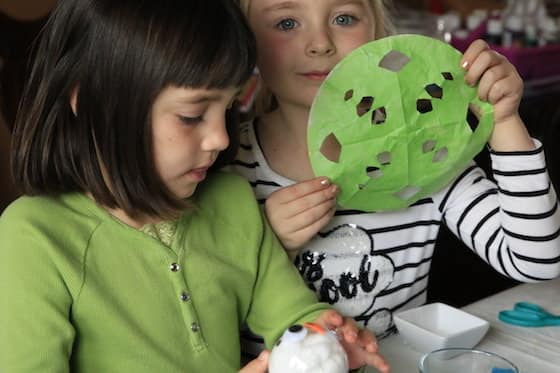
The hooligans began by painting their coffee filters in shimmery shades of pink, blue, silver, gold and green.
We dried our painted snowflakes by the fire while we ate lunch, but you can speed up the process with a hairdryer.
To glitter some of our snowflakes, we brushed a thin layer of glue over the painted coffee filter, and then lightly sprinkled glitter over the glue.
If you’re glittering your snowflakes, you’ll need to wait for the glue to dry before folding and cutting.
Folding our snowflakes:
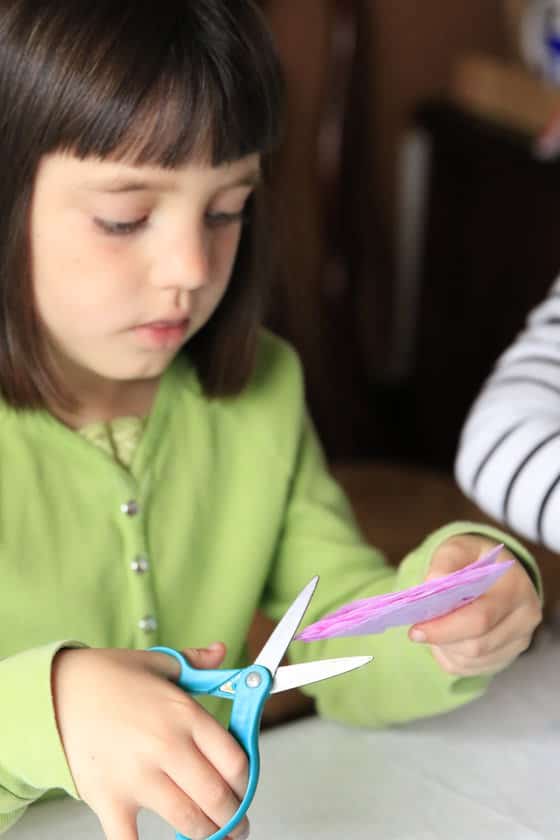
To fold your snowflake, first fold the coffee filter in half.
Fold that semi-circle into thirds, and then fold it in half once or twice again.
It doesn’t really matter how many times you fold your coffee filter, but the more folds you make, the more patterned your snowflake will be.
Then the hooligans cut all along the edges of their snowflakes…
…snip, snip, snip!
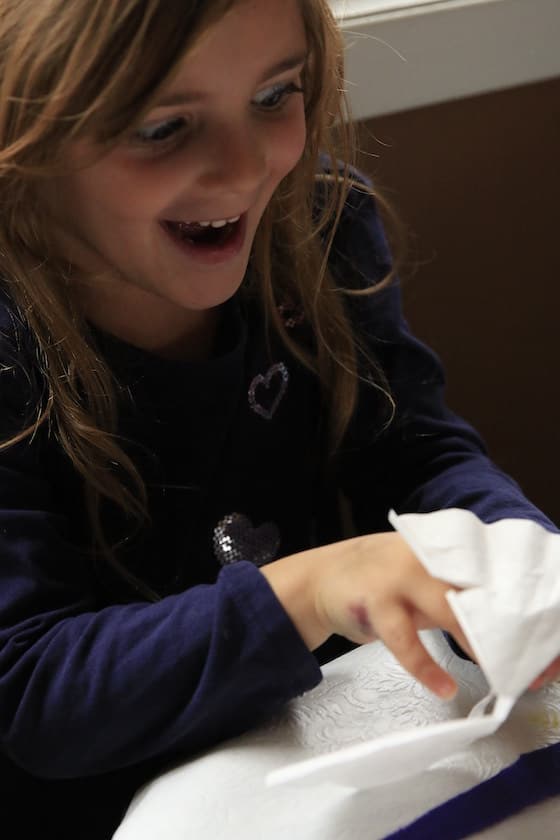
When their cutting was done, it was time for the big reveal…
Look at the expression on this face.
Even though the youngest hooligan chose not to decorate her snowflake with paint or glitter, opening it up was still a very magical moment.
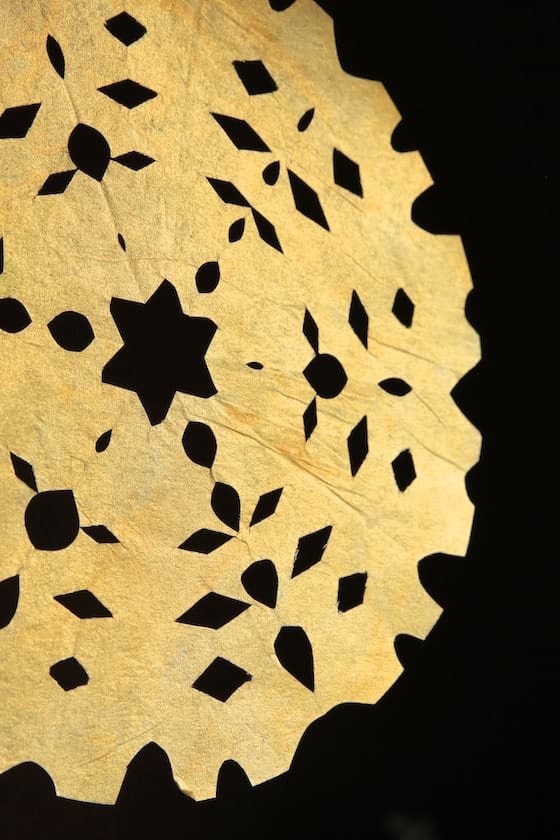
My favourite snowflake in the bunch is the gold one. We didn’t glitter this one, but I think it’s so pretty.
And here are some more from our collection.
Iron your snowflakes to remove deep creases:
This isn’t necessary of course but if you want to remove some of the fold lines and creases, press them with an iron set on low heat. I placed a cloth napkin between the iron and the snowflake to prevent singing the coffee filter or melting the paint or glitter.
Wouldn’t a bunch of these colourful snowflakes look lovely displayed on a window in your home or classroom?
Bring on winter!
If you enjoyed our painted coffee filter snowflakes, you’ll love:
25+ Easy Snowflake Crafts, Activities and Treats That You Will Love
And for more coffee filter crafts, have a look at our:
Coffee Filter Ballerina Ornament
Coffee Filter Christmas Tree Ornament
Vibrant Coffee Filter Snowflakes Dyed with Liquid Watercolours
Get the 3-5 Playful Preschool e-Book!
25+preschool activities by 25 bloggers, 10 printables, plus links to 50 additional crafts and activities all for $8.99!
Follow the Hooligans on Facebook

Jackie is a mom, wife, home daycare provider, and the creative spirit behind Happy Hooligans. She specializes in kids’ crafts and activities, easy recipes, and parenting. She began blogging in 2011, and today, Happy Hooligans inspires more than 2 million parents, caregivers and Early Years Professionals all over the globe.





Leave a Reply