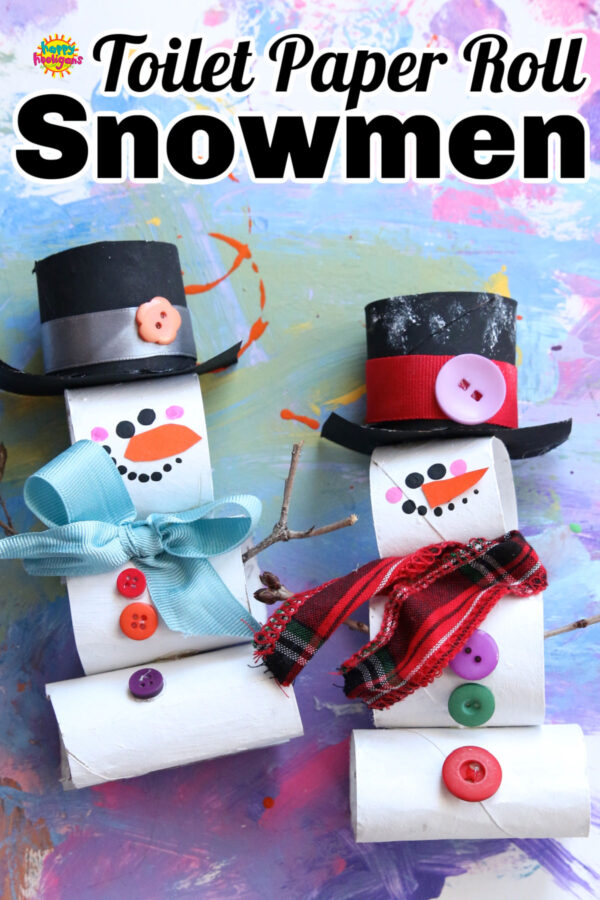
This stacked toilet paper roll snowman is easy to make using minimal supplies. Just paint your toilet paper rolls, stack and glue them together, and decorate with a ribbon and some buttons.
See all of our snowman crafts here.
Winter has finally arrived! There’s snow on the ground, and the temperature this morning was -23! Brrr!!! It sure looks pretty out there, but it’s a bit too cold for little ones to go out and enjoy it.
So, what do you do when you’re stuck in side, and you just want to build a snowman? You build one inside at the craft table!
This stacked toilet roll snowman is fun and easy to make, and requires just a few supplies that you likely have around the house. The entire snowman – even his hat – is made from toilet paper rolls.
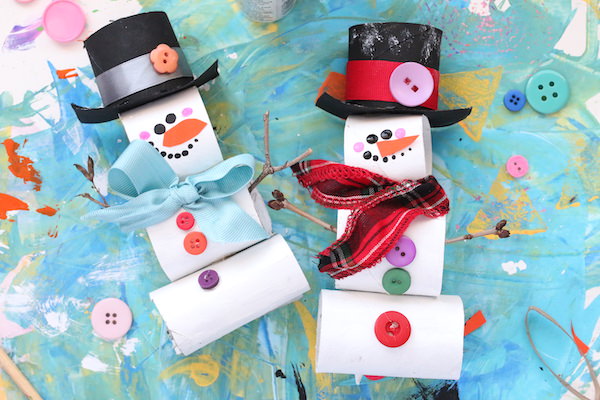
A few years back, my toddlers and preschoolers made this tp roll snowman. His body was just one upright toilet paper roll that we decorated with a quite a variety of interesting fabrics and crafting materials.
This time around, I wanted to make a snowman using a bare minimum of materials so you can make it even when when you’re running low on craft supplies.
I’m happy to say this snowman is made from just a few toilet paper rolls or one paper towel roll from the top of his hat to the tip of his toes.
Young children may need some help with the gluing part of this craft, as we’re using a low-heat glue gun, but older kids will be able to make their snowman on their own.
Supplies:
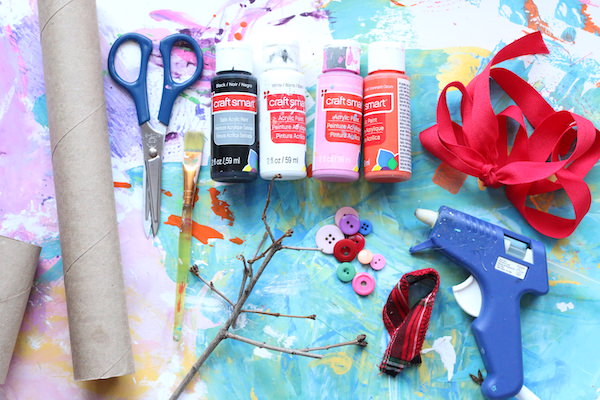
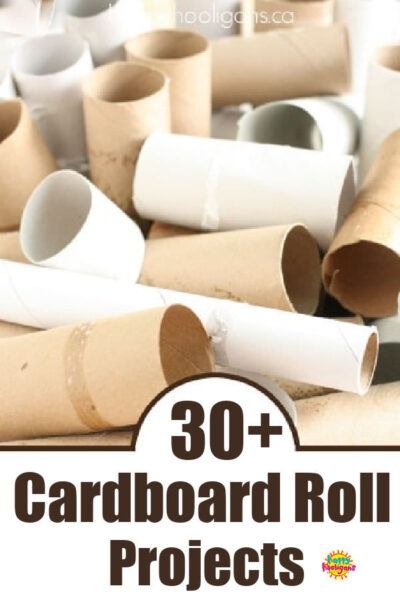
- 3 toilet paper rolls (or 1 paper towel roll)
- 2 small twigs
- paint (white, black, pink, and orange)
- orange construction paper (or orange paint) for nose
- paint brush
- scissors
- buttons
- ribbon
- low heat glue gun
Instructions:
STEP 1: Cut three pieces from your cardboard rolls for the snowman’s head, middle and bottom.
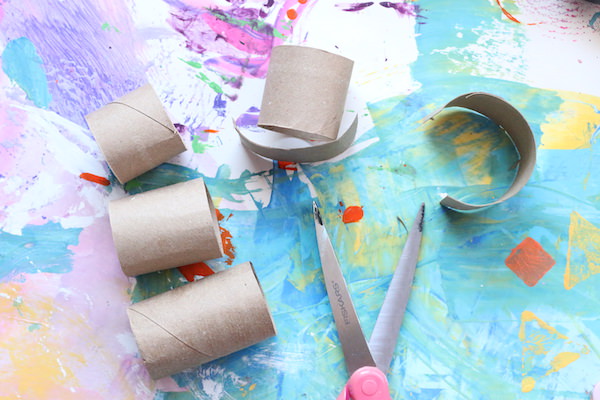
STEP 2: Cut 2 pieces of cardboard roll for the hat. One piece will remain tube-shaped for the upright part of the hat. You’ll cut the other piece lengthwise, and flatten it slightly. This will be the brim of the hat.
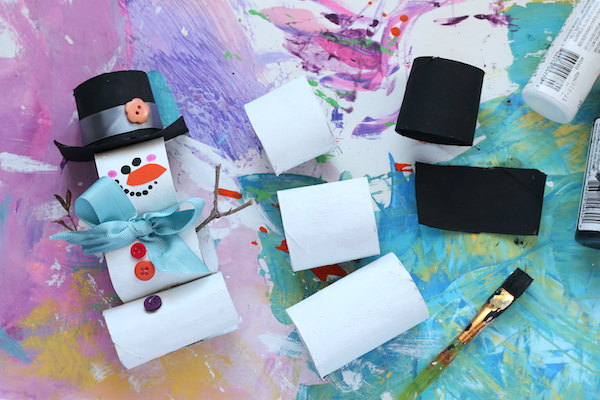
STEP 3: Paint the 3 pieces of the snowman’s body, inside and out, with white paint.
STEP 4: Paint the 2 pieces for the hat with black paint.
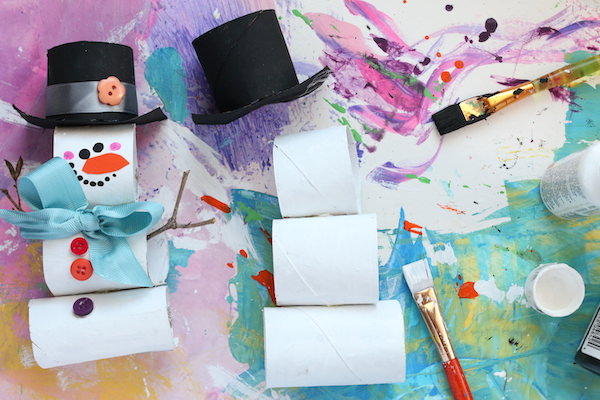
STEP 5: With a low-heat glue gun, glue the snowman’s head, middle and body together.
STEP 6: For the hat, run a bead of glue around the bottom of the tube-shaped piece, and press it to the brim. Glue the hat on the snowman’s head.
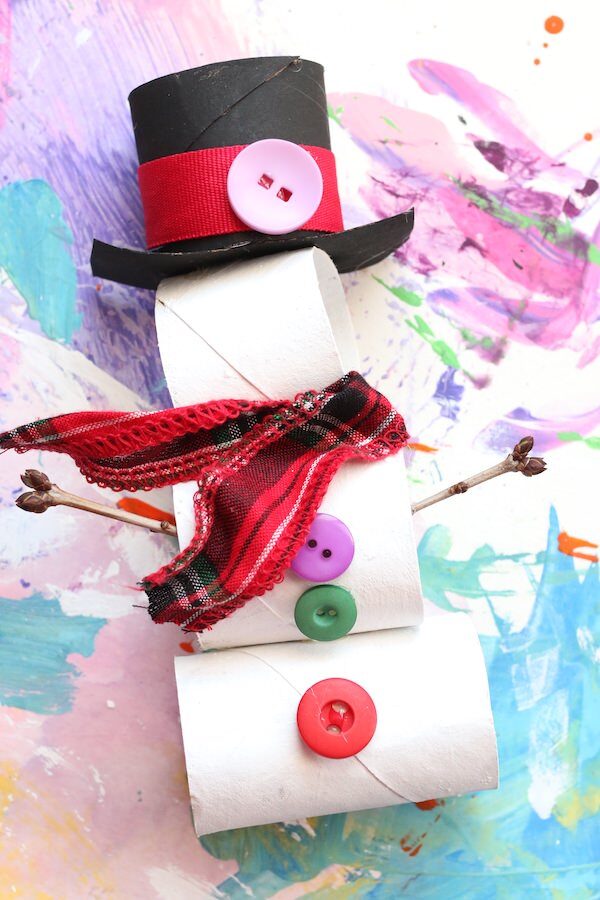
STEP 7: Glue a ribbon in place for a scarf, and glue a few buttons down the front of the snowman.
STEP 8: Add a ribbon and a button to your snowman’s hat.
STEP 9: Attach twigs just inside the middle section of the snowman.
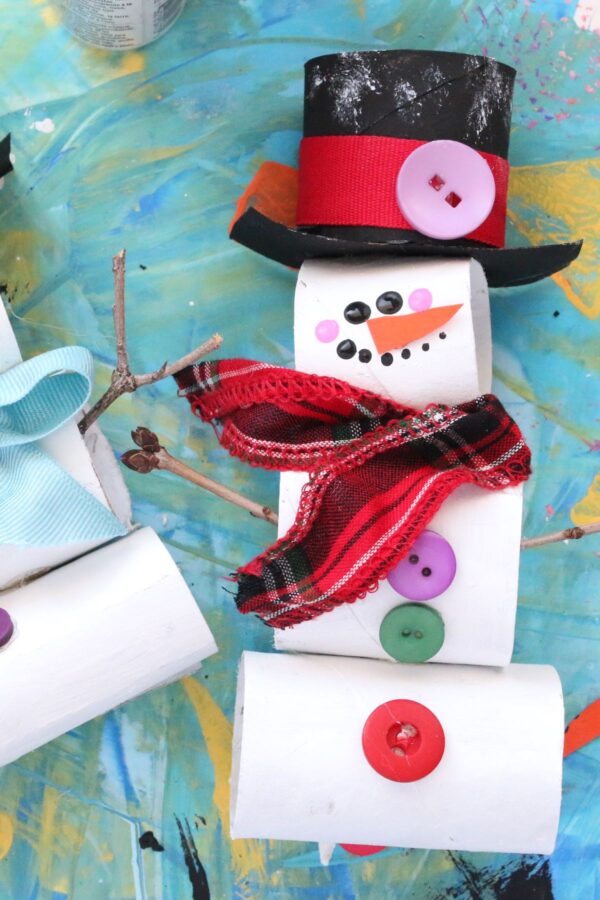
STEP 10: With the handle end of a paint brush, dot on eyes, mouth and cheeks. Cut a construction paper nose and glue that in place, or paint one on with orange paint.
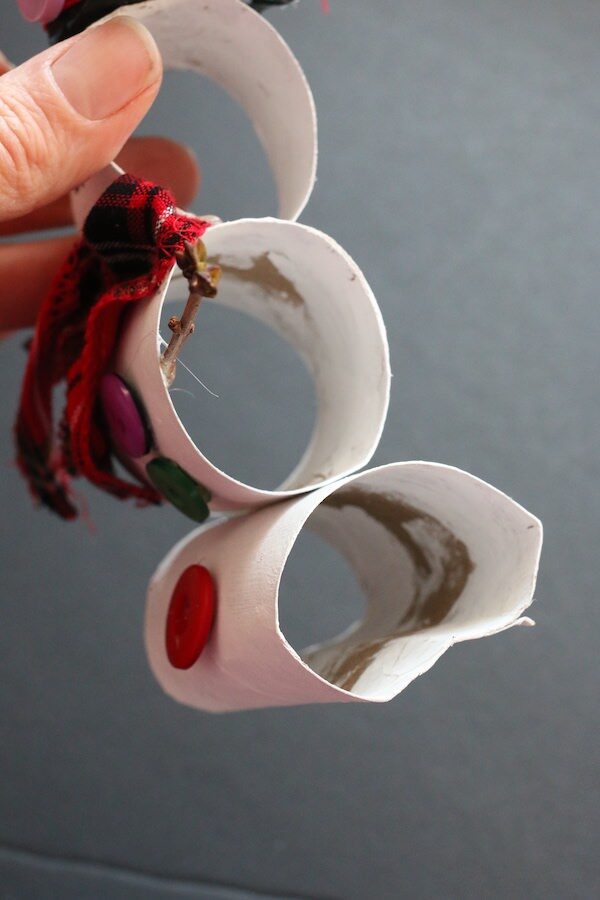
STEP 11: Stand him up: To stand your snowman up, gently press the very bottom of your snowman in, and pinch or press to form a bit of a crease (see above image). Adjust as necessary to make your snowman stand up.
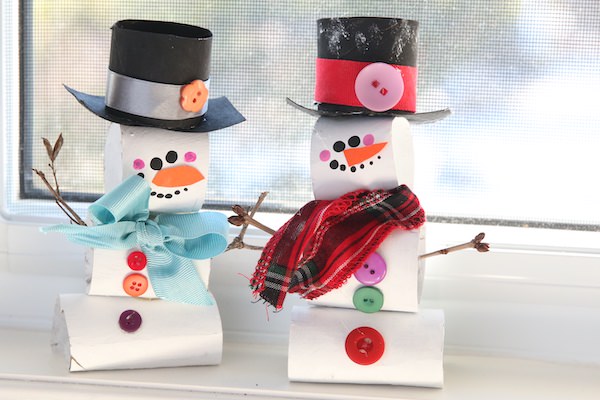
Set your sweet little snowman on a windowsill, desk or dresser so you can enjoy his company during these last few weeks of winter.
Get the 3-5 Playful Preschool e-Book!
25+ Preschool activities by 25 bloggers, 10 printables, PLUS 50 links to activities not featured in the book.
Click to download your copy now!
Follow the Hooligans on Facebook!

Jackie is a mom, wife, home daycare provider, and the creative spirit behind Happy Hooligans. She specializes in kids’ crafts and activities, easy recipes, and parenting. She began blogging in 2011, and today, Happy Hooligans inspires more than 2 million parents, caregivers and Early Years Professionals all over the globe.






Leave a Reply