This simple activity is loaded with learning. There’s painting, measuring, tracing and lacing. You can even use this activity to teach your child basic sewing stitches. Kids of all ages will love this fun activity. It’s a great craft for Valentines Day or any day at home or in the classroom.
I’m really excited to share this paper plate heart lacing activity. You told me how much your kids enjoyed our Christmas Tree Lacing Project, so I thought it would be fun to do something similar for a Valentines craft.
Last year, we made this paper plate heart weaving project. Today’s project is similar, and I’m smitten with it. I mean, what’s not to love?It’s an art project, it’s a craft, AND it’s an activity.
It’s also chock-full of skill-development like hand-eye co-ordination, fine-motor development and early sewing skills.
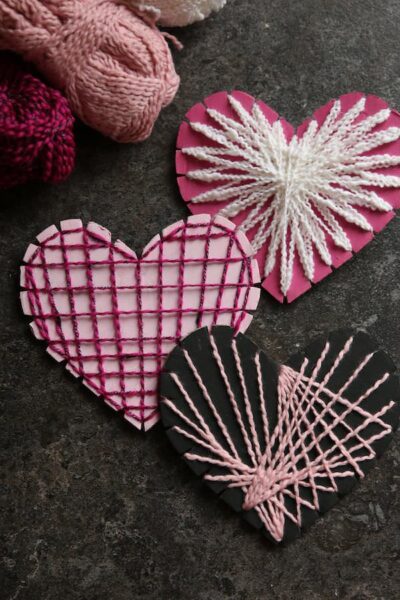
Older kids will love our cardboard heart string art craft.
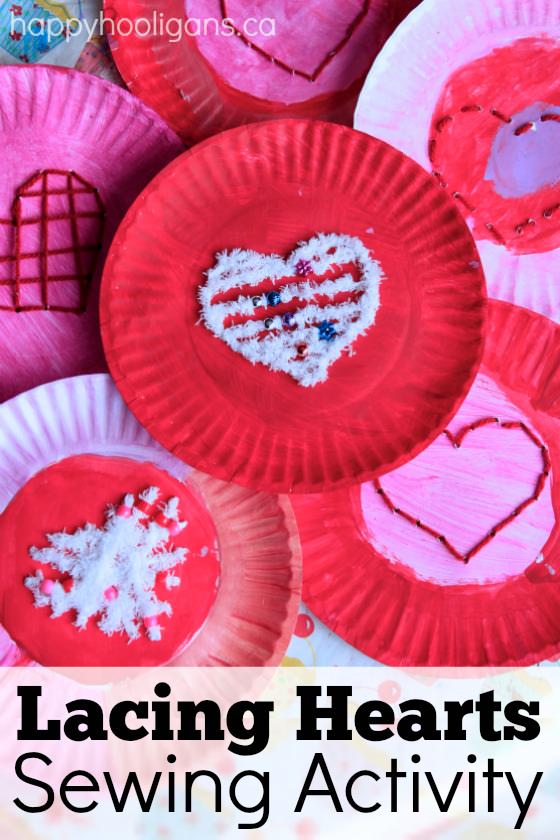
There were several steps and a variety of skills involved in making our lacing hearts. There was tracing, measuring, poking holes, taping, threading needles, beading and of course the lacing.
At times, some of the children required a bit of assistance from me or from each other, but overall, everyone worked really well independently to create a unique and beautiful paper plate heart.
Let me show you how we made them.
For our paper plate heart lacing activity, you’ll need:
For your convenience, this post contains affiliate links.
- paper plates
- red, pink and purple paint (we used acrylic craft paint and kid-friendly metallic paint)
- paint brushes
- yarn
- heart stencil (or a heart shaped cut-out that kids can trace)
- beads
- scissors
- tape
- plastic sewing needle
How to make our lacing activity:
The first step was to paint the paper plates that would become our lacing cards.
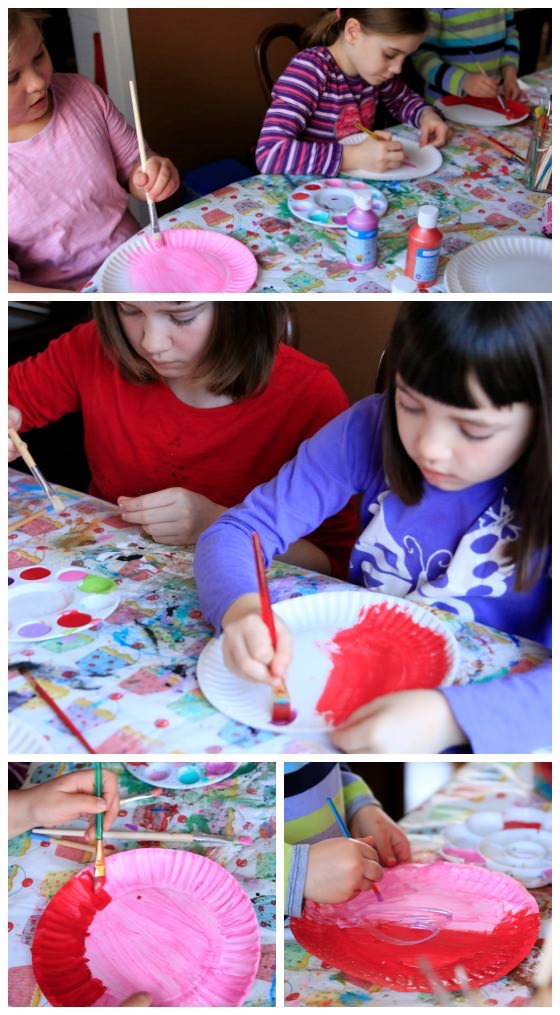
I set out a variety of acrylic and metallic paints in shades of red, pink and purple for the hooligans to choose from.
Some of the girls painted their plates one solid colour, some blended colours together, and others painted multi-coloured designs on their plates.
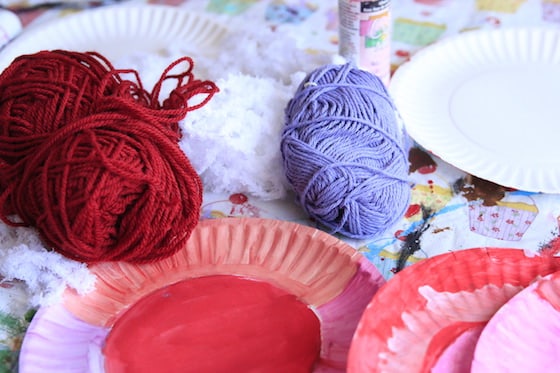
Before moving on to our next step, the paint had to be dry.
How to dry paint quickly when crafting:
We always keep a spare hairdryer in our craft area. When we want to move on to the next step of a project before the paint has dried, we just give our project a blast with the hairdryer. The warm air dries the paint in seconds.
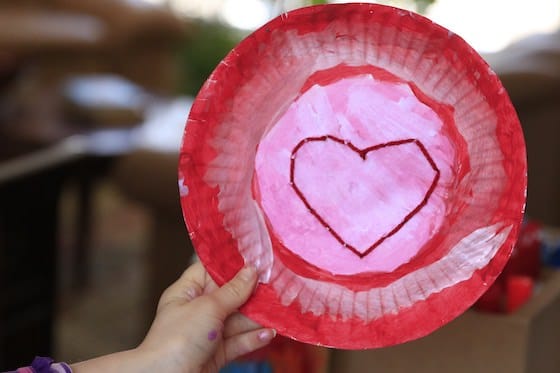
When the painted plates were dry, we turned them over, and the kids used a plastic heart-shaped stencil to trace a nice big heart in the middle of their paper plate.
Then, with a sharp pencil they poked holes all around the outline of the heart.
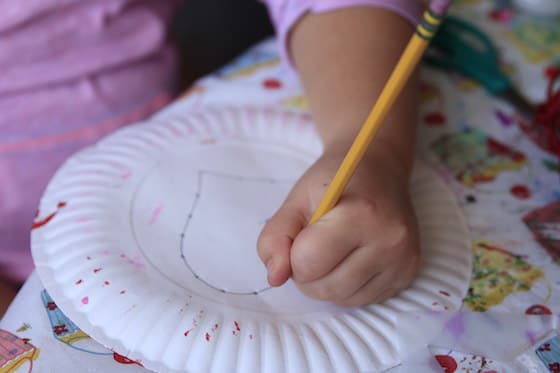
*Note: put something soft underneath your plate so the pencil will poke through easily. We were working on a padded tablecloth, which was perfect, but you could place a folded tea towel under your plate for this step.
You’ll also love: Easy “Tie-Dyed” Heart Sun Catchers
Leave enough space between the holes:
If your child makes the holes too close together, the plate can tear when the yarn is pulled through. I made a sample plate so the girls could see how far apart to space the holes.
With older kids, you can have them estimate how many centimetres apart to make the holes,
and with younger children, you can suggest that they make them a finger’s width apart.
Once the holes are poked all around the heart, it’s time to get lacing!
How much yarn should you use for this lacing project?
When cutting the yarn that your child will use, I would start with a piece that’s a couple of feet long. When in doubt, it’s best to go with a piece that’s too short than one that’s too long. A too-long piece of yarn will tangle easily, and can be difficult for a little one to manage.
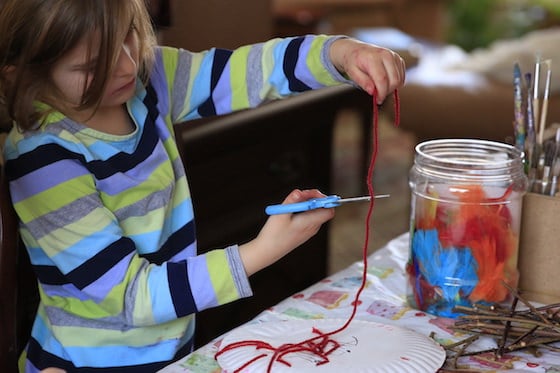
If your yarn ends up being too short to complete the project, just cut a second piece and carry on.
Thread those needles!
The nice thing about plastic sewing needles (besides not being pointy enough to hurt anyone), is that the eye of the needle is quite large, so it’s fairly easy to thread a piece of yarn through it.
Yarn does tend to fray though, so show your kids how to twist the end of the yarn tightly to form a point that they can push through the eye of the needle.
To reduce frustration when sewing with kids:
One thing that caused a bit of frustration (and some laughs) at first was that the hooligans would pull the yarn all the way through the first hole. We remedied that problem by taping the tail of the yarn to the back of the paper plate.
Later, as they were sewing, there were times when they would pull too far, and the yarn would slip out of the eye of the needle. We fixed that problem by knotting the yarn near the eye of the needle. Just keep the knot small so it will slide through the holes easily.
Once we solved these challenges, the girls were able to sew to their hearts’ content.
Very young children will lace in and out of whatever holes they want, making random patterns with their yarn.
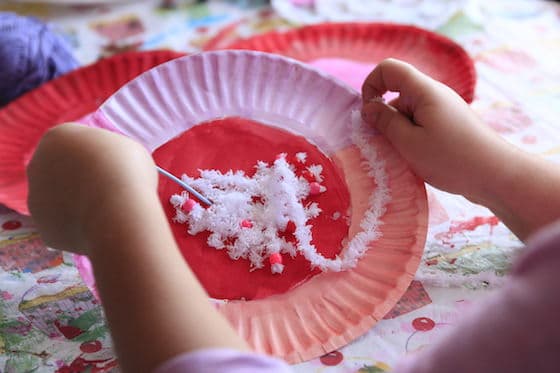
Some may want to add beads to their project as they weave across the front of their plate.
And some kids may want to learn how to make some actual sewing stitches.
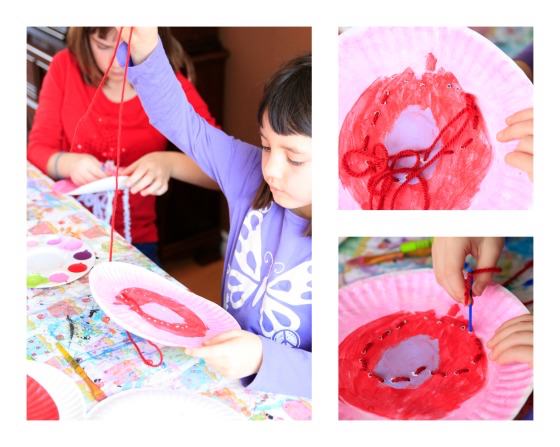
In the photos above, the 5 year old has mastered the running stitch, pushing her needle down through one hole, and up through the next, repeating that pattern all around her heart.
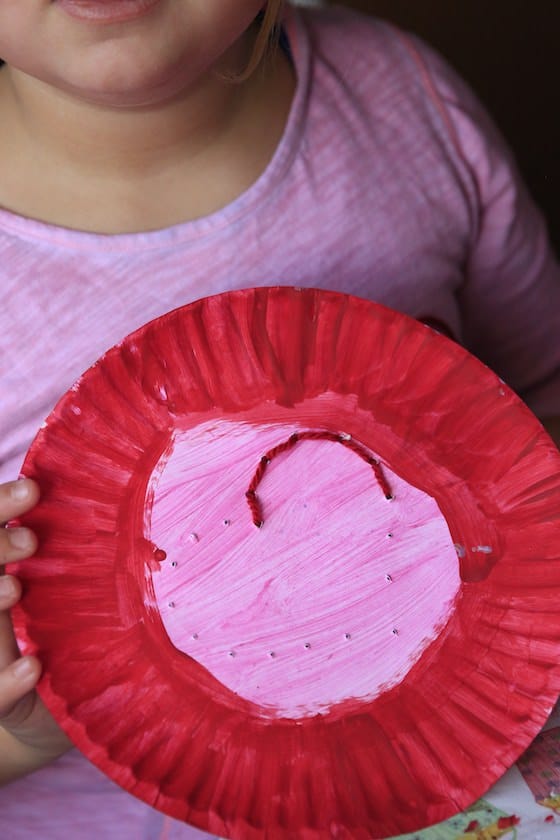
And here, the 10 year old is backstitching her heart. She learned how to backstitch last year when we made our Valentines weaving project. This year, she remembered it right away, and taught the 9 year old sitting beside her how to do it as well.
The backstitch is a little more complicated than the running stitch, but once you get the hang of it, it’s fun and easy.
You may also like this beginner sewing activity. We go over the basic sewing stitches using a plastic sewing needle and a styrofoam produce tray.
When your child finishes their heart, they can snip off any excess yarn, and tape the tail end to the back of the paper plate.
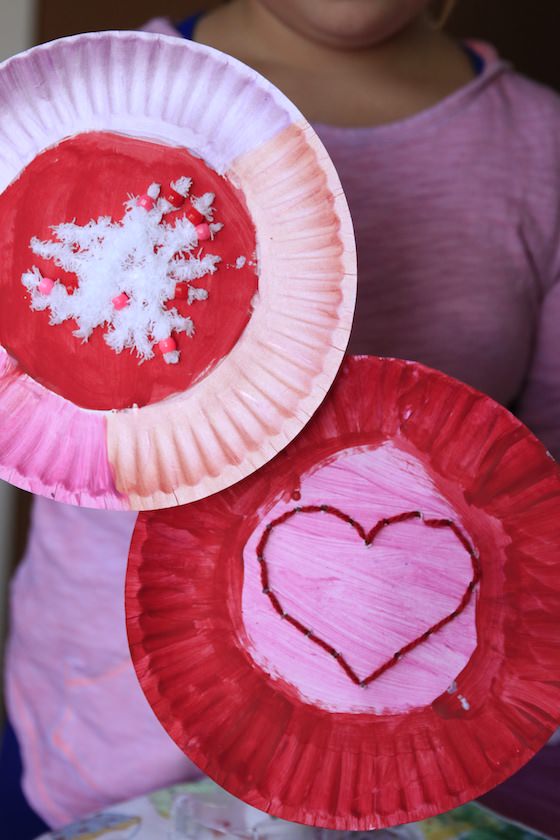
Aren’t they pretty?
I didn’t time how long the girls worked on this project for, but I’d say it was at least an hour from start to finish.
I love a craft that keeps a group of kids happily engaged and learning for that long, don’t you?
And I really like that you can tweak this activity to suit any age group or any theme or holiday.
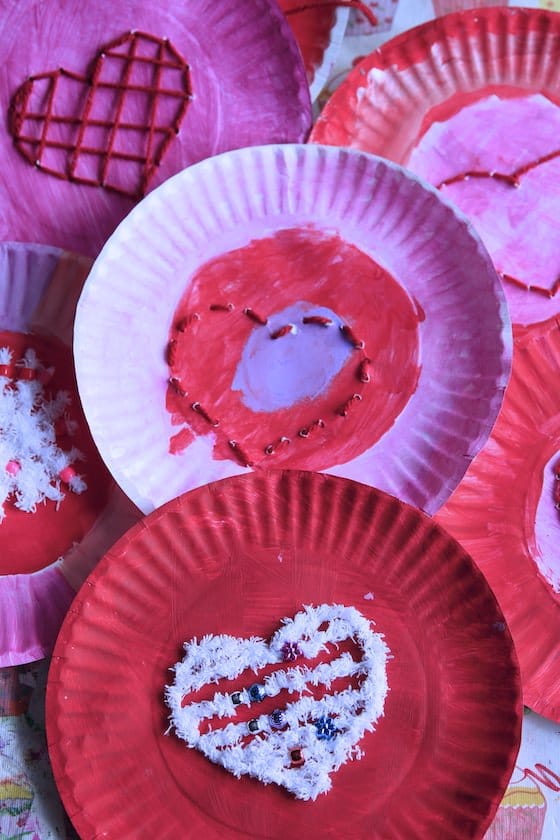
I hope you love our paper plate heart lacing activity as much as we do!
You might also like:
- Paper Plate Yarn Weaving Activity for Kids
- 6 Easy Valentine’s Crafts Your Toddlers and Preschoolers Will Love
Get the 3-5 Playful Preschool e-Book!
25+preschool activities by 25 bloggers, 10 printables, plus links to 50 additional crafts and activities all for $8.99!
Follow the Hooligans on Facebook!

Jackie is a mom, wife, home daycare provider, and the creative spirit behind Happy Hooligans. She specializes in kids’ crafts and activities, easy recipes, and parenting. She began blogging in 2011, and today, Happy Hooligans inspires more than 2 million parents, caregivers and Early Years Professionals all over the globe.




Leave a Reply