Kids of all ages will love the fun and fabulous process used to make this skyline silhouette art project. Whether you have toddlers and preschoolers, or tweens and teens, this easy art technique will keep them happy, busy and learning.
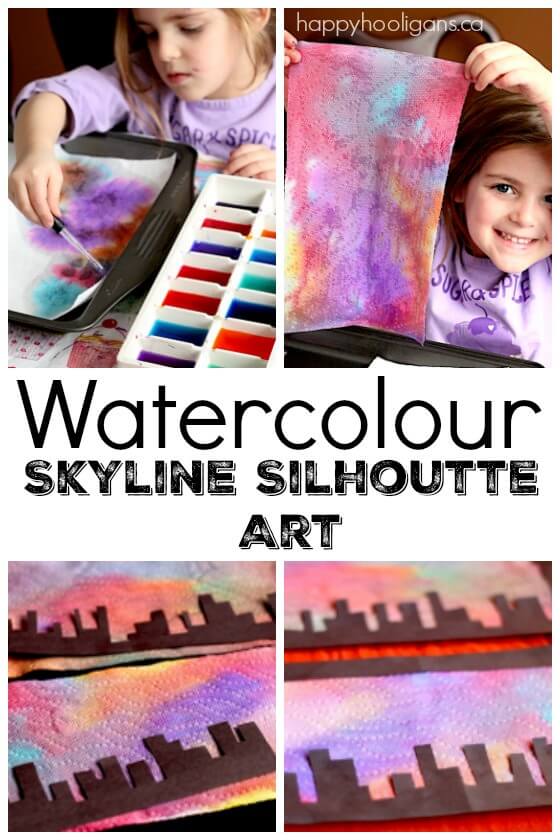
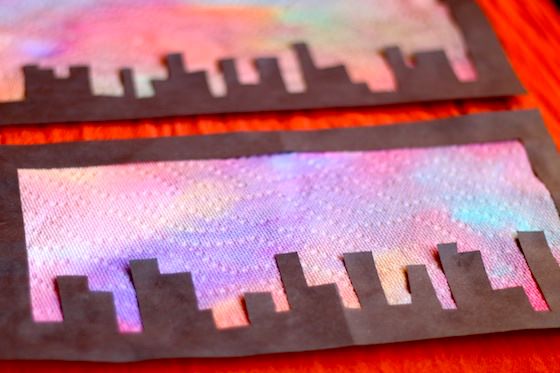
Ok, here’s a really cool art project that you can do with kids of any age. We recently used liquid watercolours, paper towels and black card stock to make some cool city skyline silhouette art.
This art project is easy and requires just a few supplies, but the results are beautiful.
We LOVE liquid watercolours, and in particular, the hooligans really love this drip-paint process. We’ve used it many times over the years for our art and craft projects. Our colourful crystallized rocks, vibrant pumpkin sun catchers, and our gorgeous marbleized paper are just a few examples. This was the first time however, that we’ve made silhouette art using this cool, creative process.
Of course, you don’t have to use a city skyline to make silhouette art. Feel free to make silhouettes of whatever you’d like when you’re doing this with your kids or students. You’ll find some inspiration in these sunset silhouette projects by Deep Space Sparkle. We chose to do city skylines because quite honestly, when I was thinking of silhouette art, a cityscape was the first thing that came to mind.
Older kids who have advanced scissor skills will be able to make some fairly impressive skylines. Younger children may not be able to cut out an actual cityscape, but they can cut strips and shapes out of black paper (great scissor practice), and glue them to their colourful backdrop to make a beautiful piece of abstract silhouette art.
This activity is great for developing fine-motor skills and co-ordination so it’s an excellent way for young children to make art. And as easy as it is, the older kids are always fascinated by the process too.
You’ll also love: Tie-Dyed Heart Sun Catchers
Not gonna lie. I love this watercolour process just as much as the hooligans do. I always have to participate when we’re doing this activity.
Let’s show you how it’s done!
For your convenience, this post contains affiliate links.
- To make our City Skyline Silhouette Art, you’ll need:
- baking sheet or plastic tray (to protect your table, and contain any liquid)
- liquid watercolours (or food colouring) We used these and these – see details below
- droppers or pipettes
- black card stock or construction paper
- scissors
- glue
Ok! Let’s get started!
You may want to protect your table with a vinyl tablecloth, especially if your child isn’t using a baking tray.
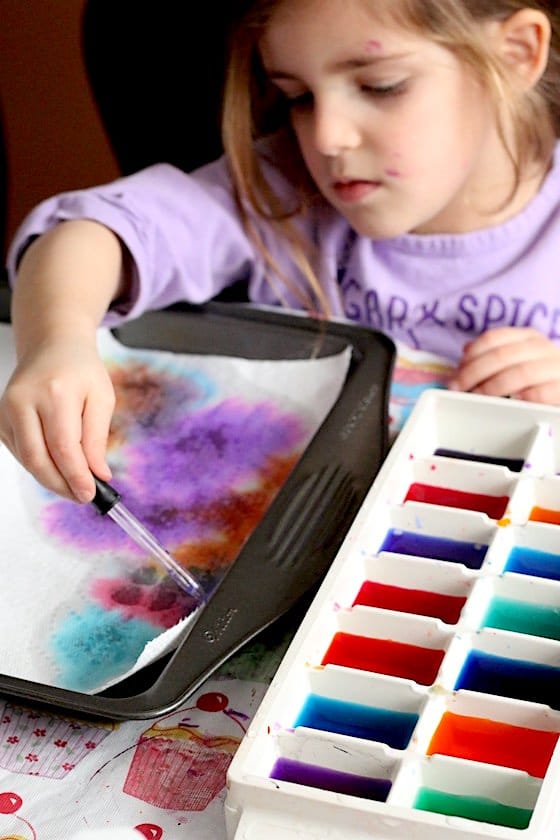
Alrighty! To start, we poured small amounts of liquid watercolour into ice cube trays. You can dilute the watercolours with a bit of water if your colours seem too intense. We didn’t dilute ours for this project.
I mentioned above that we used two different brands of liquid watercolours. I love both. You’ll see from the results in the pictures that the Colour Splash brand watercolours yielded slightly more muted results while the Sargent watercolours were very bright and intense. Both brands are great. And if you’ve never used liquid watercolours before, you really need to get some for your craft room or classroom.
They are AMAZING.
Now that you have your watercolours ready to go, give everyone a few sheets of paper towel. We used the paper towel that’s perforated into half-sheets, and we used one half-sheet per skyline silhouette. Give everyone a few extras though because they’re going to love the dyeing process, and you can always use them to make butterflies or flowers on your next crafty day.
And now for the fun!
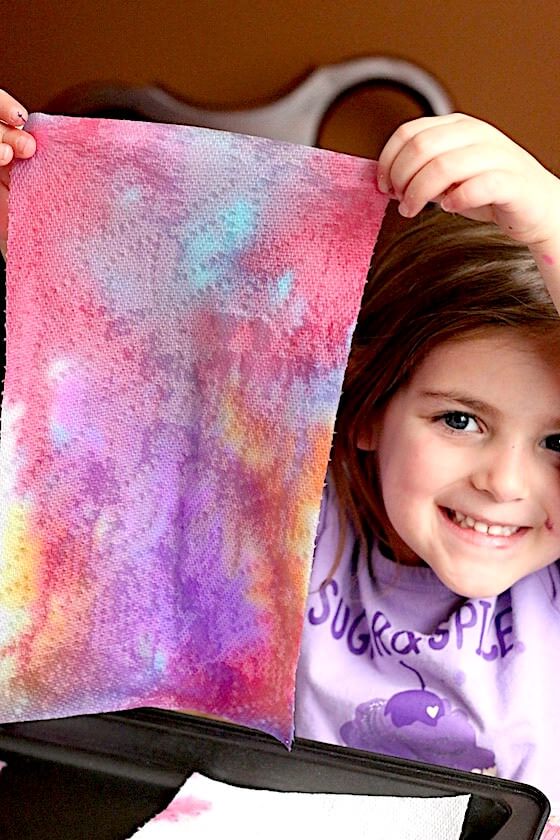
Have the kids drip colour all over their paper towel to create the colourful backdrop for their silhouettes.
This part of the project is so cool. It’s kind of mesmerizing to watch the paper towel soak up the coloured water, and to see how far one little drop of water can spread. This would be a great time for you and your kids to observe and talk about water absorption.
Toddlers will also love: Cotton Pad Drip Art
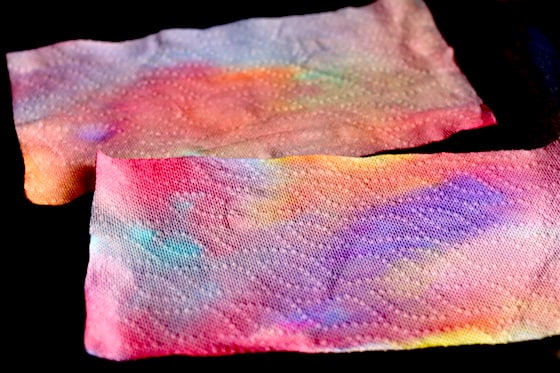
When the paper towel is completely coloured, set it aside to let it dry. You can place it on a cookie rack or drape it over a bowl. I like to use a hair dryer set on “low” to speed up the drying process.
When your paper towels are good and dry, it’s time to frame them.
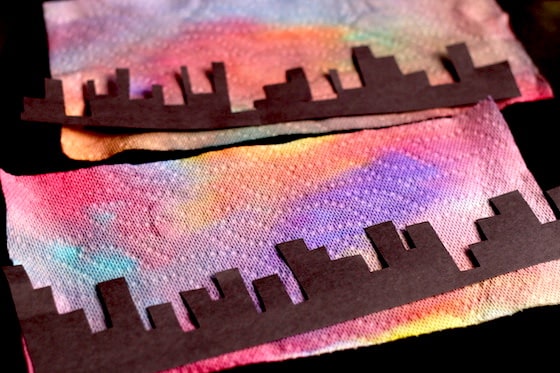
These two pieces were dyed with the Colour Splash brand of liquid watercolours.
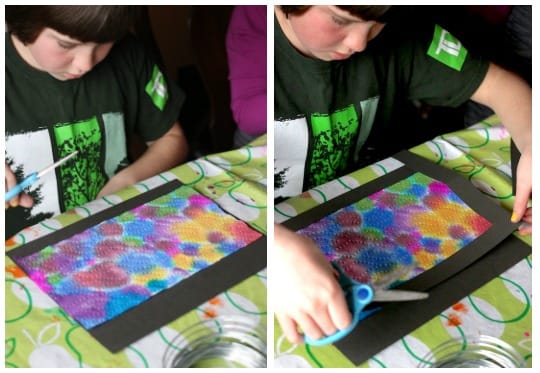
We laid our paper towel “sky”upon a piece of black card stock, and then the hooligans cut 4 strips of black paper. They framed their art by gluing these strips around the outside edges of their sky.
The paper towel you see in the next image was dyed with the Sargent brand liquid watercolours.
Any excess black paper underneath the paper towel was trimmed away.
Next, the hooligans cut their cities out of another piece of card stock. Some chose to cut their skyline in one continuous strip, and others cut individual apartments and skyscrapers.
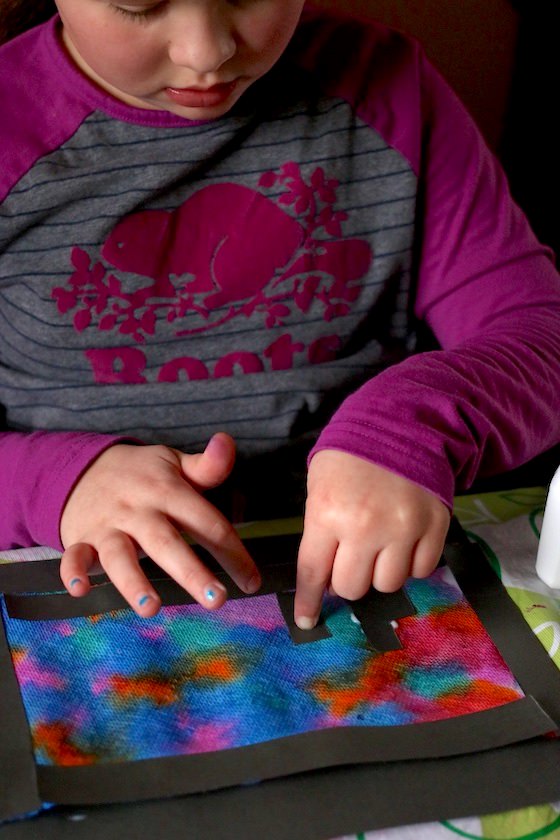
Then the skylines were glued to the colourful backdrop just above the bottom of the frame.
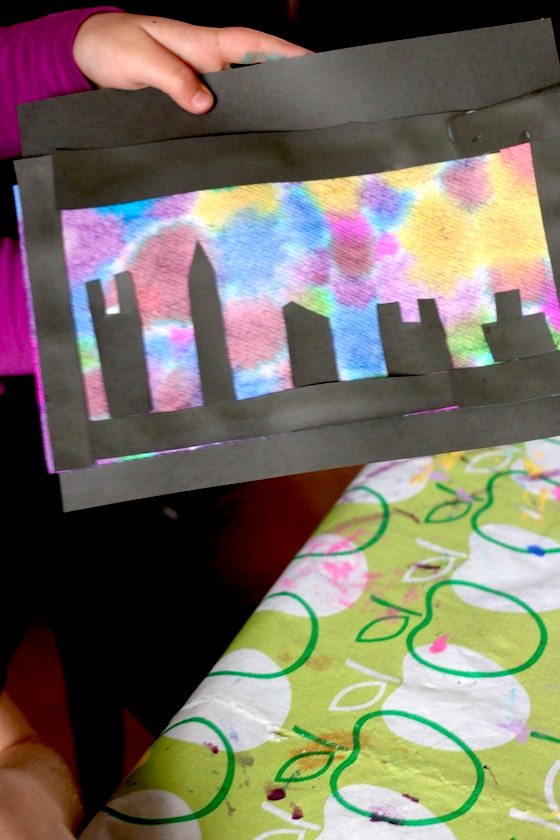
And look at the finished skyline silhouettes!
They’re beautiful!
What a fun and easy way for kids to create a lovely piece of art!
For more easy art projects for kids, check out our:
Stamping Hearts with Cardboard Rolls
Nature Faces – Crafting with Items Found in Nature
Get the 3-5 Playful Preschool e-Book!
25+preschool activities by 25 bloggers, 10 printables, plus links to 50 additional crafts and activities all for $8.99!
Follow the Hooligans on Facebook, Pinterest and Twitter!

Jackie is a mom, wife, home daycare provider, and the creative spirit behind Happy Hooligans. She specializes in kids’ crafts and activities, easy recipes, and parenting. She began blogging in 2011, and today, Happy Hooligans inspires more than 2 million parents, caregivers and Early Years Professionals all over the globe.




Leave a Reply