In this post, we’ll show you how kids can practice basic sewing stitches with styrofoam produce trays, plastic sewing needles and yarn.
These past few months, my daycare hooligans have really expressed an interest in learning how to sew. They learned how to weave earlier this year, and that really piqued their interest in fibre crafts. They’ve since learned how to circle weave and how to french knit on a cardboard roll, and naturally, this has led us to hand-sewing with a needle and thread.
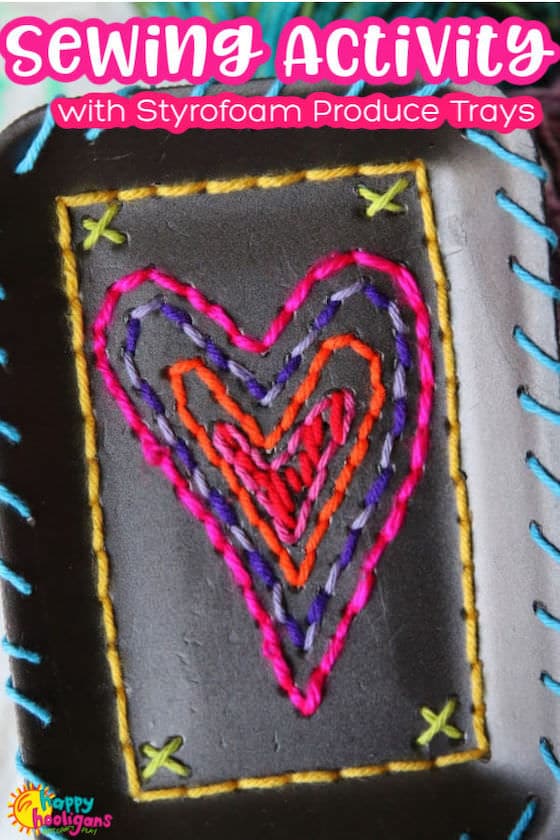
Because some of the kids are quite young, I teach them how to sew using these plastic sewing needles, (affiliate link) but they’re too big to slip through most fabrics, so we’ve been using cardboard lacing cards and such to practice with.
Today, I thought it would be fun to use some styrofoam produce trays for sewing practice.
You may also like these hobbies and pastimes for teens and tweens.
Styrofoam Trays are Great for Arts and Crafts
I always have a stash styrofoam trays in my craft room because they come in so handy for arts and crafts. For example:
- Styrofoam Mosaic Art
- Styrofoam Chalk Marker Paintings
- Styrofoam Spring Art for Toddlers
- Styrofoam Web Weaving
The styrofoam trays are great for an early sewing activity because kids can mark designs on the styrofoam and then easily push through the styrofoam with their plastic needles to create a colorful art.
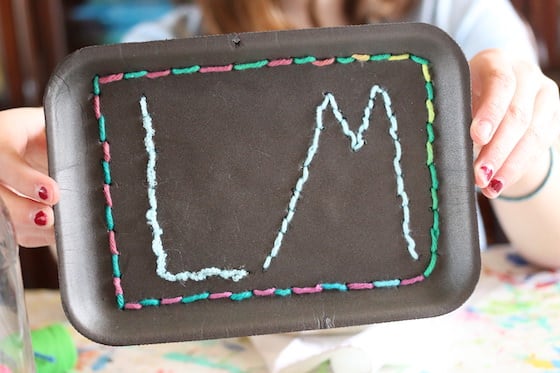
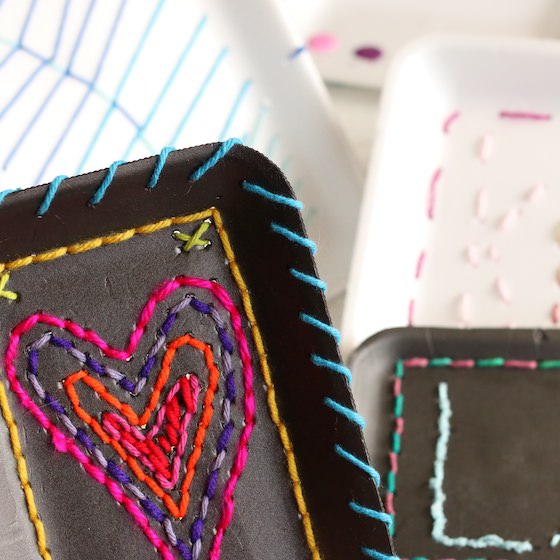
I love how the black trays contrast so nicely with the bright yarn colors.
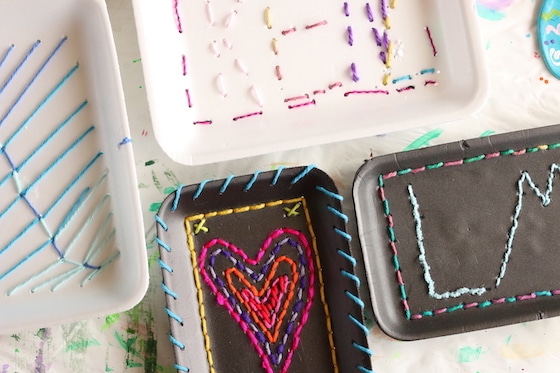
Some of my kids chose to sew their names or initials and others made more intricate designs and abstract art.
Popular Beginner Sewing Stitches
The stitches my kids practiced were:
- whip stitch
- running stitch
- cross stitch
- backstitch
You can find easy tutorials for those stitches here.
Next time I plan on introducing them to the blanket stitch and how to make french knots. How fun!
To do this, early sewing activity with your kids, you’ll need:
Supplies:
For your conviencience, this post contains affiliate links. As an Amazon associate, I earn from qualifying purchases.
How-To:
Note: Always sterilize your styrofoam trays in the dishwasher before using them for arts and crafts with your kids.
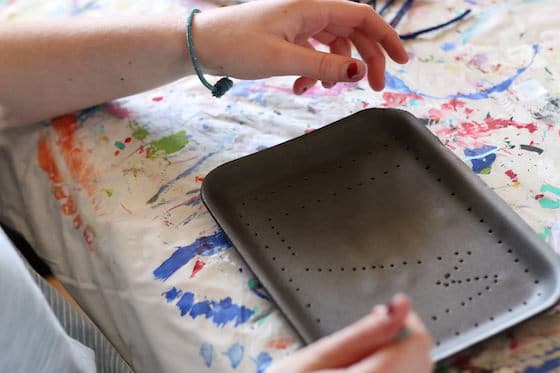
Have the kids mark out their designs on the styrofoam trays by gently pressing a sharp pencil into the tray.
The pencil doesn’t have to go all the way through the styrofoam, but these marks will be their guide for making the stitches.
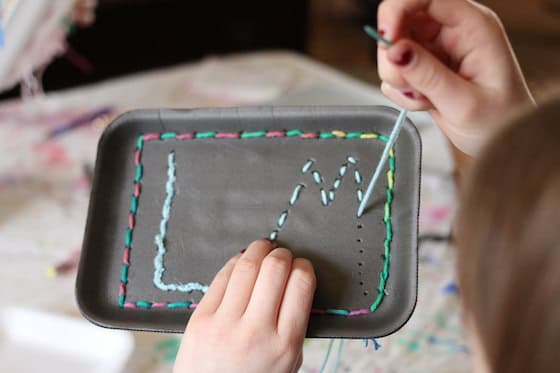
Cut a piece of yarn, no longer than your child’s arm, and show your child how to thread the needle.
Note: For young children, you may want to knot the yarn so it doesn’t slip out of the eye of the needle while they’re sewing.
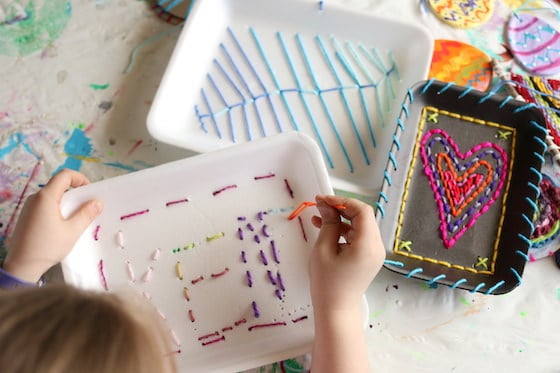
Now, sew in and out of the holes in the styrofoam to fill in your design.
What stitches are best for what?
Tip: The running stitch and backstitch are great for sewing straight lines. Cross stitches are nice for adding details here and there, and the whip stitch is perfect for adding a colourful border to the edges of your project.
Happy Sewing, kids!
More Easy Yarn Crafts:
- Yarn and Cardboard Roll Dolls
- Easy God’s Eye Ornaments
- Yarn Rainbow – Hand Sewing
- Yarn-Wrapped Cardboard Initials
Get the 3-5 Playful Preschool e-Book!
25+ Preschool activities by 25 bloggers, 10 printables, PLUS 50 links to activities not featured in the book.
Click to download your copy now!
Follow the Hooligans on Facebook!

Jackie is a mom, wife, home daycare provider, and the creative spirit behind Happy Hooligans. She specializes in kids’ crafts and activities, easy recipes, and parenting. She began blogging in 2011, and today, Happy Hooligans inspires more than 2 million parents, caregivers and Early Years Professionals all over the globe.



Leave a Reply