This Paper Plate Turkey craft is easy for toddlers and preschoolers to make. They’ll explore colour mixing, painting, cutting and gluing while creating an adorable turkey to display for Thanksgiving.
See all of our Thanksgiving crafts and activities here.
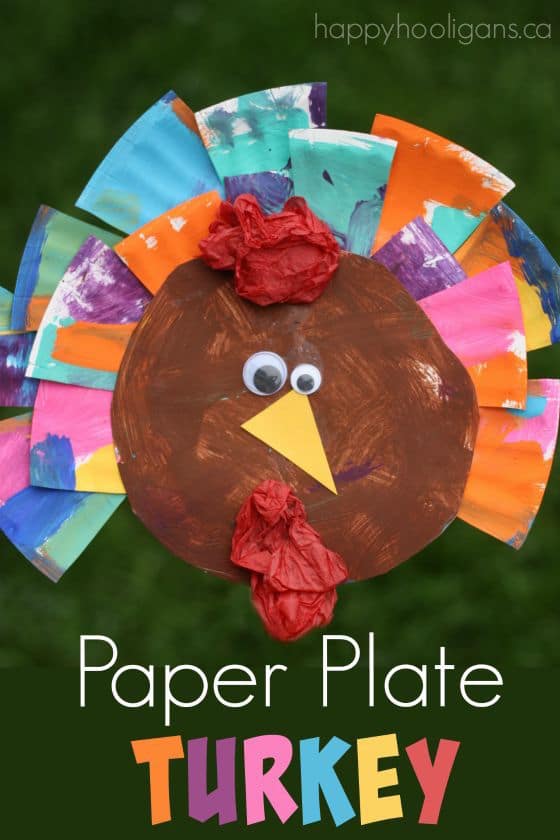
The hooligans and I are on a roll with our A-Z Paper Plate Crafts series! We’re on a roll with our Turkey crafts too! Recently, we made this fun and easy paper plate turkey craft which which falls neatly into both categories.
A paper plate turkey is perfect for a preschool Thanksgiving craft and a good one for a letter T unit too.
Related: Older kids will enjoy our Paper Plate Gratitude Turkey Craft.
The inspiration for today’s turkey craft actually came from the paper plate flowers we made a few years ago. We’re using the same process for making the feathers of our turkey as we did for the petals of that flower.
Supplies:
- paper plate
- brown paint (body)
- various colours of paint (tail feathers)
- googly eyes (buttons would also work)
- yellow paper or craft foam (beak)
- red tissue paper (beak and wattle)
- paint brushes
- scissors
Making your Turkey
Have your child start by painting the paper plate. Paint the middle of the plate brown (for the turkey’s body). The rim of the plate will be cut up into the turkey’s feathers, so you want it to be nice and bright and colourful.
I let my hooligan choose as many colours as she wanted for the tail feathers, and I poured a bit of each colour into a small paint pallet for her to work from.
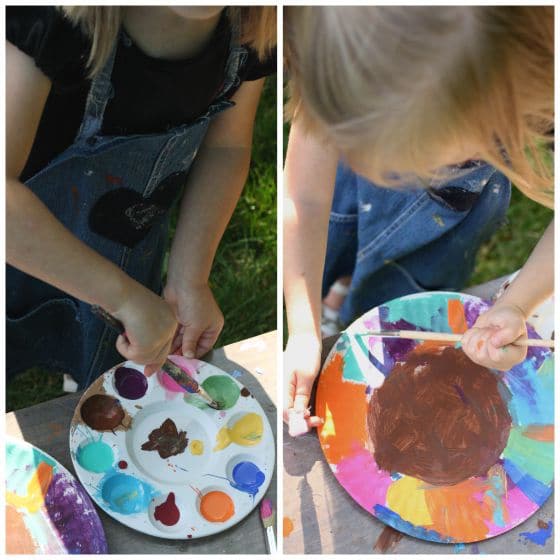
She had a super time dabbing and brushing all of the colours onto the plate.
I always put out enough paint brushes that the hooligans can have one for each colour of paint. It eliminates the need for us to rinse our brushes before a colour change, and it keeps the project and the paint pallet from becoming all mixed up.

When your paper plate has been completely covered in paint, grab the scissors!
I helped my hooligan with the cutting part, as she’s still learning to use scissors.

Cut the colourful rim of the plate off, so you now have two parts – the brown body and the colourful rim.
Now have your child chop the rim up into chunky pieces. These pieces will serve as the feathers.

Flip your plate over, and glue the feathers in layers around the edge of the brown body.

Then your child can add the eyes and beak, and a couple of pieces of crumpled tissue paper for the comb and the wattle.

Isn’t he just beautiful?

Happy Thanksgiving everyone!
More Preschool Turkey Crafts:
- Painted Rock Turkeys for Kids to Make for Thanksgiving
- CD Turkey Decoration for Thanksgiving
- Wine Cork Turkey Decoration for Kids to Make
- Footprint Turkey Craft for Thanksgiving
Get the 3-5 Playful Preschool e-Book!
25+preschool activities by 25 bloggers, 10 printables, 50 links to activities not featured in the book all for $8.99!
Follow the Hooligans on Facebook!

Jackie is a mom, wife, home daycare provider, and the creative spirit behind Happy Hooligans. She specializes in kids’ crafts and activities, easy recipes, and parenting. She began blogging in 2011, and today, Happy Hooligans inspires more than 2 million parents, caregivers and Early Years Professionals all over the globe.






Leave a Reply