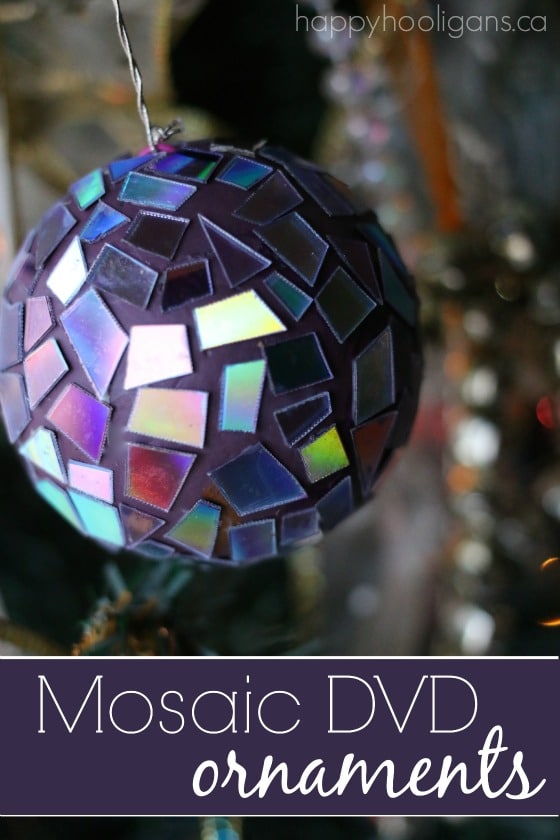
How to make beautiful Mosaic DVD Ornaments for your Christmas tree using old DVDs or CDs!
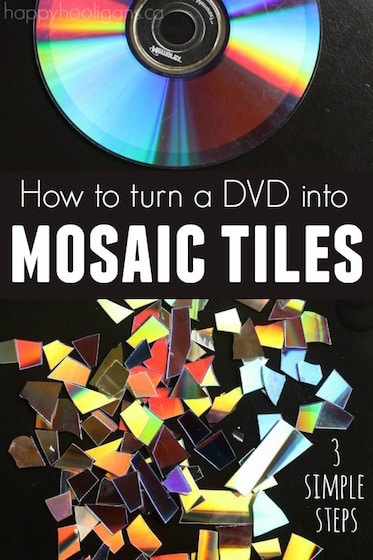
Remember when I showed you how to make mosaic tiles out of your old DVDs?
Well, I’ve finally gotten around to using some of the little mosaic tiles I made! I’ve used them to make these gorgeous mosaic DVD ornaments for the Christmas tree.
This is a terrific way to use your old, scratched DVDs or CDs. The process quite fun and the results are really lovely.
I must tell you that I crafted these ornaments by myself because the fine-motor requirements were beyond the toddlers’ and preschoolers’ capabilities.
This is a great Christmas craft for teens or tweens who like to craft, or for an adult who wants to hunker down with a quiet, therapeutic project.
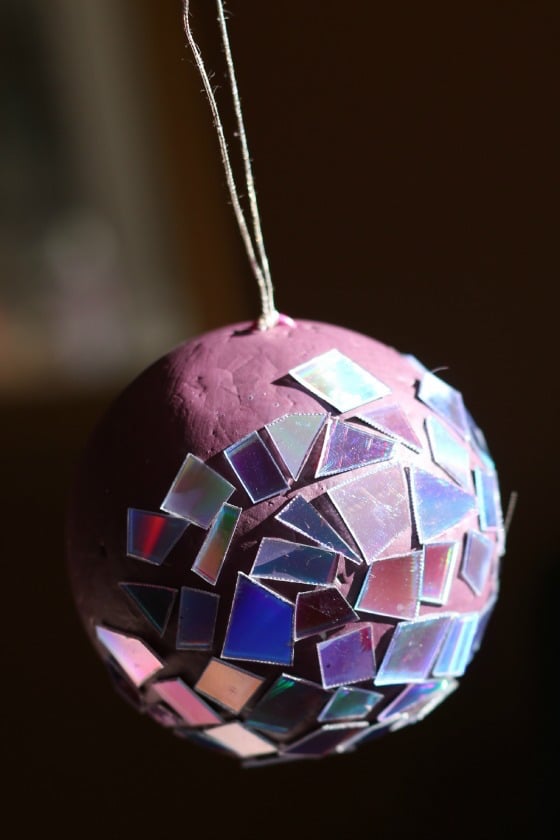
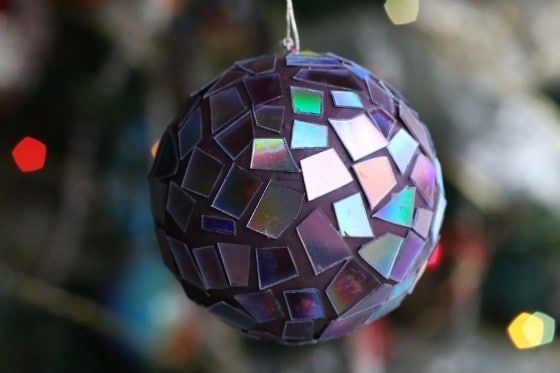
Don’t these ornaments look like mini disco balls? I love the way they reflect the light! As they spin, the iridescent bits of plastic seem to change colour right before your eyes.
In some light, the pieces look silver, green and blue, but as the disc spins, they change to red, purple and gold. They’re so pretty!
The ornaments were very easy to make, they just took a bit of time and patience.
You may also like our:
To make our Mosaic DVD ornaments, you’ll need:
- old dvds (you can also use cd’s but read the note below)
- hairdryer*
- scissors
- glue
- styrofoam ball
- paint
- paintbrush
- paper clip
- hanging thread
To begin, you’ll want to rig up a little hanger for your ornament. Cut a paperclip in half, and hook a length of metallic thread underneath the bottom of the “u” part of the paper clip. Then, stick the ends of the paper clip down into the styrofoam ball, trapping the thread in place. You can see the step-by-step here.
Now you can paint the styrofoam ball with acrylic craft paint, and while it’s drying, you can get to work on making your mosaics tiles.
CD’s vs. DVD’s:
You can use old cd’s for this craft, but dvd’s are better because they’ll reflect more colours than CD’s will. Do hang onto your CDs though because you can make one of these 10 CD crafts with them.
Making mosaic tiles from a DVD:
To make your tiles, you’ll first need to first separate the 2 layers of the DVD. This will make it much easier for you to get your scissors through the disk to cut up your tiles. This is easy to do but you’ll need to check out my easy step-by-step tutorial for making mosaic tiles. Go and do that, and then come on back.
Wasn’t that easy?
Ok, now it’s time to create your mosaic ornament!
How to make your DVD mosaic ornament:
As you probably know, mosaic art is created by piecing together little bits of stone, glass, ceramics etc. Obviously, today, we’re working with our DVD pieces.
You can glue these pieces onto your styrofoam ball by squeezing the glue directly out of the bottle and onto the ball, or you can brush the glue on with a small paint brush. I tried it both ways, and there was no real difference between the two methods.
Start by gluing a tile anywhere on the ball, and then glue another tile beside the first one leaving a very small gap between the two tiles. Continue aligning and gluing, filling in any spaces or gaps with tiles that fit. Sometimes you’ll need to trim a tile specifically to fit a space, but for the most part, I was able to make it work with the pieces I had in front of me.
Your mosaic pieces don’t need to fit together perfectly. It’s just an ornament after all, and honestly, it’s going to look great no matter what because it will be so shimmery and eye-catching.
The process is quite fun, and rather like doing a puzzle. I found it to be a little addictive and at the same time, rather relaxing. Playing around with the pieces to make my design reminded me of making our CD mandalas. That craft was also all about placement, and it was equally gorgeous.
When I was finished, and hung my mosaic ornaments on the tree, I couldn’t stop photographing them! The sunlight streaming in the window and the angle that I shot the pic from made for a new look every time!
Beautiful! And a great way to put an old dvd to good use!
If you liked this post, you may also like:
10 Things to Make with Old CD’s and DVD’s.
Things to Make with Cardboard Tubes
Get the 3-5 Playful Preschool e-Book!
25+preschool activities by 25 bloggers, 10 printables, 50 links to activities not featured in the book all for $8.99!
Follow the Hooligans on Facebook, Pinterest and Twitter!

Jackie is a mom, wife, home daycare provider, and the creative spirit behind Happy Hooligans. She specializes in kids’ crafts and activities, easy recipes, and parenting. She began blogging in 2011, and today, Happy Hooligans inspires more than 2 million parents, caregivers and Early Years Professionals all over the globe.






Dee Exx
You are very creative!!! I really love your ideas! I cant wait to try them out! Thanks so so much for sharing!