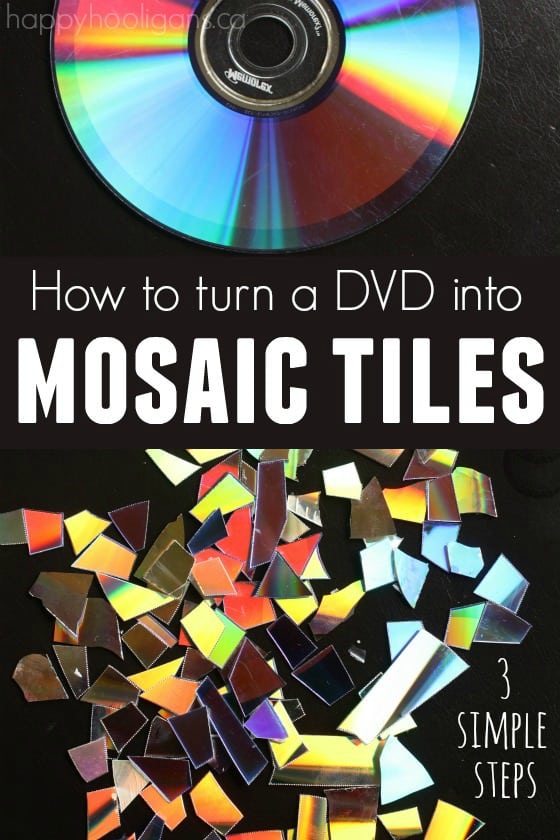
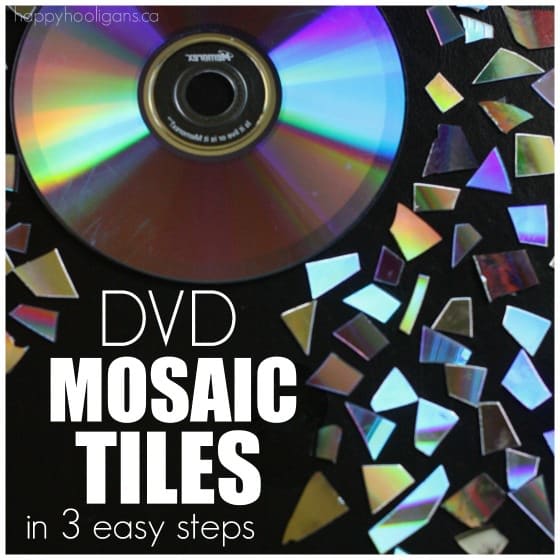
If you’ve ever wanted to make a mosaic project, but you didn’t have any little mosaic pieces on hand, you’re going to love this easy tutorial. Today I’ll show you how easy it is to make mosaic tiles from a CD or a DVD.
I’m excited to have figured out this simple process because I have a ton of mosaic crafts in mind for my daycare kids, and now that I know how to make the tiles myself, we can get working on them!
See our DVD Mosaic Tile Christmas Ornaments Here!
CDs or DVDs?
Note: Mosaic tiles can be made from either CDs or DVDs. I prefer DVDs because the shiny film inside is more colourful and iridescent than a CD’s.
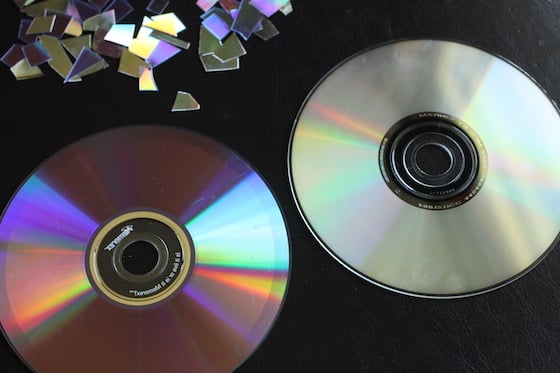
My A-Ha Moment:
There was a little trial and error figuring out this process.
At first, I just tried just cutting through a regular DVD, but it immediately cracked because it was too thick. I realized I needed to separate the layers of the disc.
But that posed another problem…
The shiny, reflective coating inside a dvd is like super-thin, metallic foil, and when I pried the two layers of the next disc apart, some of the shiny stuff would stick to the top layer, and some to the bottom.
A-HA!
I was doing this in the sunshine on my deck, and lo and behold, my 3rd attempt was with a disc that was quite hot from sitting in the sun. BINGO! The shiny, reflective paper stuck to just one layer of the plastic, and the disc came apart quite easily.
So… heating the dvd is the ticket! Below, you’ll see how easy it is to do.
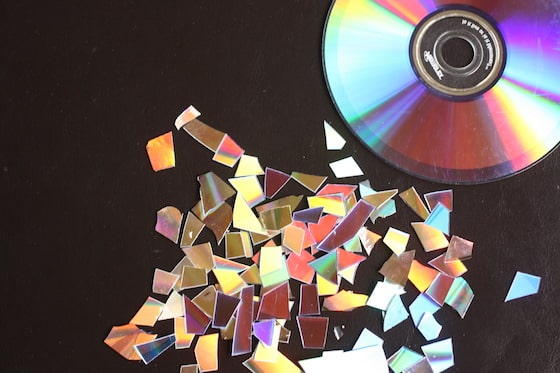
Supplies:
- CD or DVD
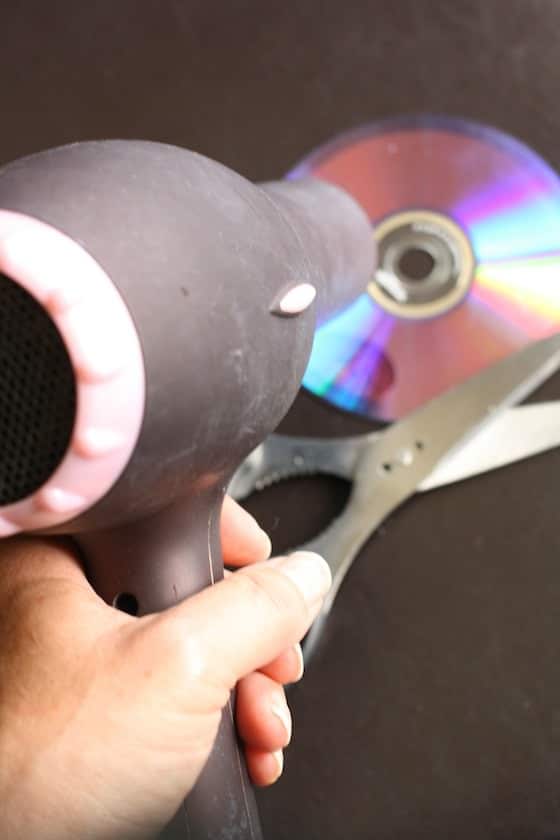
- hair dryer
- sharp scissors
- butter knife
Instructions:
Time needed: 5 minutes
How to Make Mosaic Tiles from a CD or DVD
- Heat the disc
Heat the cd or dvd with a hairdryer set to high heat. Caution: The disc will get hot. Hold it by the edges to avoid burning your fingers, or set the disc on a pot-holder and blast it full-on.
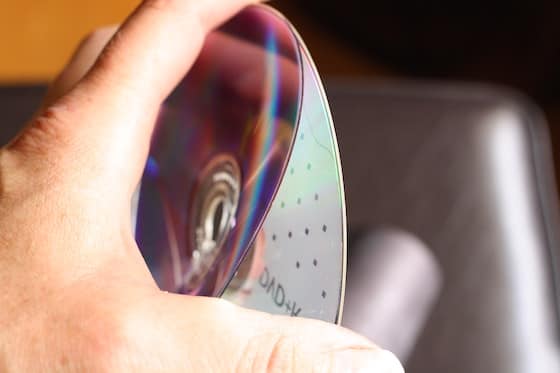
- Separate the layers of the disc
Insert a butterknife in between the two layers of the CD, and gently wiggle it to pry the layers apart. You want the silver reflective film to stick to the BACK-SIDE of the disk so it’s protected underneath the clear layer of plastic. (see tip below).
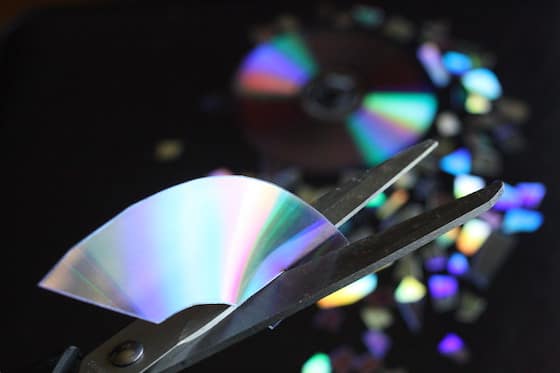
- Cut into small pieces
Using a sharp pair of kitchen shears, cut the reflective side of the disc into small, irregular-shaped pieces.
Tip:
- TIP: You can kind of encourage the shiny layer to stick to the correct side by working slowly, and backing up and starting again if you see it starting to stick to the wrong side.
Any Shape, Any Size…
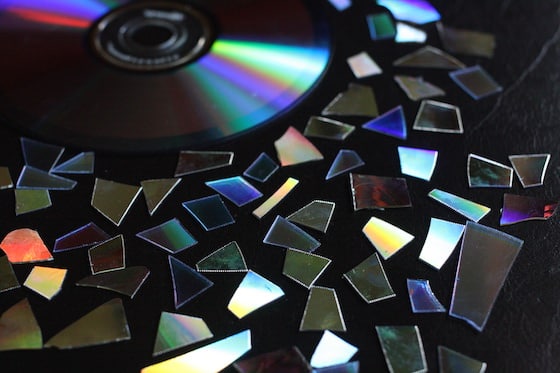
I like that you can make your pieces any shape or size that you want.
I cut my DVD into small, irregular tiles because I have a small project in mind, but you can make yours larger, or more uniform in shape and size if you want.
Aren’t they gorgeous? I love how the colours change depending on how the light hits the pieces!
In case you missed the link at the beginning of the article, you can click here to see the mosaic ornaments we made with some of our tiles.
Now, go and dig out those discs you haven’t watched or listened to in years, !
Tried it? Leave a comment below and tell us what you made!
Feel free to share your finished projects on my facebook page! I’d love to see what you make!

Jackie is a mom, wife, home daycare provider, and the creative spirit behind Happy Hooligans. She specializes in kids’ crafts and activities, easy recipes, and parenting. She began blogging in 2011, and today, Happy Hooligans inspires more than 2 million parents, caregivers and Early Years Professionals all over the globe.




Chris
I was wondering if it is necessary to grout and if so what would you use?
happyhooligans
I’m going to have to play around and figure that out, Chris. I have a couple of ideas in mind, so watch the blog, or follow along with us here or on Facebook to see what I come up with. 🙂
Rosemary
Still having a heck of a time getting it to stick to clear side..any other hints? sigh….
happyhooligans
Hmmm.. Sorry to hear that, Rosemary. I wonder if you put it in a pot of boiling water first?
The other thing is, you can use your “wrong side” pieces, but the reflective finish might wear or scratch off, so I’d be sure to put a couple of coats of clear, acrylic craft varnish over them when you finish your project.
Shelly
I use Maxell dvd’s if that helps.
Dianne
I wonder if the CD is less colourful because it is just sound, whereas the DVD is a coloured movie?
gail
good thinking, I bet that is the reason why.
Eduardo Regueira Campos
Nice!!! I made this lamp in 2011 and spent a lot of time working out the right angle for the reflection, according to the pieces that I could “cut”.
Now, with your help, since the piece are not that random anymore, I can make another version of it!
Thanks a lot!!
Bettianne Smith
I have a question about the mosaic tiles made from DVD. Are the edges sharp for little fingers? Thank you.
happyhooligans
You would have to apply a lot of pressure to a point or an edge to make a cut, Bettianne. You’d want to do this with children who are old enough and responsible enough that they wouldn’t put the pieces in their mouths, and by that age, they’d be able to understand to not intentionally poke a pointy end through their skin.
Kayla
I have tried this project but without using your awesome trick! I found that if the oil’s from my hands touched the tiles then they were ruined!! Did you run into that problem? Or does your method protect against that too?
happyhooligans
Hmm, no, I’ve never had that problem, and I’ve done several cd mosaic projects now.
Maria
sorry left the blow dryer for 3 min on high and could not touch it.. however it did not even separate in the least ?
happyhooligans
Hmm… I’ve used this method several times, and it’s always worked. Perhaps, try a lower heat setting. I’m assuming that by the time yours have cooled down enough to touch, and to pry apart, the effect of the heat has worn off. Alternately, you can set them in the hot sun for 30 minutes, and they may pry apart quite easily. That’s worked for me before as well. Good luck!
PattyP
I have been reading all over Pinterest and the many tutorials vaty quite a bit. i think different brands of DVDs abd CDs react differently to the same method.I have a number of method to try. If I use your method, and if it works for the brand of blank DVDs I have (which are rather dull purple, not holograhic looking like CDs), I plan to clear coat the shiny film with something water based that won’t react with it, then cover lightly in resin so they will be durable.
Marian
I love all your projects! I tried the hair dryer and the boiling. I had an easier time with the boiled DVDs. I also found that DVDs that are computer discs don’t separate. Can’t wait to start tiling, I am still cutting.
happyhooligans
Good luck, Marian! Have fun!
Denise
Thank you so very much for this tipp! I’ve been trying everything and every time the little shiny layer between the two layers crumbled off, it drove me mad. Freezing, boiling oder the hair dryer alone did’nt do the trick, but the the knife did.
happyhooligans
You’re welcome, Denise! I’m so glad it helped!
BJ
I really like using DVDs as mosaics. But nothing worked well to separate the layers. I tried boiling, freezing, hair dryer, and the results were unsatisfactory. But I found more success by cutting them in half and flexing and slightly bending them helps to separate the layers and produced better results, at least with the one tower of DVDs I had. Maybe different manufacturers bring different results. I’ll try the sun method an see if that works.
Courtz
Silly I know but tried my first mosaic using CDs or DVDs maybe a bit of both and when I’ve stuck them down an then gone to clean them by just rubbing it slightly to clean before grouting the colour runs off don’t understand have tried everything!! Some seem to some don’t!! And is it the side ya want to use that doesn’t have the label/writing it like the top part!! Thanks
PattyP
I think you will need to coat the colored part with a water based prodiuct that dries clear, loke modge podge. Afger dry, you couuld coat with a crysttal clear finish like resin, clear nail polish or some other durable clear coat. The clear coats I mention may dissolve the color if applied directly. I am going to try a number of methods. the crazy thing is any set of directions doesn’t work for every brand of DVD or CD. I wish each person doing a tutorial would say what brnad (if black writeable ones) they are using. I assume poeple must be using actual movies to cut up?
Shelly
I am using DVD-R verbatim. Not one single DVD will work. I believe last time I used nacelle.
DJ
How long do you have to heat the CD/DVD for? I’m struggling to get it to the right temperature. Thanks!
Sherry
Thank goodness I came across your site because I’ve been looking and looking for instructions on how to do this properly. All I could find were pictures of mosaics people had created. Thank you so much for your instructions and I can’t wait to put my frames that I intend on doing shortly on your page.
Jackie Currie
Yes! Definitely share a photo on my page, Sherry! I’d love to see it. I’m so glad you found my post so helpful!
Sherry
I really appreciate you taking the time to explain this step by step. I love shiny things and this is a great alternative to mirrors. Plus it’s more colorful. I can’t wait to post my own photos of what I’m thinking of making shortly.
Barbara Cooley Thaw
I have boiled my CDs for at least 10 minutes and while I can cut them without shattering, I CANNOT separate the layers. I have tried the butter knife and flexing the CD but to no avail.
HELP!!
Jackie Currie
I’m not sure where you got the idea to boil them, so I can’t comment on whether or not that should work. If you follow the instructions in my post above, using a hairdryer, it should work. 🙂
Debra Adams
I have found that if you cut the CD fromThe middle hole it separates a lot more easier. I use a pointy knife or a real small flat-head screwdriver
Shelly
Use Maxell cd’s
Amy
what kind of glue do you use on the dvd. I am sticking mine to glass and find some glue does not work. Also after grouting, what can i put on to protect it. I am making a small table. Thanks
Jackie Currie
We used white school glue. We just use them for kids’ projects – Christmas ornaments and such. We’ve never done any major household projects with them, and we’ve never used grout, so I’m afraid I can’t really advise you there, Amy. I’m sorry!
Ashley
I do some glass mosaics for outside and I *only* use the stuff the construction people use because I want it to be super strong ~ and the awesome part is the clear kind is completely clear and doesn’t show through my glass and it will stick almost anything to glass strongly. It is Clear Silicone waterproof sealant… but that stuff’s also the best glass glue I’ve ever used.
Debra Adams
I I use wood glue and that works the best for me
dusti
yes i was wondering what to use to stick the pieces to a metal table
Kris Schwier
Why do you need to separate them? What if you dont?
Jackie Currie
If I remember correctly, it’s too hard to cut through the CDs without separating them, Kris.
Debra Adams
If you don’t separate them they will crack
Johanne
I made a small tray out of dvd ’tiles’. I put a lamp on it, and the reflected colors all around on the wall is beautiful.
Mohsin Kabir
I am so glad and appreciate you taking the time to explain. I think this is a great alternative to mirrors also colorful.
Sue
what can you with the other side. Have you tried spray painting them with iridescent paint?
Ashley
Is there a way to “dye” the CDs??? I have a lot of them already but not enough to do very much experimenting with. I don’t like the way they look with markers – I want something more fluid but mostly I want to keep the iridescence. I was considering maybe thinned nail polish??? I would love some ideas!!! It’s a Birthday gift for my daughter.
Jackie Currie
Nail polish or Sharpie Markers would be my suggestions, Ashley.
Kim
I’ve been doing this for years & I love that you describe your thought process bc that is exactly how it happened to me 🙂 I was attempting to make a mini disco ball using an old Christmas ornament. I’ve since made many, & other things. So cool that someone else discovered this too 🙂 take care!
Kim
You can also color the other plastic side with sharpies for a stained glass effect or even color over the iridescent side for different color effects. Packing tape can seal it all off. I like to cut them into a spiral shape too for wind ornaments or whatever else.
Jackie Currie
Great ideas, Kim!
Jackie Currie
Great minds think alike!
Kelly
This has been very helpful . I am just wondering what everyone is using as grout?
Tha KS,
Kelly