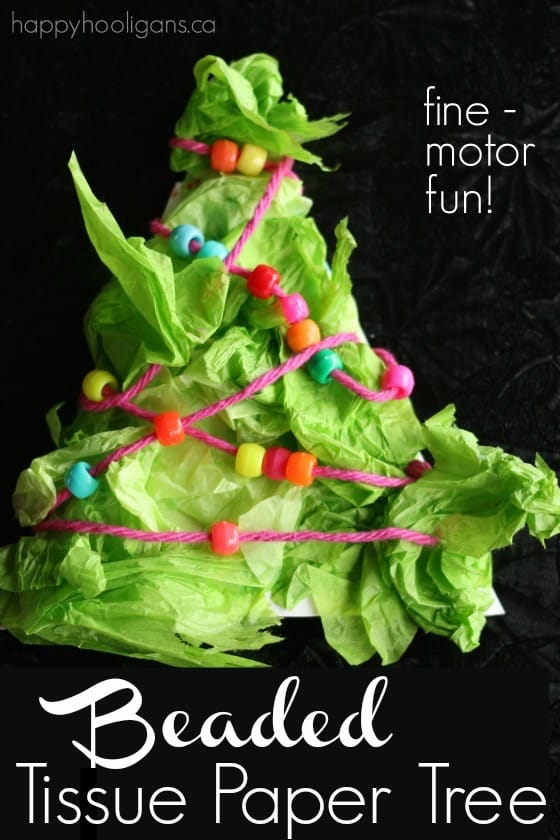
Here’s another easy fine-motor Christmas craft that’s quick to prep, and fun for toddlers and preschoolers to make.
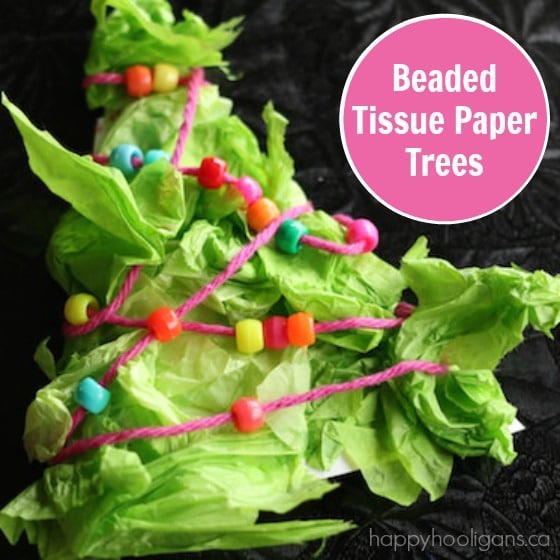
We made this beaded tissue paper tree yesterday, and like all of our crafts here in my home daycare, we used simple supplies that you likely already have on hand.
You could use your beaded tree as an ornament or on the front of a Christmas present or homemade card.
When you break this craft down, you realize how many fun, learning activities are packed into it: cutting, colour recognition, beading, crumpling, gluing, wrapping, winding etc.
Let me show you how we made our beaded trees.
To make your beaded tissue paper tree, you’ll need:
For your convenience, this post contains affiliate links.
- cardboard (think cereal box)
- green tissue paper
- scissors
- beads
- child’s sewing needle
- yarn
- glue
- paintbrush (optional)
Begin by cutting a piece of cardboard into a triangle-shaped Christmas tree. Cereal boxes are great for this kind of thing.
If your child is handy with a pair of scissors, he or she can do the cutting. You may need to sketch the lines of the triangle for him/her to cut along.
In addition, I cut some v-shaped notches into the sides of the tree thinking it might help to hold the yarn in place when wrapping the yarn around. In hindsight, I don’t think it’s recessary. While I did need to do this for the wool-wrapped trees we’ve made in the past, with today’s beaded tissue paper trees, the tissue paper provided enough texture to hold the yarn in place.
Next, cut your green tissue paper into squares (2 inch squares will do).
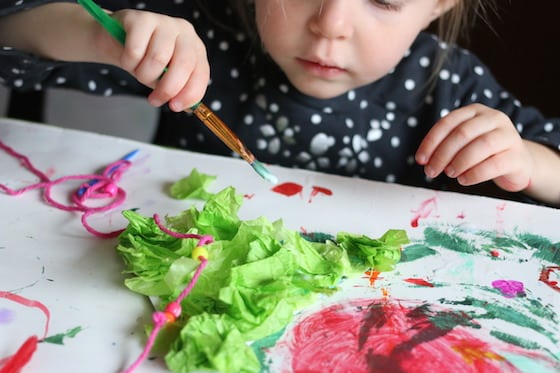
Have your child crumple up the squares of tissue paper, and glue them all over the front of the tree.
Toddlers and preschoolers love the crumpling process which is why we use regularly use tissue paper when crafting. It’s a great sensory material; it’s soft and delicate to the touch, and it makes such a lovely sound when scrunched in a little hand. Handling the tissue paper is great for fine motor development, and crumpling it up helps to strengthen hand muscles.
If your child finds it challenging to manipulate a glue bottle, simply pour a bit of glue into a small dish. Your child can then use a paintbrush to apply the glue to the cardboard.
Once the tree has been covered in tissue paper, set it aside to dry.
While your tree is drying, your child can thread the beads that will be used to decorate the tree.
Have your child snip a long length of yarn, and thread it through the eye of a plastic sewing needle or a blunt embroidery needle.
Tie a knot in the end of the yarn to prevent the beads from falling off, and have your child thread a handful of beads onto the yarn.
You child can experiment with patterning here if they like, or you can simply encourage your child to identify the colours or to count the beads while threading them onto the needle.
When the beading part of the project is finished, secure with another knot in the yarn, and then have your child wrap and wind the yarn around the tissue paper tree.
Your child can adjust the beads, sliding them along the yarn to get the placement “just right”.
Hang your beaded tissue paper trees on your Christmas tree, or use them to decorate a Christmas gift or card!
If you liked our beaded tissue paper trees, you may also like:
Get the 3-5 Playful Preschool e-Book!
25+preschool activities by 25 bloggers, 10 printables, 50 links to activities not featured in the book all for $8.99!
Follow the Hooligans on Facebook, Pinterest and Twitter!

Jackie is a mom, wife, home daycare provider, and the creative spirit behind Happy Hooligans. She specializes in kids’ crafts and activities, easy recipes, and parenting. She began blogging in 2011, and today, Happy Hooligans inspires more than 2 million parents, caregivers and Early Years Professionals all over the globe.






Leave a Reply