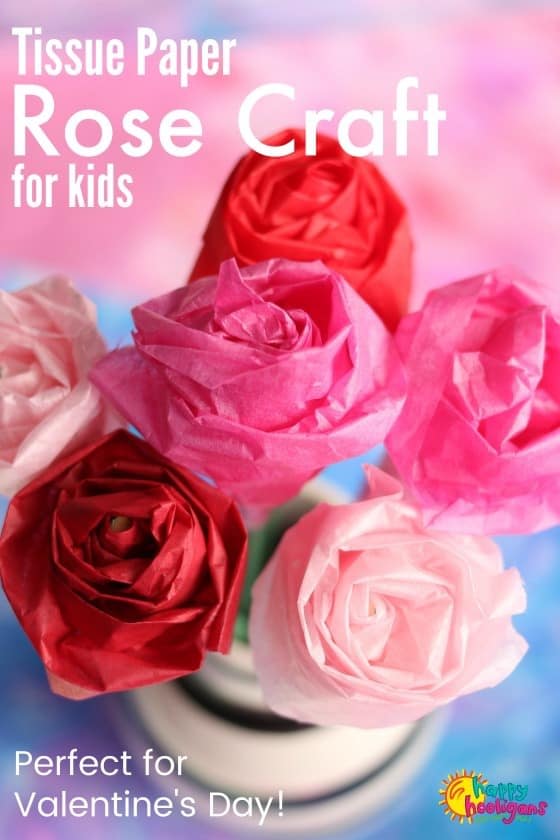
This Tissue Paper Rose Craft is easy enough for kids to make, but grown-ups might want to make it too! With the video tutorial and step-by-step instructions, you’ll be making tissue paper roses that look like real roses, in minutes! This is a great craft for kids to make for Valentine’s Day, whether they want to give someone a single rose or a whole bouquet.
Simple Tissue Paper Rose
I’m so thrilled with our latest rose craft. Last year, my daycare kids made paper towel roses to give to their moms for Valentine’s Day. Those roses were so beautiful, that they wanted to make some more for Valentine’s Day this year. I never like to completely duplicate a craft, so we’ve switched it up a bit, and the results are gorgeous!
Paper Rose Stem Ideas
Instead of using paper towels, we’re using tissue paper. We’ve used a painted chopstick for our stem, but you can also use a green drinking straw or a green pipe cleaner.
The thought came to me when the kids were making crumpled tissue paper hearts the other day (which I’ll share on the blog soon).
I wasn’t sure if the tissue paper would be sturdy enough to use for the process that we made our roses with last year, so I tested it out before having the hooligans make them.

Great for Mother’s Day or a Birthday
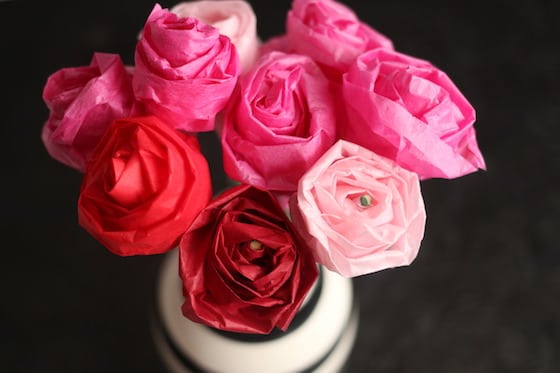
I’m happy to say, they turned out great! I think our tissue paper roses look even more real than last year’s paper towel roses. By the way, these roses would be great to make for a Mother’s Day craft or to give to Mom or Grandma for her birthday too!
Now I’m brain storming up other materials we can make roses with. Over at Kids Activities Blog, they’ve made them with coffee filters, and these paper doily roses by Artsy Crafty Mom are cute for preschoolers.
Great craft for pre-tweens, tweens and teens!
I should note that this rose craft is probably best suited for older kids because the tissue paper is delicate. If you have younger children we have lots of fun and easy flower crafts for toddlers and preschoolers here.
Ok! Let’s get crafting!
You can watch the video, or follow the step-by-step, written instructions below.
Watch this video to learn how to make a tissue paper rose:
How to Make Tissue Paper Roses
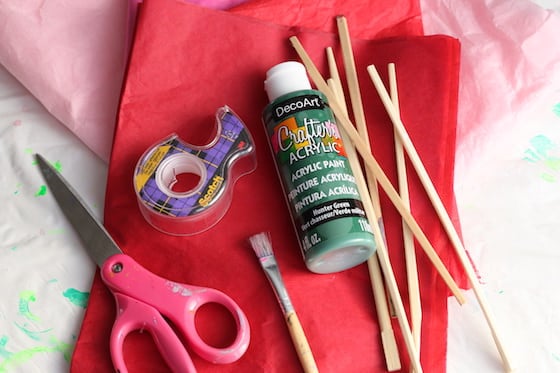
Supplies:
- tissue paper (reds and pinks)
- wooden chopstick
- green paint and paintbrush
- glue
- clear tape
To Make Your Rose:
- Paint your chopstick green, and allow it to dry.
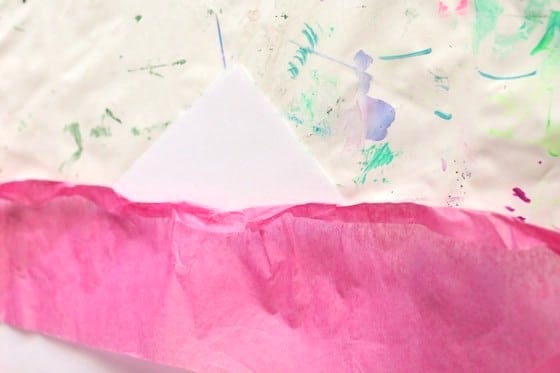
- Cut tissue paper rectangle 11 x 4 and then cut that lengthwise into 2 strips.
- Make 1/4 inch fold along the long side of one of the strips and glue in place. Don’t aim for perfection here. It’s best if it’s a bit messy. Repeat this so you have a double fold along that long edge. This fold will provide some structure to your rose petals.
- Make the same folds to your other strip of tissue paper.
Rolling your Rose:
- Wrap the short end of one of your tissue paper strips around the narrow end of the chopstick stem and pinch it in place with your thumb and forefinger.
- Gently twist the chopstick with one hand, to wind the tissue paper around the chopstick.
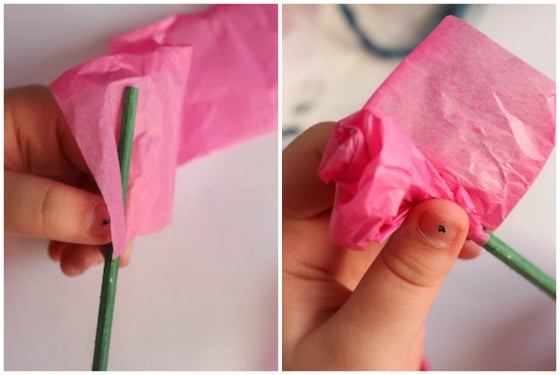
- Guide the tissue paper as it winds around the chopstick, and frequently pinch the tissue paper at the base of the rose bud to keep things aligned. Again, you don’t want to aim for perfection here. Keep things loose and messy for the most natural look.
- When you reach the end of the strip, add the second strip by pinching it in place and continuing to wind.
- When you reach the end of the second strip of tissue paper, pinch it all tight at the base of the rose, and secure the tissue paper to the chopstick stem with clear tape.
- Use a little glue to secure the loose end of the tissue paper if need be.
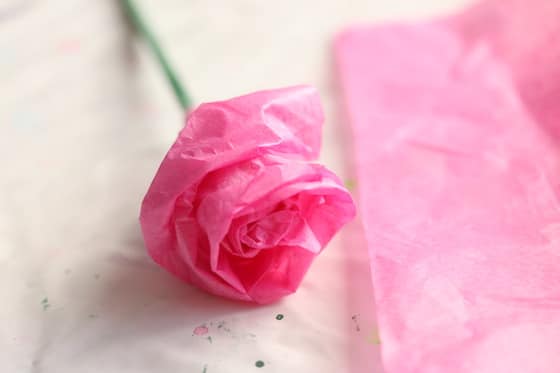
And that’s all there is to making a tissue paper rose! Wasn’t that easy?

And won’t someone special be delighted to receive one of these (or a whole bouquet) this Valentine’s Day.
Your kids will also love:
Get the 3-5 Playful Preschool e-Book!
25+ Preschool activities by 25 bloggers, 10 printables, PLUS 50 links to activities not featured in the book.
Click here to download your copy today
Follow the Hooligans on Facebook!

Jackie is a mom, wife, home daycare provider, and the creative spirit behind Happy Hooligans. She specializes in kids’ crafts and activities, easy recipes, and parenting. She began blogging in 2011, and today, Happy Hooligans inspires more than 2 million parents, caregivers and Early Years Professionals all over the globe.




Leave a Reply