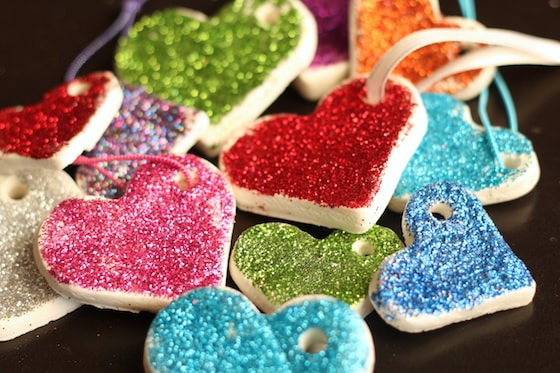
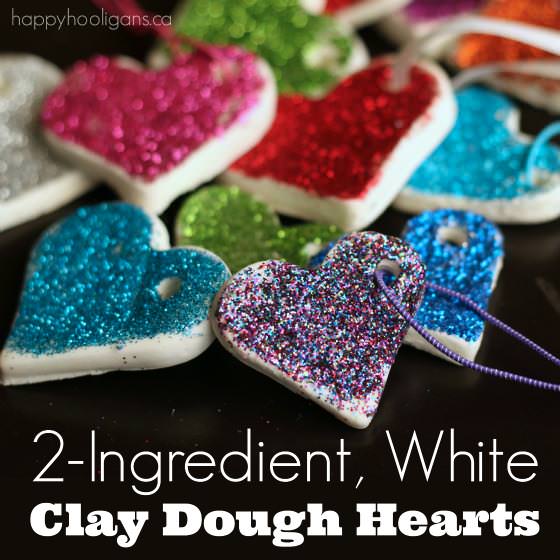
Kids can make these Glittered Heart Valentines Ornaments, using our easy clay dough recipe, to give as gifts or to display in your home or classroom!
Here’s an absolutely beautiful Valentines craft for ages 5 and up to make this year. We’ve used our favourite white clay dough to make these dazzling Valentines ornaments!
Get the recipe for our white clay dough here.
I just LOVE how they sparkle and shine, and the colours are so gorgeous!
White clay dough is amazing. It’s really easy to make with just two ingredients: baking soda and corn starch.
We’ve used this dough to make Christmas ornaments and glittered fall leaf ornaments, and we’ve painted it to make gorgeous Easter ornaments. The other day, I realized it would be great for making Valentines ornaments too.
We’ve been on a real glitter kick lately so that’s what we’ve chosen to decorate our Valentines ornaments with.
An alternative to glitter would be to press beads and gems into the clay, like we did with our toddler-made clay dough ornaments. You could also paint your ornaments with tempera or acrylic paint.
Another option would be to leave your ornaments white and write Valentines messages on them with Sharpie markers.
There are lots of possibilities when it comes to decorating your clay dough ornaments.
To Make Our Glittered Heart Valentines Ornaments, You’ll Need:
For your convenience, I’ve included affiliate links in this post. As an Amazon Associate I earn from qualifying purchases.
Ingredients:
- baking soda
- corn starch (known as corn flour in the UK)
- water
*Get the measurements and instructions here
You’ll also need:
- rolling pin
- drinking straw
- glue
- glitter (we LOVE this fine glitter by Martha Stewart)
- ribbon
- varnish
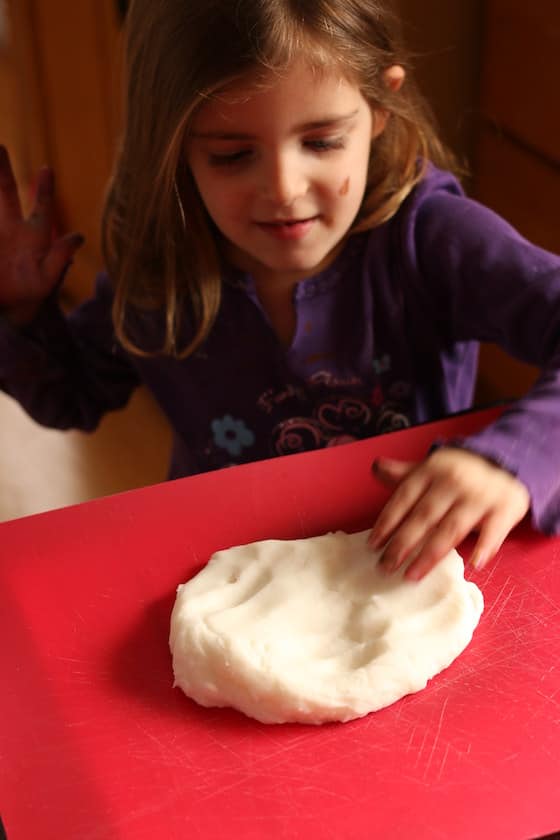
This is what one batch of dough looks like:
When you’ve finished cooking your dough, and you’re kneading it on your cutting mat, it should be about the same consistency as pizza dough.
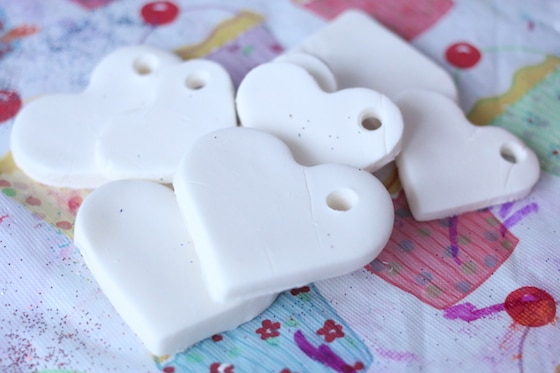
Roll your dough to 1/4 inch thickness, and use a cookie cutter to cut out your hearts.
If you’ll be hanging your hearts, poke a hole in each ornament with a drinking straw.
Place your hearts on a cookie sheet to dry.
Drying your ornaments:
A warm, sunny spot is ideal for drying your ornaments.
We placed our clay hearts on the hearth in front of our fireplace, and they were dry in a matter of hours. They’ll take longer to dry in a cool, damp environment.
I’ve heard some people say they’ve placed them in a warm oven to dry. You could try it, but you’d want to have the heat super-low, and keep an eye on them. Maybe leave the door open a little to keep them from drying too quickly and cracking.
With our hearts dry, we were ready to add the glitter!
The best glitter we’ve ever found is this fine metallic glitter by Martha Stewart. The colours are gorgeous.
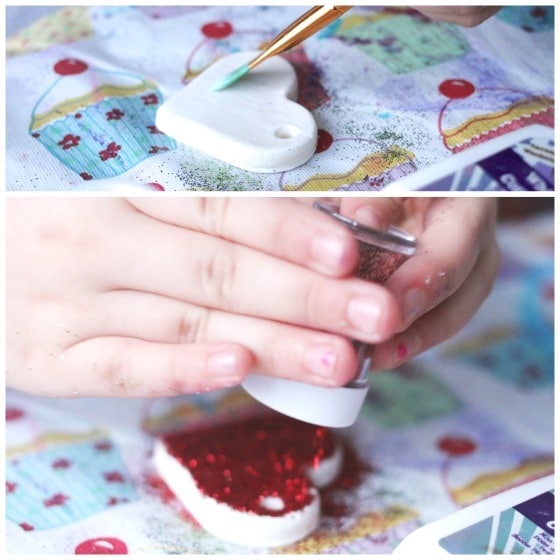
We brushed each clay heart with white glue, and then we sprinkled a generous amount glitter on each one.
We tapped the excess glitter off into a container so we could use it for another project, and we returned our ornaments to the fireside so they could dry.
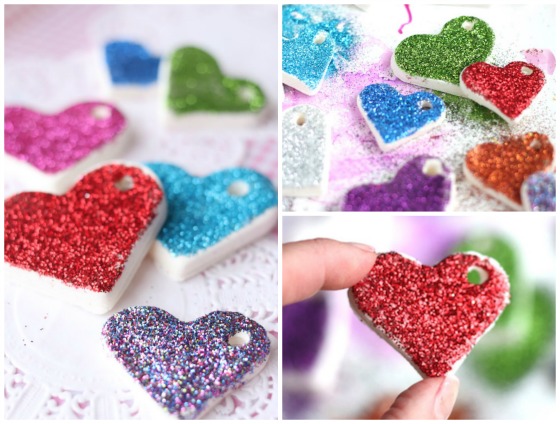
Oh my word. Aren’t they stunning?
I can’t even tell you how gorgeous they are in real life.
The bright, metallic colours look so amazing in stark contrast to the pure white hearts.
When our glittered hearts were dry, I gave each one a quick spritz of of poly-urethane spray varnish to prevent the glitter from brushing off.
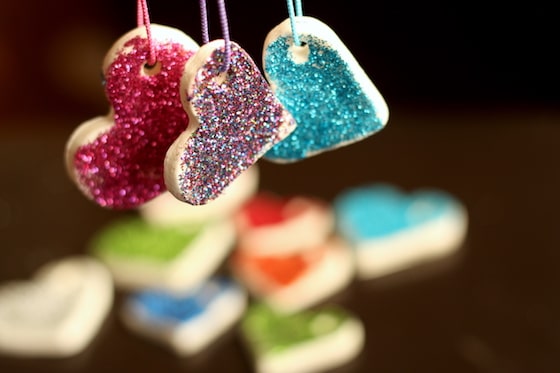
Then I looped a piece of ribbon through each hole so we could hang our ornaments.
Don’t you just love ’em?
I really hope you’ll make some of our dazzling Valentines ornaments using this white clay dough recipe. It’s such an easy way to make a beautiful Valentines craft with your kids.
Get the 3-5 Playful Preschool e-Book!
25+preschool activities by 25 bloggers, 10 printables, 50 links to activities not featured in the book all for $8.99!
Follow the Hooligans on Facebook

Jackie is a mom, wife, home daycare provider, and the creative spirit behind Happy Hooligans. She specializes in kids’ crafts and activities, easy recipes, and parenting. She began blogging in 2011, and today, Happy Hooligans inspires more than 2 million parents, caregivers and Early Years Professionals all over the globe.







bev baggett
When you bake it do you leave it in a big lump or spread it out? Also do you think it would be possible to add a few drops of essential oils so that they would smell pretty too? When would you do that? after baking? Thanks for any tips bev
Mary
I LOVE this!! Looks so easy and pretty sure I have those ingredients already. Just posted a list of easy vday crafts. Wish I had seen this first, I would’ve added it!
Kim Ferguson
Your E-Mails would help me greatley with my job,I am an ECE teacher. Thank You
I am an ECE teacher,& your E-Mail would be very helpful.
happyhooligans
You can receive my posts by email by clicking on the red bar at the top of my site, Kim. Just fill in your email address, and you’ll get each new post when I publish them. Enjoy!
Katie
Do they stay solid? Would they be able to be used as necklaces? Looking for class gift ideas. Thank you.
happyhooligans
Yes, they stay solid, Katie. They’re very hard to the touch. They would break if you were to drop them though.
Stacie Skinner
Great project, just made these for a Pinterest party last night. However, to get to the actual recipe was very difficult. I had to click through this post, another post with the fall leaves and finally on the 3rd time trying, I got to the recipe. Felt misleading when it says to click for the recipe and I still have to go through one more blog post.
Jackie Currie
Hi Stacie! Thanks for the feedback. The link to the recipe is in the first paragraph of the post, but I’ve added a second link just below that paragraph so it’s more obvious. I appreciate you telling me, as I hate to think of people getting frustrated when using my blog. I’m glad you enjoyed the project, and I’m honoured that you chose our recipe to use at your party. Hopefully the process for getting the actual recipe is a little easier now that I’ve edited the post. 🙂
Trista
Can you make this recipe ahead of time ? Probably not since it will dry out.
I am a kids yoga teacher and I thought this would be wonderful to do with my kids. Do yoga pose cookie cutters
I would have to make the batch before I went to class ? Any tips would be helpful
Thank you!
I love these!!!
Jackie Currie
I would try and make it as close to class time as possible. The clay does dry quite quickly when exposed to air, so to transport it to class, I would roll it into a ball and wrap it tightly in cling-wrap. Good luck and have fun with it!!