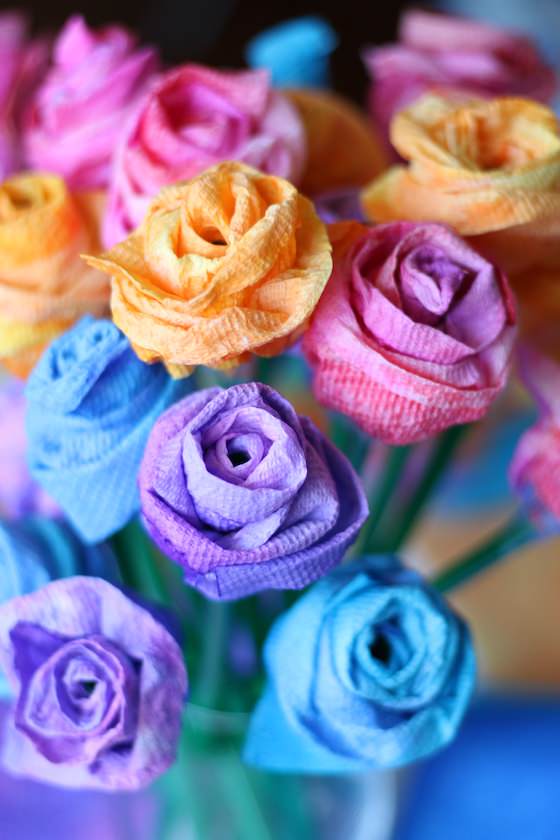
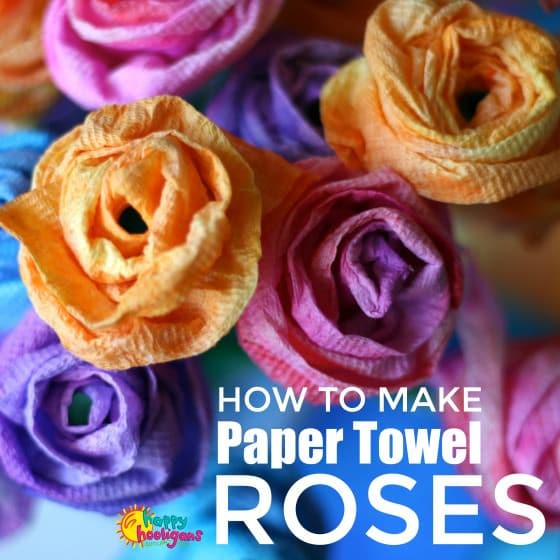
These paper towel roses are easy to make, and they look just like real roses. Kids can make them for Mother’s Day or Valentine’s Day or anytime they want to give roses that will last forever. Follow our step-by-step instructions or watch the video tutorial below.
Of all the flower crafts we’ve made here in my daycare, this rose craft is my favourite.
Thoughtful, and no watering required!
First of all, these roses are super-easy to make. Secondly, they make such a thoughtful gift for a child to make and give. Thirdly, who doesn’t love flowers that you don’t have to water.
You can substitute with other materials
Today, we’re making our roses with paper towel and a drinking straw, but feel free to substitute with tissue paper or crepe paper for the rose and a pipe cleaner or chopstick for the stem, like we did for these red roses that we made for Valentines’ Day. (see next photo)
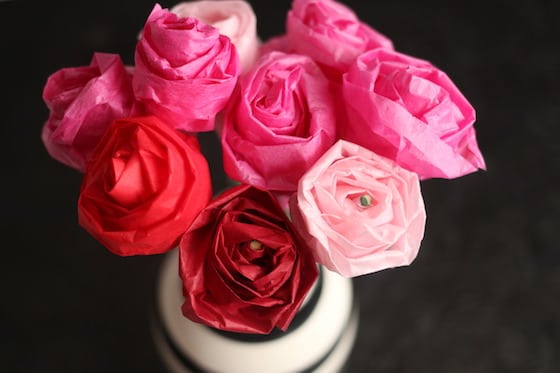
Tissue Paper Roses with Chopstick Stems
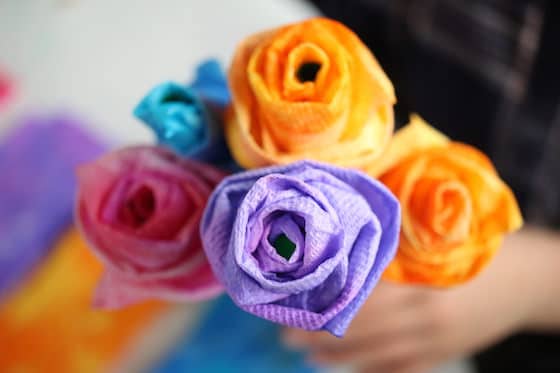
We’re making colourful roses this time, for Mother’s Day because they’re bright and cheery for spring and because the hooligans love the process we used to colour the paper towels.
We just so happened to be doing it for these “tie-dyed dress” Mother’s Day cards the other day, so while we had our supplies out, we dyed some extra so we could make these roses.
2 Colours per paper towel rose
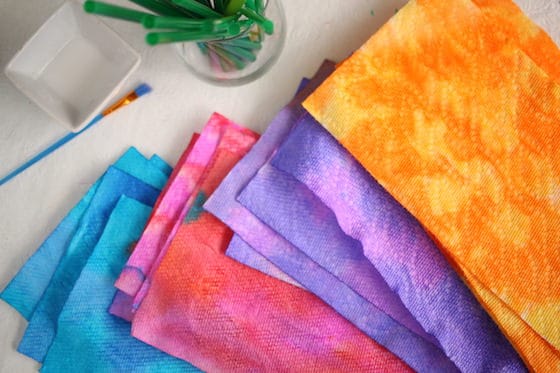
For a lot of our liquid watercolour and paper towel projects, the kids drip many colours onto their paper towel. For this project though, because we wanted our paper towel roses to look realistic, we stuck to just two colours per paper towel.
Incorporate a lesson in colour theory
This is a great time to talk to your kids about colour theory and the relationships between colours. The hooligans were able to figure out which colours to put together for our roses so the colours would blend nicely.
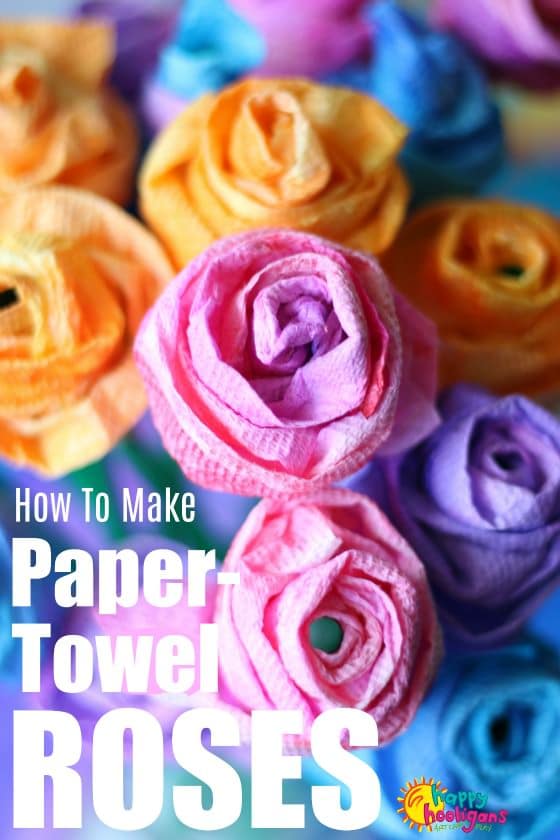
- For our pink roses, we used red and magenta liquid watercolours
- For our purple roses, we used blue and purple liquid watercolours
- For our yellow roses, we used yellow and orange liquid watercolours
How to Make Paper Towel Roses
For your convenience, this post contains affiliate links. As an Amazon Associate I earn from qualifying purchases.
Supplies:
- paper towels
- liquid watercolours
- paintbrushes or medicine droppers
- ice cube tray
- scissors
- transparent tape
- plastic tablecloth to protect your table
Dyeing your paper towels:
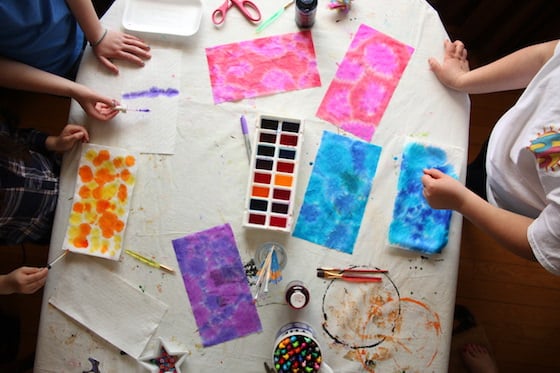
1. Pour your liquid water colours in an ice cube tray. We diluted ours slightly with water and tested the colours on a piece of paper towel.
2. Cut your paper towels in half. You’ll need ONE HALF (which you will cut in 2) for each rose.
3. Using medicine droppers or paintbrushes, have the kids drip two complimentary colours all over their paper towel until it’s completely covered.
4. Dry your paper towels thoroughly (be sure to protect the surface you’re drying them on).
And if you’re drying them outside, make sure they don’t blow away or you’ll be chasing colourful paper towels all over the neighbourhood. Been there!
Turning your Paper Towel into a Rose
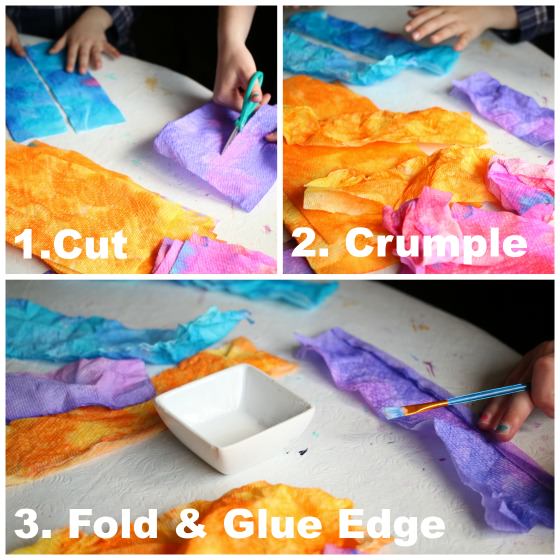
1. When your paper towels are dry, cut them in half again so you have two narrow strips of paper towel for each rose.
2. Next, crumple your paper towels and then pat them back out. This will give the paper towels some volume and make your roses look more fluffy and natural.
3. For each strip of paper towel, fold the long edge about a 1/2 cm and glue it in place. We used a paintbrush to apply the glue for this step.
Don’t be perfect with your folding and gluing here. You want the edge to be wobbly and wonky. It will make your rose look more real.
Now it’s time to roll your roses.
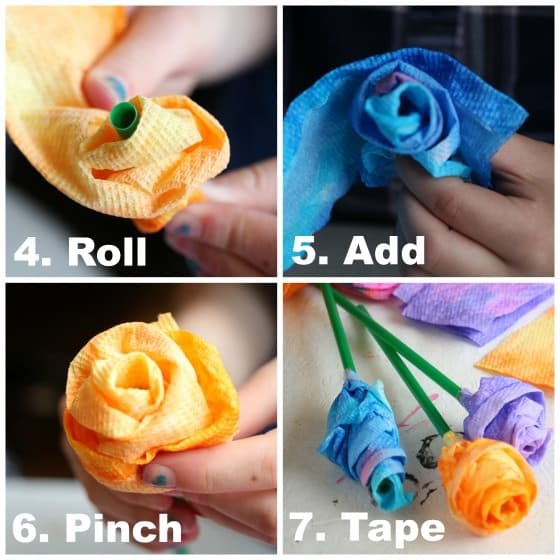
4. Place a drinking straw at a bit of an angle (pointing in) near the end of one of your strips. Pinch the paper towel in place around the straw, and start twisting the straw, pinching the paper towel as you roll it up around the straw.
This takes a bit of practice, but you’ll get the hang of it.
5. When you reach the end of the strip, add your second strip and keep twisting and pinching.
6. When you get to the end of the second strip, pinch the base of the rose tight to the straw.
7. Wrap some tape around the bottom of the rose to secure the paper towel to the straw.
Fluff up your rose a little, and repeat until you’ve made a whole bouquet!
WATCH THIS VIDEO TO SEE THE PROCESS:
.I have a bunch of these paper towel roses sitting in a jar on my kitchen windowsill and I can’t believe how beautiful they look.
People always mistake them for real roses at first glance.
To present your homemade roses to someone, cut your straws at various lengths to form a bouquet, and tie them with a ribbon or place them in a vase
More Flower Crafts For Kids
Follow the Hooligans on Facebook!

Jackie is a mom, wife, home daycare provider, and the creative spirit behind Happy Hooligans. She specializes in kids’ crafts and activities, easy recipes, and parenting. She began blogging in 2011, and today, Happy Hooligans inspires more than 2 million parents, caregivers and Early Years Professionals all over the globe.






Leave a Reply