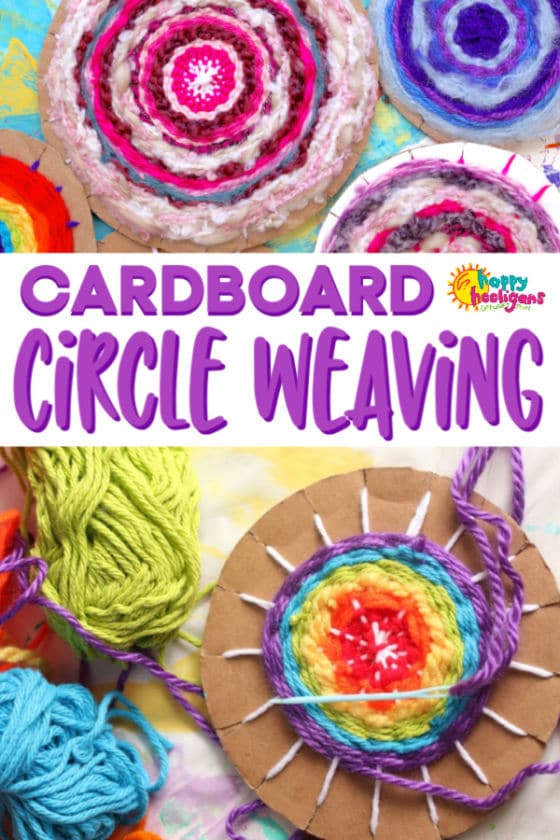
Cardboard circle weaving is a fun and easy activity for kids and adults. Using a homemade cardboard loom and some scraps of yarn, you can weave circular pot holders, trivets and wall art quickly and easily. In this post, your kids will learn how to make a circular weaving loom out of cardboard, how to weave a round project, and how to take your weaving off the loom.
My daycare kids have really embraced yarn and fibre crafts this year, so I’ve been teaching them lots of new skills like sewing, and french knitting, and we’ve learned lots of different ways to weave. Most recently, we tried circle weaving.
What is Circle Weaving?
Circle weaving, also known as circular weaving or round weaving, is similar to regular weaving, but it’s done on a round loom instead of a rectangular loom. When you string the loom, your warp strings look like bicycle spokes, and you weave in and out of these spokes (or warp strings) in a circular direction.
The process produces a round piece of weaving which you can use as a trivet or coaster or a decorative piece of wall art.
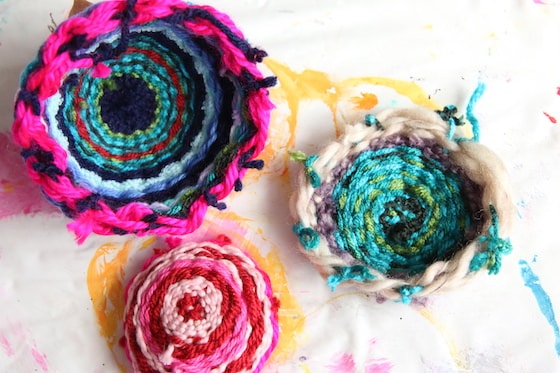
Once your project is off the loom, you can even curve it into a bowl to keep small trinkets in. (You can also visit our paper plate woven bowl project if you’d like to make a bowl).
For your conviencience, this post contains affiliate links. As an Amazon associate, I earn from qualifying purchases.
You can purchase circular weaving looms made of plastic or wood, but today, we’re going to show you how to make one out of cardboard for free. This way you can make several looms in different sizes and it won’t cost you a thing.
A Quick, Easy and Impressive Activity for Kids
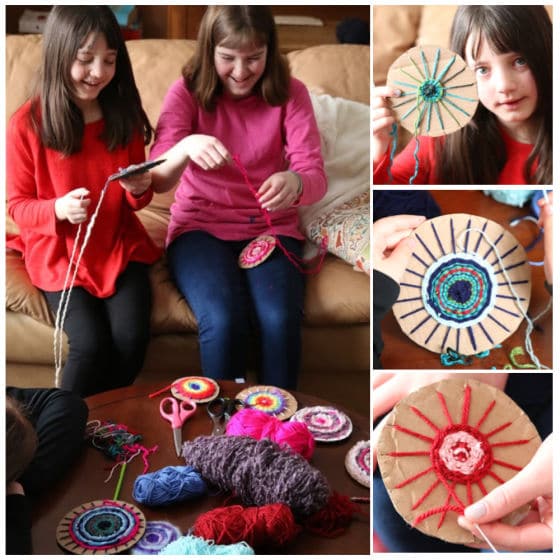
Circle weaving is so easy that even young children can do it. My daycare kids grasped it quickly and produced some gorgeous pieces in about an hour.
It’s wonderful for kids to experience the joy of a tech-free hobby that they can work on in their down-time, or while watching t.v. or while in the car.
The hooligans said they liked that they could just sit together and relax and chat while working on their projects too. One of them said “Yes! It’s like we’re old ladies.” HA!
Pre-Weaving Activities
If your kids aren’t quite old enough to circle weave, homemade lacing cards are a great way to introduce them to the basics of weaving with a needle and yarn. And winding and wrapping activities will help prepare them for warping a loom.
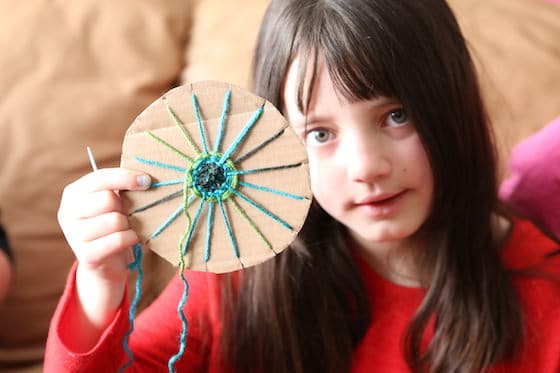
Ok, enough talk! Let me show you how to make a circle loom and how to weave a project start to finish.
Cardboard Circle Weaving – Step-By-Step
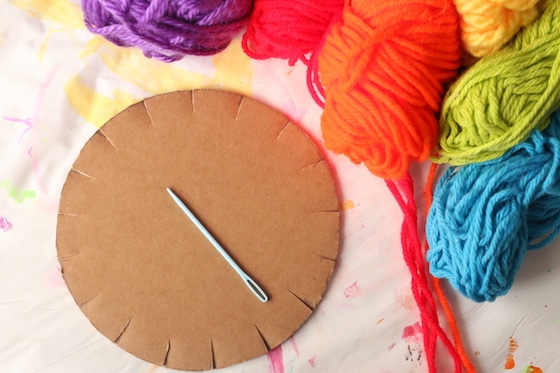
Supplies:
- piece of sturdy cardboard
- a round container or bowl to trace
- pencil
- scissors
- yarn
- plastic sewing needle
How To Make A Circular Weaving Loom
First you’ll need to start with a cardboard circle. Four to five inches across is a good size for kids to start with. When you have your circle cut out, this is what you’ll do:
- Draw an ODD NUMBER of evenly-spaced marks around the edge of the circle. You can eyeball the spacing, or use a finger for spacing, but you need an ODD number of marks, otherwise your warp threads (or spokes) will show through your weaving.
- With your scissors, snip a 1/4 inch notch into each pencil mark.
- Secure a piece of yarn into one of these notches, leaving a tail hanging behind the cardboard.
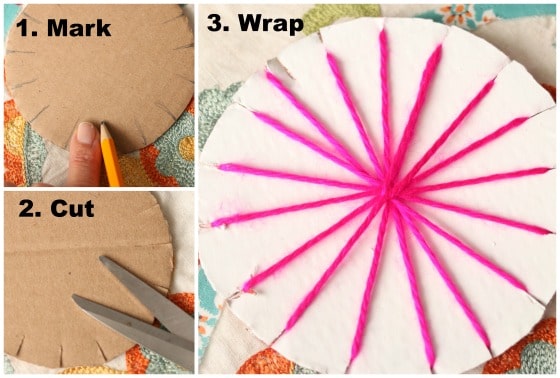
- Carry the yarn across the loom to the notch directly opposite, and up the back of the loom to where you started.
- Insert the yarn into the next notch over, and repeat what you did last time, taking the yarn down the front to the opposite notch and up the back again.
- Continue winding around the loom this way until you get to the last notch. NOTE: to finish, you’ll take your yarn across the loom to a notch that’s already been used. It will look like you have two spokes going into this notch, but you’ll fasten them to together in a minute, and treat them as one when you’re weaving.
- Cut your yarn, leaving a tail, and tape the loose ends to the back of your loom.
Your loom is warped! It’s time to weave!
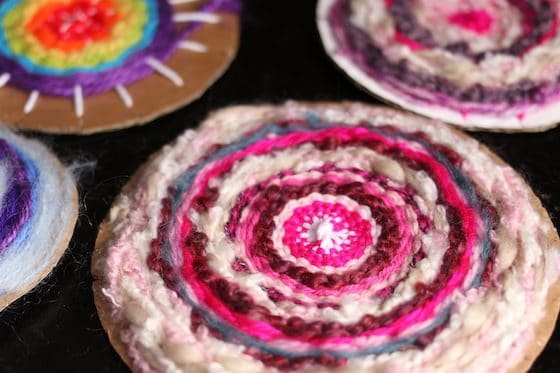
Tip: Weaving produces the most beautiful results when you use different colours and textures of yarn. Combine thick and thin yarn, fuzzy and lumpy yarn, and don’t be afraid to put crazy colours beside each other. Use your weaving project as an opportunity to use up those scraps of yarn you’ve been hanging onto.
Circle Weaving Instructions
- To begin, thread a 1-2 foot length of yarn through your needle.
- Slip the yarn underneath all of the warp threads and knot them together in the center of the loom. You’ll notice your double spoke comes together so you can treat it as one. Trim the tail of the knot, leaving enough to trap underneath the first few rounds of your weaving.
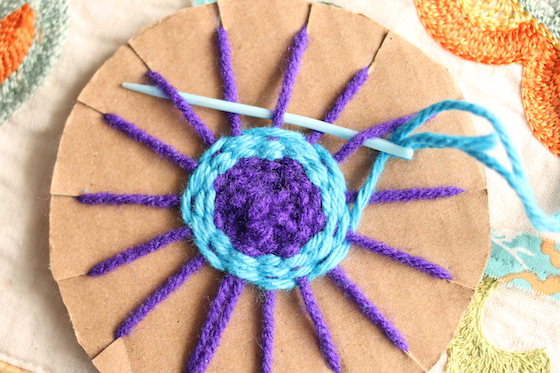
- To begin weaving, slip your needle under one of the warp threads at the center of the loom, and then over the next. Continue weaving in a circle, over and under, around the loom, pulling your yarn gently to close in any gaps as you weave.
Changing yarn colours
- When you reach the end of your yarn, tie a new colour on with a double knot. You can either trap the tails of your know under the next couple of rounds or weave them in or trim them when you finish your project.
- Continue weaving in circles until you get to the end of your warp strings.
- Cut your yarn, leaving a tail.
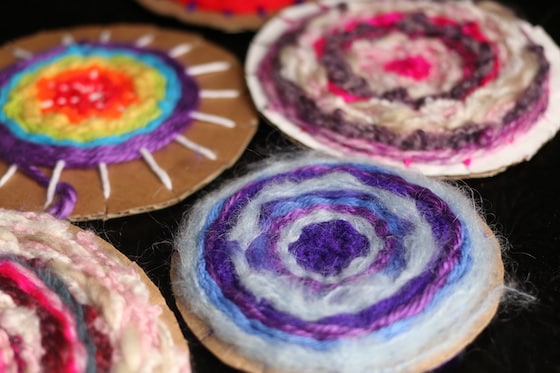
How To Take Your Weaving Off the Loom
- To take your weaving off the loom, remove the tape from the back of the cardboard, and cut through the middle of the warp threads that criss-cross the cardboard.
- Next, gently pry the warp threads out of the notches to release your weaving from the loom.
- Lay your project on a flat surface, and tie all of the loose tails together in sets of two. Be sure to tie the tail of your coloured yarn to one of the warp threads so your weaving doesn’t unravel.
- If you want your finished piece to lay flat, don’t pull too tightly when knotting, or the edges of your project will curl.
- If you want to make a bowl, do pull your warp threads together a little more tightly so the edge of your weaving curls inwards.
- Finish your project by weaving the leftover tails of the warp threads into the back of your piece of art.
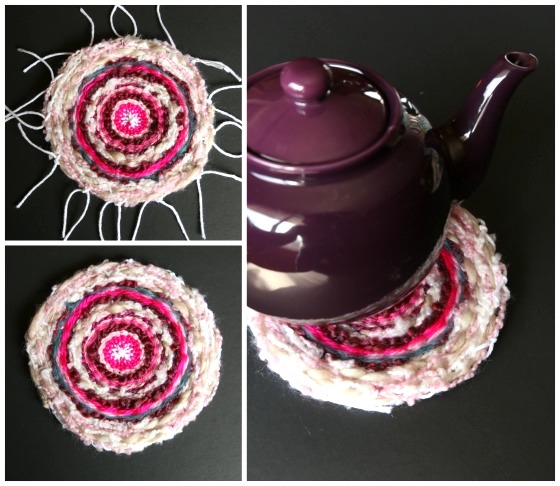
And that, my friend, is how you weave a circle on a homemade cardboard loom.
Wasn’t it easy? Just think of all the beautiful things your kids can make for themselves or to give away as gifts.
Your kids will also love:
- Loom Knitting with a Toilet Roll Tube
- God’s Eye Craft
- Cardboard Loom Weaving
- String Art Cardboard Hearts
Get the 3-5 Playful Preschool e-Book!
25+preschool activities by 25 bloggers, 10 printables, 50 links to activities not featured in the book.
Click here to download your copy today
Follow the Hooligans on Facebook!

Jackie is a mom, wife, home daycare provider, and the creative spirit behind Happy Hooligans. She specializes in kids’ crafts and activities, easy recipes, and parenting. She began blogging in 2011, and today, Happy Hooligans inspires more than 2 million parents, caregivers and Early Years Professionals all over the globe.




Scarlet
I love this idea. It is great for developing hand eye coordination and it is such a pretty craft project too. Pinning it now!
Helen Johnson
Thanks for this activity. It was easy to follow and they look fantastic. I am a primary Art teacher currently teaching remotely. I plan to do this activity when I get back to school (so with other children than you have). I have made a few at home and used material from a worn pillow case torn into strips to make edgings. I plan to get the students to make their own, tie them together and yarn bomb the school!
Jackie Currie
I love it!!
Muriah
I introduced this in my after-school program this week and several of my children are really excited about it. Thank you for the great instructions!
Jackie Currie
That’s great to hear, Muriah! Weaving is a favourite activity here, so I hope your kids enjoy it too!
Mudassar Hameed
Great very informative article. Cardboard circle weaving is a fun and easy activity for kids and adults.