An easy Spring Art project for toddlers using craft foam pieces and a styrofoam meat tray canvas!
We’re so glad to get back to making spring art and spring crafting! I want to show you this fun and easy styrofoam art that the hooligans made recently! It’s a great spring art project for toddlers and preschoolers. We’re using basic craft supplies and upcycling some styrofoam meat trays that were headed for the trash.
You probably know by now that I love crafting with recyclables. It’s a great way to save money and to teach kids about the importance of recycling. Check out some of the beautiful creations we’ve made with things that were headed to the trash – toilet roll owls, tissue paper wreath, fabric scrap cards.. Today we discovered that styrofoam meat trays make a great “canvas” for creating a piece of art. The edge of the tray kind of serves as a built-in frame.
I always have a stack of these trays on hand. I run them through the dishwasher first to make sure they’ve been sterilized, and we use them for all kinds of things. They make handy trays for holding supplies while you’re crafting, they’re fun to “draw” on with a craft stick or the end of a paint brush, and kids love to cut them and snap them into pieces.
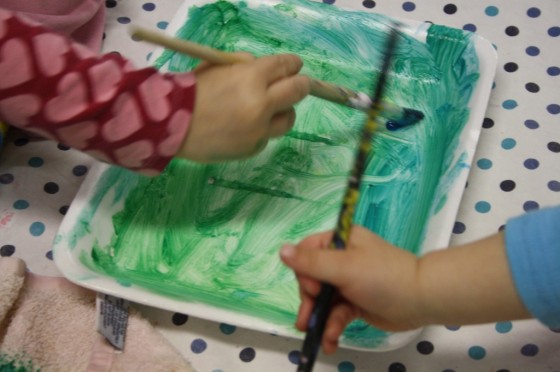
For today’s spring art project, I set out some green, yellow and blue paint, and told the Hooligans we were making Spring paintings. I suggested that they paint the bottom half of their meat tray green, the top half blue, and to use the yellow to add a sun if they wished.
This led to some exciting discoveries when their colours mixed on the trays: “Hey, blue and yellow make green!”
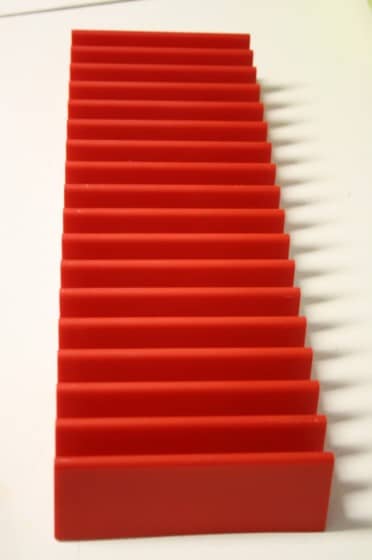
Then we let the trays dry while we had our snack. I have to share one of my newest finds with you. I came across this item at the thrift shop.
I paid a dollar for it. I wasn’t sure what it was (turns out it’s a dvd holder), but I knew what I was going to use it for!
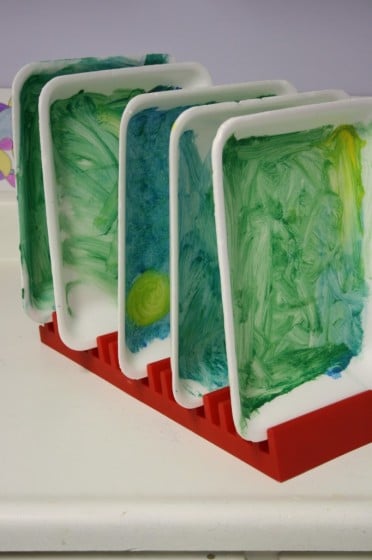
Hello, awesome, space-saving drying rack!!
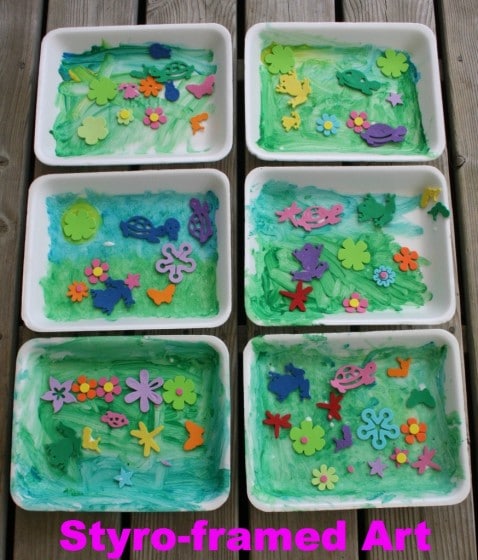
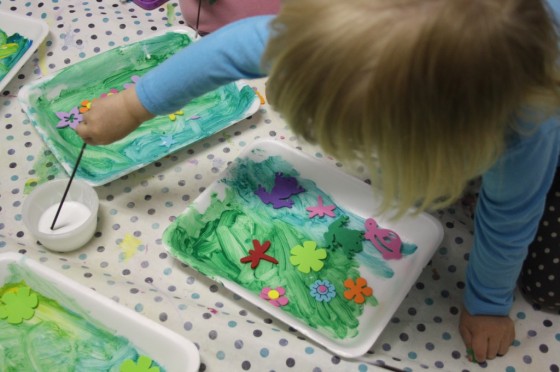
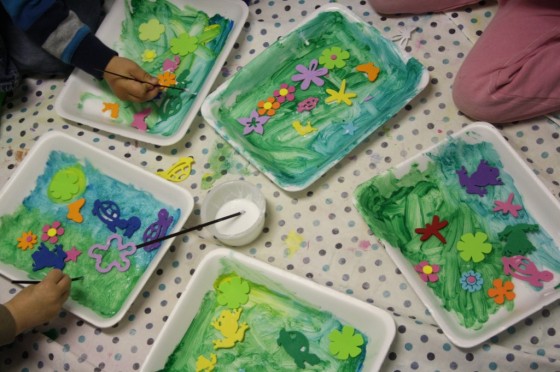
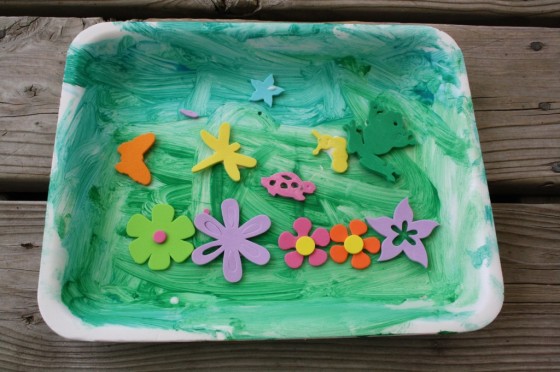
When the paint was dry, the Hooligans glued foam flowers, bugs and animals (I lucked out and found those at the thrift shop as well) onto their paintings.
Here’s a little tip that makes gluing easy for little fingers. Grab a few plastic coffee stir-sticks when you’re at a coffee shop.
I set some out with a little bowl or pot of glue, and have the kids apply the glue that way. It’s perfect for adding small amounts of glue to a project, and the stir-sticks wipe up easily so we can use them again.
This is simpler and less frustrating for little ones to squeeze a glue bottle, and they don’t end up with way too much glue on their project, which tends to happen when they squeeze from the bottle.
I do realize that is a learning process in itself, and there’s great motor development in the squeezing process. Most times we do our gluing that way, but sometimes it’s nice to take the easy route. 🙂
Aren’t they beautiful?
Happy Spring!
Get the 3-5 Playful Preschool e-Book!
25+ Preschool activities by 25 bloggers, 10 printables, PLUS 50 links to activities not featured in the book.
Click here to download your copy today
Follow the Hooligans on Facebook!

Jackie is a mom, wife, home daycare provider, and the creative spirit behind Happy Hooligans. She specializes in kids’ crafts and activities, easy recipes, and parenting. She began blogging in 2011, and today, Happy Hooligans inspires more than 2 million parents, caregivers and Early Years Professionals all over the globe.




Inese Boki�a
Thanks for tip abaout glue and coffee sticks! Great idea! I will try!:):):)
Faigie
I keep saving these styrofaom trays to use to make stuff with and I didnt think of actually using them as a background. Great idea and I love how you found a use for something that seemed useless
Ruth
Great idea!! I use paint brushes for glue but will have to try the coffee stick idea too!