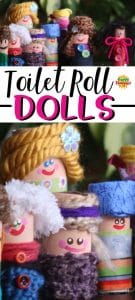
How to make a cardboard roll doll (or a whole family!) using cardboard tubes, fabric scraps and yarn. These easy dolls are fun for all ages to make and the perfect dolls for a shoebox dollhouse.
My daycare kids love to make homemade dolls, and we love using toilet rolls for crafting. These adorable Cardboard Roll Dolls are a great combination of both.
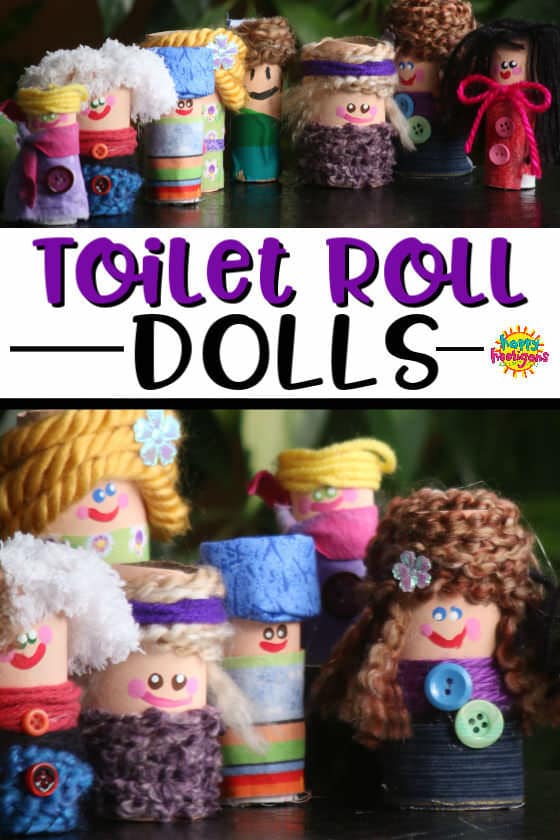
Great dolls for a shoebox dollhouse
Cardboard roll dolls are perfect for a shoebox dollhouse, and just like our toilet roll nativity dolls and shoebox stable, the kids can store their dolls right in the shoebox when they’re not in use.
Aren’t they just the sweetest?
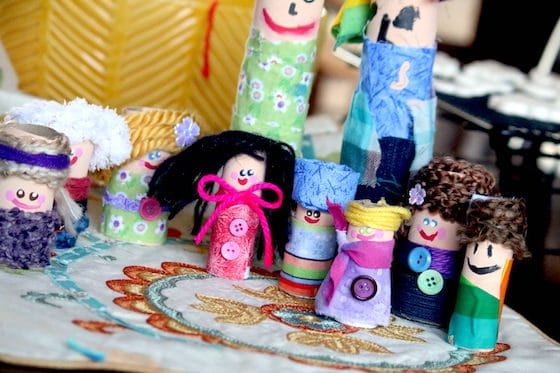
Options for cardboard rolls
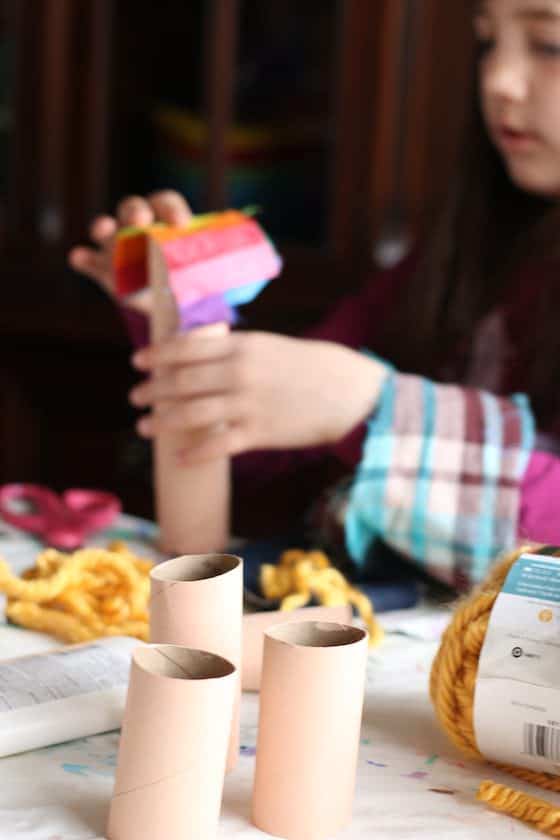
You can use any kind of cardboard tube to make these dolls. We used toilet paper roll and also some paper towel rolls that we cut to different heights. We also used some sturdy, skinny tin foil rolls. Wrapping paper rolls work well too.
Fun for all ages
Toddlers and preschoolers will need some assistance with the cutting and gluing, but they’ll love this craft. Older kids will be able to make them on their own. And all ages will be thrilled to have a family of dolls, that they’ve made themselves, to play with.
These dolls were really fun and easy to make. My kids always love rummaging through our fabric and yarn bins, so they love a craft like this.
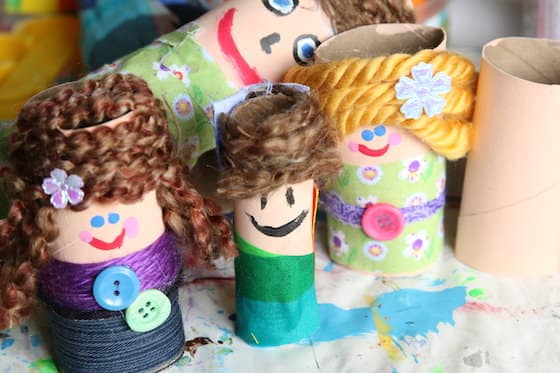
P.S. If you’re looking for more dolls for your kids to make with fabric and yarn scraps, you’ll find more of our favourites here.
Supplies
For our Cardboard Roll Doll craft, you’ll need:
- Cardboard rolls
- paint
- paint/paint brushes
- fabric scraps
- yarn
- buttons (and/or various other small craft notions)
- white glue
- low heat glue gun (for buttons and heavier fabric)
How to Make a Cardboard Roll Doll
- Paint the cardboard roll with flesh coloured paint
You can paint just the face area of the cardboard roll, or you can paint the whole thing. We painted the whole thing in case any part of the roll was visible after adding the hair and clothing.
- Add some yarn hair
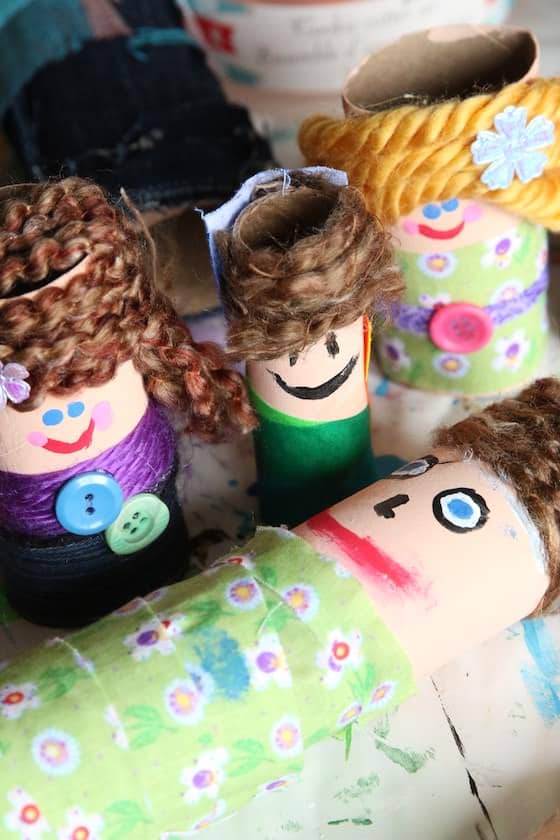
For some of the dolls’ hair, we just wrapped yarn around the top of the cardboard roll several times. For others, we wound the yarn around our hand to make several loops and then draped the loops over the top of the tube and glued them in place. Then we just snipped the ends of the loops to separate the strands.
- Dress your doll
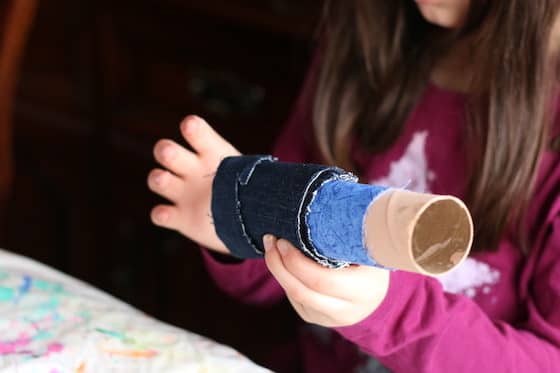
This part is a lot of fun. My guys dug through our huge bin of yarn scraps, finding just the perfect pieces of fabric to dress their dolls in. Then they cut the fabric into narrow rectangles and glued it around the cardboard roll.
It’s fun to come up with all kinds of colour combinations and different pieces of clothing. Dresses, tops, bottoms, belts and shoes can all be fashioned by wrapping your doll in different pieces of fabric and yarn. - Add buttons and small accents
Your kids can add buttons, ribbons, sequins, beads or other small decorative pieces to their dolls with a hot glue gun. - Paint your doll’s face
Finish by giving your doll an adorable face. A fine liner brush works well for the mouth, and eyes and cheeks can be dotted on using the handle end of a paint brush.
And that’s all there is to making these adorable cardboard roll dolls! Imagine the hours of fun and entertainment this can provide for your kids!
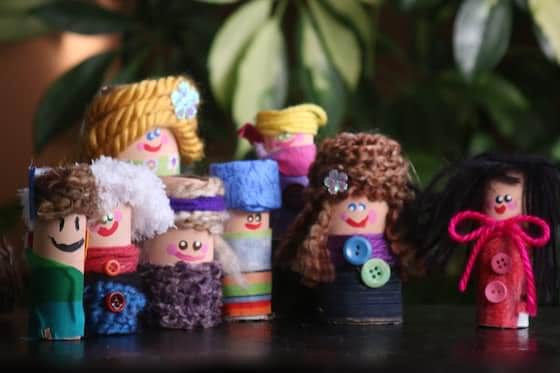
Now, go find a shoebox so your kids can make a house for their dolls to live in. 🙂
More Homemade Dolls for Kids to Make:
Get the 3-5 Playful Preschool e-Book!
25+preschool activities by 25 bloggers, 10 printables, 50 links to activities not featured in the book.
Click here to download your copy today
Follow the Hooligans on Facebook!

Jackie is a mom, wife, home daycare provider, and the creative spirit behind Happy Hooligans. She specializes in kids’ crafts and activities, easy recipes, and parenting. She began blogging in 2011, and today, Happy Hooligans inspires more than 2 million parents, caregivers and Early Years Professionals all over the globe.



Leave a Reply