This paper plate pumpkin pie craft uses homemade puffy paint (2 ingredients) for the textured pie filling, and cotton balls for the whipped cream. It’s a fun and easy last-minute Thanksgiving craft for toddlers and preschoolers.
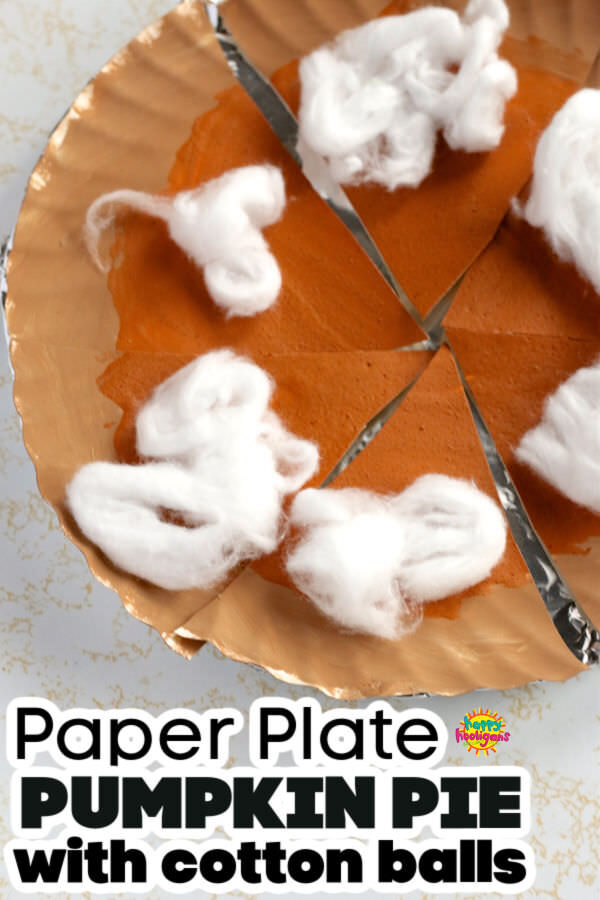
Ok! One more easy and adorable pumpkin pie craft before Thanksgiving!
Last week we made this pumpkin pie with scented paint and cotton balls or pom poms for the whipped topping, and this pumpkin pie with homemade puffy paint whipped topping.
Check out all of our Thanksgiving crafts here.
2-Ingredient Puffy Paint
Today, we’re using the homemade puffy paint again (it’s shaving cream and white glue), but this time, we’re using it for the filling of the pie.
Now, I’m a little disappointed that it didn’t end up being puffier, like it did when we used it for the whipped cream for our other pie craft, but what I LOVE is that the texture of the paint looks so much like real pumpkin pie filling.
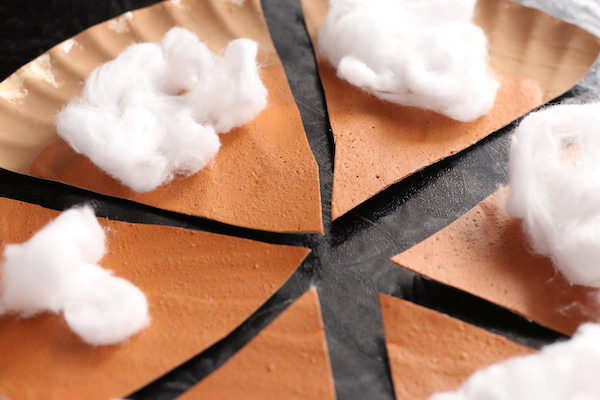
Plus, it’s just a whole lot of fun for kids to mix up and paint with, so there’s that!
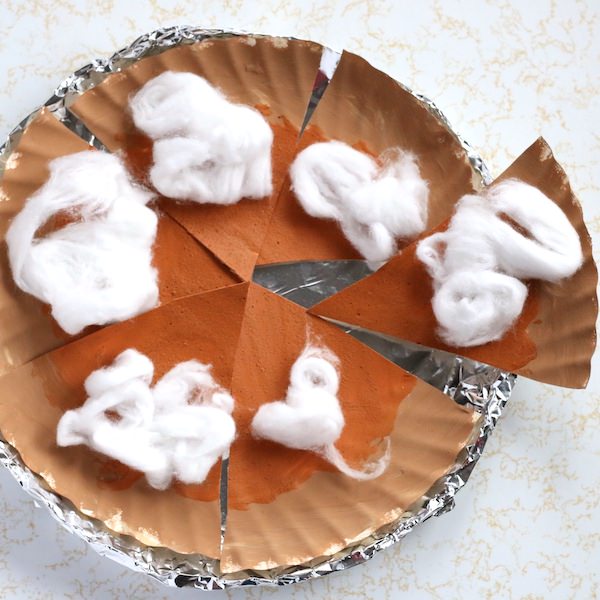
We’ve used the homemade pie plate to display our pie in again (a paper plate covered in foil), because it adds a nice finishing touch to the craft, and makes the pie look even more realistic.
This is such a fun and easy craft for toddlers and preschoolers, so if you’ve left your Thanksgiving crafting to the last minute, don’t worry, this craft will save the day.
Let’s get crafting!
Paper Pie Plate with Puffy Paint Filling and Cotton Ball Topping

For your conviencience, this post contains affiliate links. As an Amazon associate, I earn from qualifying purchases.
Supplies:
- 2 paper plates (1 for the pie, 1 for the pie plate)
- shaving cream (white foam, not gel)
- white glue
- paint (brown for crust, rust/orange for pie filling)
- paint brushes
- aluminum foil (if making the foil pie plate)
How-To:
Puffy Paint Pumpkin Pie
- Paint Pie Crust
Paint the outer rim of the paper plate with the brown paint.
- Mix Puffy Paint Pie Filling
Mix equal amounts of shaving cream and white glue in a small bowl until combined and fluffy. Add a generous squirt of the rust coloured paint and stir in well with a paint brush.
- Paint Pie Filling
Paint the center of the pumpkin pie with the puffy paint and allow to dry. Note: depending on how thick your paint is, it could take some time to dry. We let ours sit overnight to dry.
- Cut into Slices
Cut your pie into 6 equal slices. Young children may need to mark the lines to follow with their scissors.
- Add Cotton Ball Whipped Cream
Tear a cotton ball in half, and stretch and fluff it and glue it onto a piece of the pie. Repeat until all of your slices have a dollop of cotton ball whipped cream.
- Make Pie Plate
If you’ll be displaying your pie in a pie plate cover a paper plate with a piece of aluminum foil and crimp the foil around the edges of the plate to hold it in place.
You may also like:
Get the 3-5 Playful Preschool e-Book!
25+ Preschool activities by 25 bloggers, 10 printables, PLUS 50 links to activities not featured in the book.
Click to download your copy now!
Follow the Hooligans on Facebook!

Jackie is a mom, wife, home daycare provider, and the creative spirit behind Happy Hooligans. She specializes in kids’ crafts and activities, easy recipes, and parenting. She began blogging in 2011, and today, Happy Hooligans inspires more than 2 million parents, caregivers and Early Years Professionals all over the globe.





Leave a Reply