A paper mache bowl is a really creative and inexpensive gift for kids to make and give. The process does require a bit of time because of the drying time, but the results are gorgeous!
When I was pondering some ideas for homemade Mother’s Day gifts that we could make here in my home daycare, Paper Mache Bowls came to mind.
I envisioned a small colourful bowl to hold house-keys, loose change, paper clips etc. (You might also like our woven paper plate bowls).
I’d never done a paper mache project with toddlers and pre-schoolers before. In fact, I hadn’t done any paper mache since high school so I wasn’t quite sure what to expect.
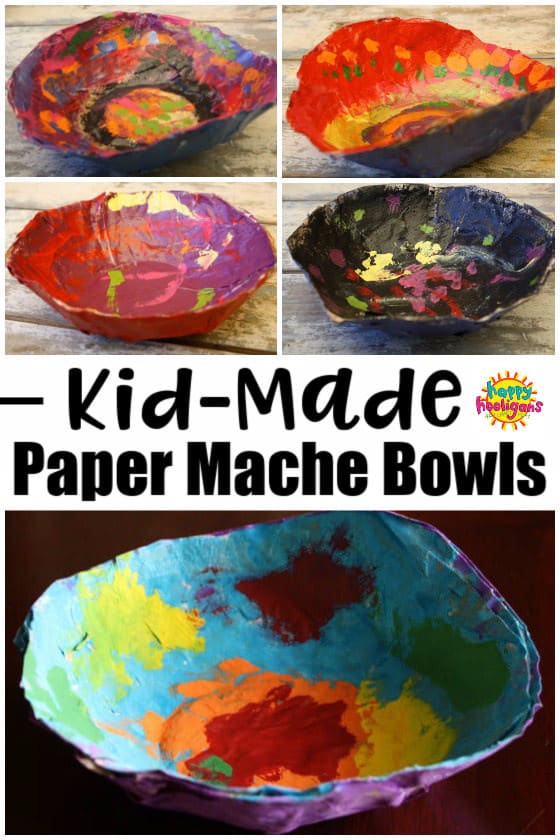
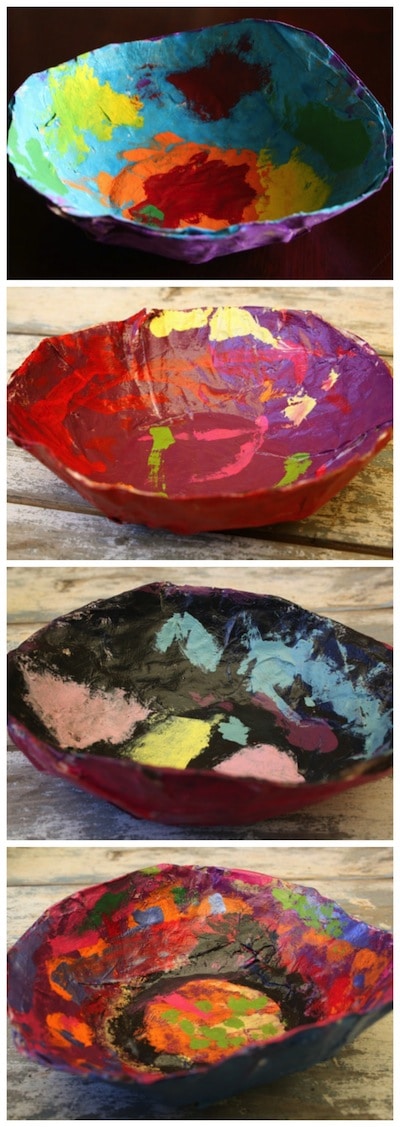
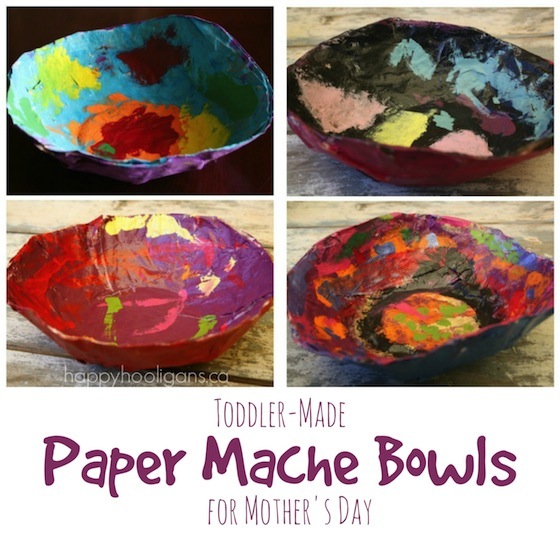
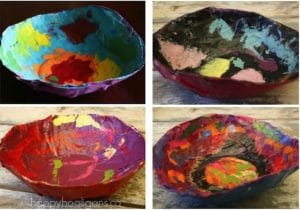
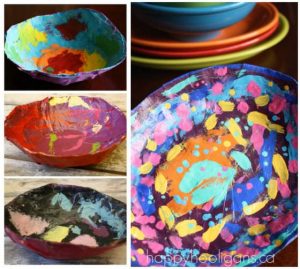
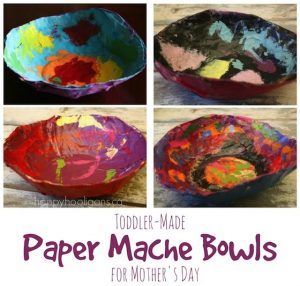
I’m happy to say, I was beyond thrilled with the way our homemade bowls turned out!
Aren’t they gorgeous?
I’ll show you how to make them.
P.S. You might also like our Painted Wine Bottle Watering Cans and Tissue Paper Decoupage Wine Bottle Candle Holders for Mother’s Day gifts. For Father’s Day, check out our painted mugs and bowls.
For your conviencience, this post contains affiliate links. As an Amazon associate, I earn from qualifying purchases.
How to Make Paper Mache Bowls
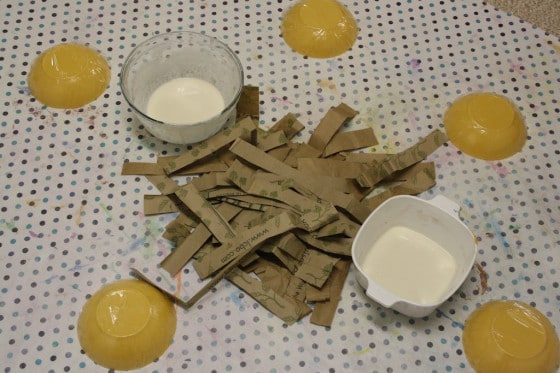
Supplies and Ingredients for Paper Mache Bowls
- flour
- water
- salt
- a bowl to use as a “form”
- plastic wrap & tape
- newspaper or paper bags, cut into strips
- paint brush
- acrylic craft paint
- craft varnish
Prepare your bowls:
I dug a few plastic bowls out of our camping gear, and covered them with plastic wrap, taping it in place. This step is necessary so your paper mache will release easily from the plastic once dry.
You can also coat the bowl with a thin layer of petroleum jelly, but it’s a good deal messier.
How to make paper mache paste:
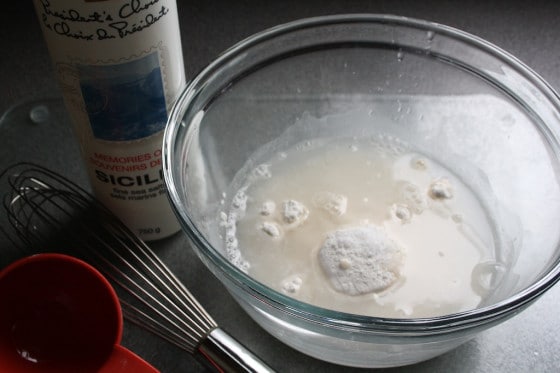
I mixed up a “paper mache paste” using a cup of flour and some water. Just add enough water, and whisk smooth until it resembles thin pancake batter or wallpaper paste. I added a couple of tsps of salt to prevent mold from growing.
The Paper…
Strips of construction paper or newspaper or paper bags can be used for paper mache. We used paper bags cut into strips about 1 to 1.5 inches wide.
How to Paper Mache:
Dip your strips into the paste, run the strip through your fingers to remove excess paste, and lay the strip over the bowl, molding it into place.
Continue until your bowl is covered.
Extend the edges of the paper strips beyond the rim of your bowl a little. You’ll trim them up and even them out once it’s dry.
Drying your Paper Mache:
We set our bowls upside down over some jars, and we put them by the fireplace for 24 hours. They were fairly fragile when they were dry so we added another 2 layers of paper mache strips, and let them dry for another day or two.
When I was certain that they were completely dry, we popped them off the plastic bowls, and I evened up the edges with some scissors.
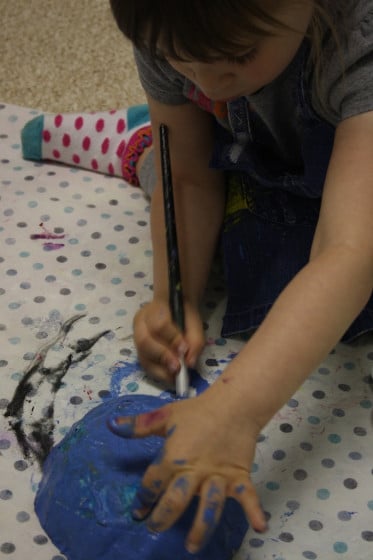
Painting the bowls
Today the colourful, creative fun began as we painted our paper mache bowls.
We used acrylic craft paint to paint our bowls, and we sped up the drying process with the help of our hairdryer.
Each Hooligan chose a colour for the outside of their bowl and a different colour for the inside, and they set to work painting them. I left the colour choices completely up to them, as I wanted the kids to choose whatever colour combinations they desired.
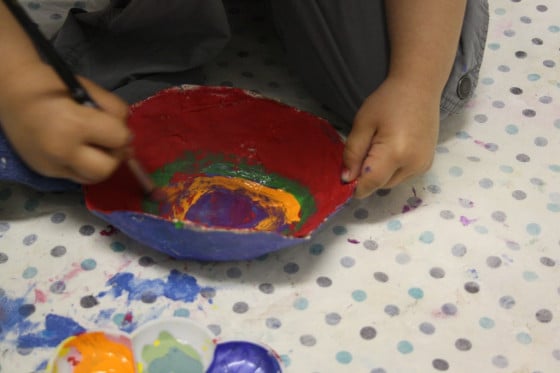
Then the kids decorated their bowls with some accent colours.
We gave them another blast with the hairdryer and then the bowls were ready for a coat of craft varnish.
Varnishing our bowls
I brushed the bowls inside and out with one coat of craft sealer and they dried quickly.

What a beautiful gift for a child to make and give!
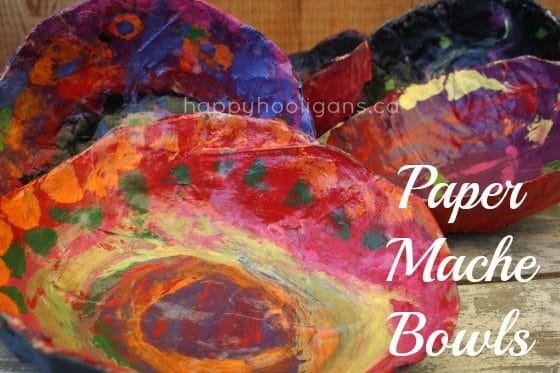
If your child would like to make his or her bowl extra special before giving it to Mom, how about filling it with these homemade bath bombs from Red Ted Art.
Happy Mother’s Day to all of you amazing moms out there! Have a wonderful day!
- Summer Star Ornaments
- Gorgeous Flower Drop Ornaments
- Rainbow Wind Chimes
- 40+ Awesome gifts for Kids to Make
Get the 3-5 Playful Preschool e-Book!
25+ Preschool activities by 25 bloggers, 10 printables, PLUS 50 links to activities not featured in the book.
Click here to download your copy today
Follow the Hooligans on Facebook!

Jackie is a mom, wife, home daycare provider, and the creative spirit behind Happy Hooligans. She specializes in kids’ crafts and activities, easy recipes, and parenting. She began blogging in 2011, and today, Happy Hooligans inspires more than 2 million parents, caregivers and Early Years Professionals all over the globe.



Rebekah @ The Golden Gleam
Those are so gorgeous, and what a creative idea for a Mother’s Day gift. I love how the bowls have an cultural feel to them. They look like bowls you could find at a Mexican market. So beautiful!
Kierna Corr (@CiarnaC)
Jackie, these are gorgeous & each one is so unique, I’m sure they will be treasured for years to come.
happyhooligans
Thanks, Kierna! I want to make one for myself now!
Julia Deering
Yes, these are fabulous! Well done Happy Hooligans; what lucky mums to receive these beauties. x
Gina @famiglia&seoul
These are beautiful! We made a pinata from paper mache and my son loved working with the paper! I bet he would enjoy this activity too! Thanks for sharing.
happyhooligans
Thanks, Gina! A pinata would be beautiful. What a great idea! Isn’t paper mache great?
Trisha @ Inspiration Laboratories
These turned out so beautiful! I love your tip about adding salt to the paste – I’ve been wanting to do paper mache, but was worried about the mold possibility.
happyhooligans
Thanks, Trisha. Everything I’ve read says to let the paper mache dry really well in to ensure mold doesn’t grow, but I figured it couldn’t hurt to add the salt. It really is fun and easy. As long as you don’t mind the goopy-messy part, you’ll love the process. 🙂
kelly
using wallpaper paste is easier and no chance of mold.
Melissa @ The Chocolate Muffin Tree
I totally love these! I’ve made these with my students using balloons for the armature and adding a ring of rolled paper so they could stand. The funny thing is that the kids liked wearing them as hats! We will be making these…x-mas …birthday gifts… The possibilities are endless!
happyhooligans
Thanks, Melissa. I thought about using the balloons. We’ll have to try that another time. And yes, ours were worn as hats too. lol Glad you like the bowls. You’re right – you could make them for any occasion!
The Iowa Farmer's Wife
Love these bowls!! What a great Mother’s Day gift and what a FUN activity to spread over several days! So lovely!
happyhooligans
It was kind of fun to spread the process out over a few days. The kids were really excited when they finally came together. 🙂
The Monko
these are great. Love the bright colours
alittlejournal
These are so fun. I’ll have to try these soon!
Phyllis
They are so pretty!
happyhooligans
Thanks, Phyllis!
crearescout
They really are very colorful and beautiful!! 🙂
Cecilia
happyhooligans
Thanks, Cecilia! I loved how vibrant they turned out to be. 🙂
Hannah Harris
Sooo pretty! It’s not Mother’s Day here for ages (UK) so I’ve pinned them. We haven’t done paper m�ch� for ages, thanks for the reminder, such a fun craft and really cheap too
happyhooligans
Thanks for pinning, Hannah! I hope you have fun with them. It think this will go down as one of my all-time favourite projects here!
Becky
I love these paper mache bowls!!! Adorable!:)
happyhooligans
Thanks, Becky! These bowls are one of my all-time favourites as well!
Jenn
So kind of you to share your Mother’s Day project. The instructions are easy to follow, also some excellent tips. I will pin this activity for future use. Thank you!
Asoye
I am a new mom again after 22 yrs and you have helped me to entertain this new spirit! Thanks
happyhooligans
You’re so welcome! Nothing makes me happier than to know our ideas are inspiring and bringing happiness to other moms and hooligans out there.
Carrie
These are so beautiful!! Thank you for sharing them at Crafty Moms Share Mother’s Day Gift Link Party!
happyhooligans
Thanks, Carrie! It was my pleasure!
Kori Vincent
I love this idea! Working with paper mache is so much fun! I know my kids are going to love this!!!!
Kerry
Ok, this is my summer project with my afternoon kids. They will love it and we have 3 weeks to get them done so no factory work. They look amazing. Thanks for the inspiration.
Macheanimal
Thanks for sharing! Bowl is very easy and nice to make with kids. I make paper mache animal heads trophy one year already. Look at my shop: http://www.etsy.com/shop/Macheanimal
Robin Armstrong
I think this is a great idea that I can use in my classroom. My only question(s) are did you use plastic or ceramic bowls? How did you get the paper mache off in one piece with the saran wrap?
happyhooligans
Hi Robin, we used plastic bowls, but you could use ceramic as well, as long as you cover it with the saran wrap. Once the paper mache is completely dry it pops off easily in one piece.
Shelly
I love this!! Question though…did you line the bowl with the Saran Wrap? I’m confused! I’m guessing you did but want to be sure before we start!
Also while I’m at it, how long did you let it dry? And how many layers of paper should we use?
Sorry! Definitely a first timer here with this! And NOT crafty!
So love love LOVE all your ideas! I want to be a Happy Hooligan! OMG these kids are so lucky! I’m jealous. 😉
happyhooligans
I’m confused too, Shelly. lol How did you see the post, and leave comment, and not see that all that information is in the post? It’s definitely an easy project that a first-time crafter can do. Read through the post – I tell you, step by step, how we made them.
Eileen
My bowls are drying now– but I just realized I did it incorrectly!! I lined the inside of the bowl with plastic wrap and then covered the INSIDE of the bowl with the paper mach (not the outside)! Rookie crafter mistake!! I’ll have it try it again tomorrow…
happyhooligans
That should be ok, Eileen. It will still be bowl shaped. I think it will work. Let me know!
Cassi
Paper mache bowls are one of my favorite crafts and yours came out so amazing! I’ll be sharing this idea (and your gorgeous bookmarks too!) in a Mother’s Day round-up on The Crafty Crow soon!
happyhooligans
Thank you so much for sharing with your readers, Cassi! x
Kat Beaulieu
Hi ~ I am doing summer camp and think this would be a great project ~ working with 3 to 8 year old ~ my question is ~ can we add many layers to start with and let it dry ~ maybe in the sun? We only have a week to get through 3 projects ~ my concern is to have them dry to be able for them to paint ! Love the idea ~ thank you ~
kelly
i realize this is an old comment but i thought i’d reply anyway. You can do as many layers as you want but the more you apply, the longer it’ll take to dry. The less you apply, the less sturdy it will be. But one or two layers is all you need. Try to apply them evenly and in the same direction. You can tear at the paper but it’ll be much neater if you trim into strips or other shape.
kelly
these are so cute. i feel inspired to do some with my kids. I have a small carton/box of wallpaper paste ready-made which is perfect for paper mache. Just so you know for future, the petroleum jelly is to go under the saran wrap to help it stay in place. it’s what my mother did anyway.
Lorita
I did something similar with my daycare children… I used a paper (cardboard type) bowl, a combination of cut/torn squares of different colors of tissue paper and inexpensive white glue (like Elmers). They put a dab of glue on the squares to hold onto the bowl then painted/smoothed with glue over the tissue. They dried with a glass like look. It was so much easier and dried the same day.
Liz
How big would you recommend cutting the strips of paper?
Jackie Currie
About an inch wide, Liz.