Kids can do a fun art technique to make this tape resist mug and bowl to give as a homemade gift for Dad on Father’s Day.
Father’s Day falls on the third Sunday in June, which means, Dad’s special day is just around the corner. If you’re looking for an easy homemade Father’s Day craft for your kids or students to do, our tape resist mug and bowl are a lot of fun, and make a great gift.
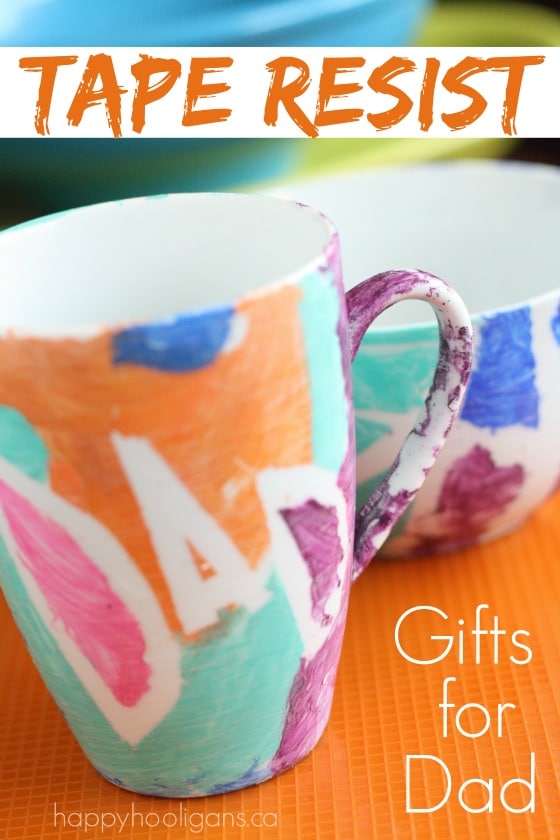
We’ve made bowls before for Mother’s Day, and they were gorgeous, but this mug and bowl craft is a little easier.
Supplies for Tape Resist Mug and Bowl:
- white mug and bowl (dollar store)
- acrylic craft paint
- paint brushes
- acrylic craft varnish/sealer
- painter’s tape
How to make your mug and bowl:
Before you begin, wash and dry your mug and bowl to remove any possible residue.
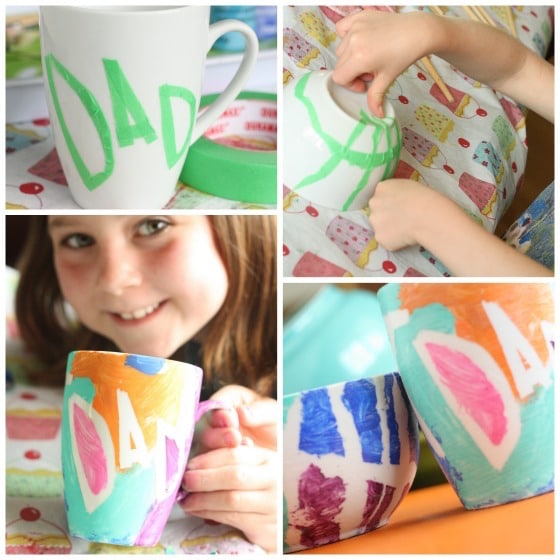
Tear your painter’s tape into thin strips, and press it onto your bowl and mug to make a design or to spell out your message.
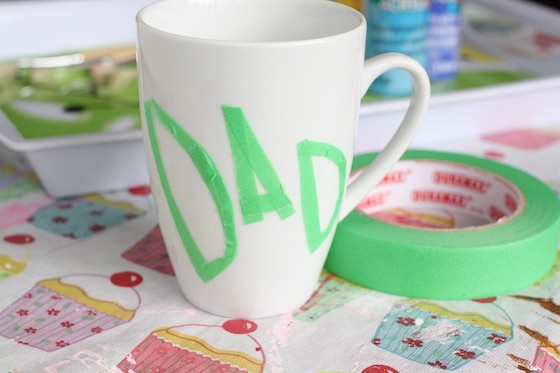
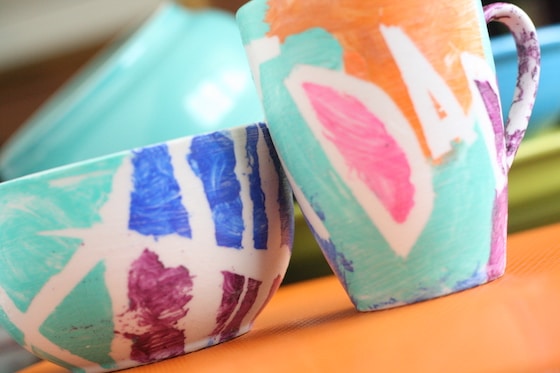
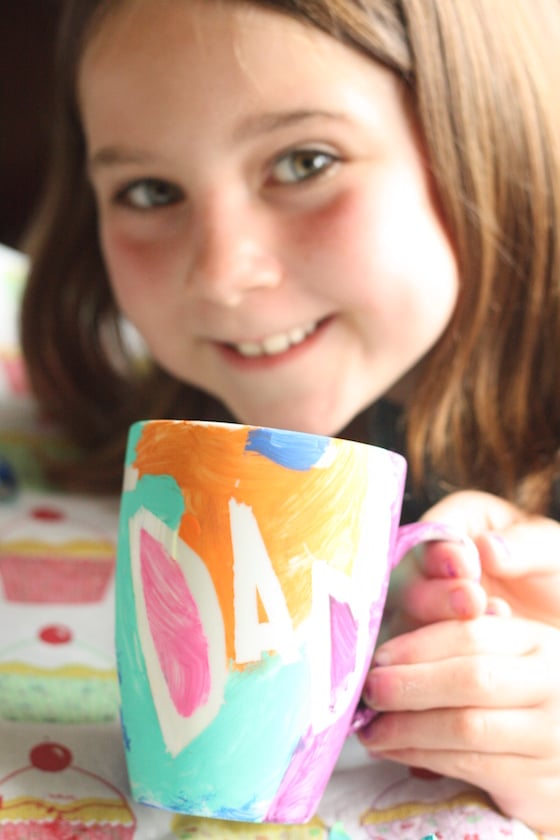
We went with a simple “Dad” on the mug, with a design on the reverse, and a design of stripes on our bowl.
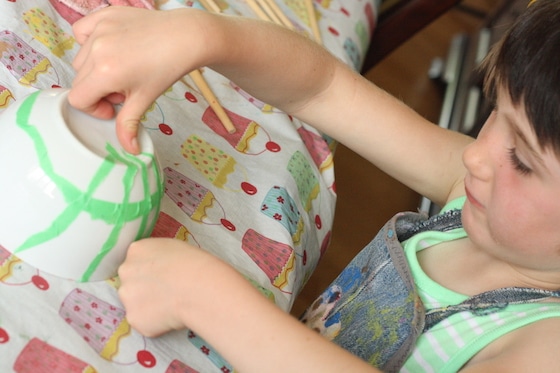
Make sure you rub any air bubbles out of the tape, and that it’s nice and tight to the bowl so the paint won’t seep underneath.
When you’re happy with your tape design, it’s time to paint!
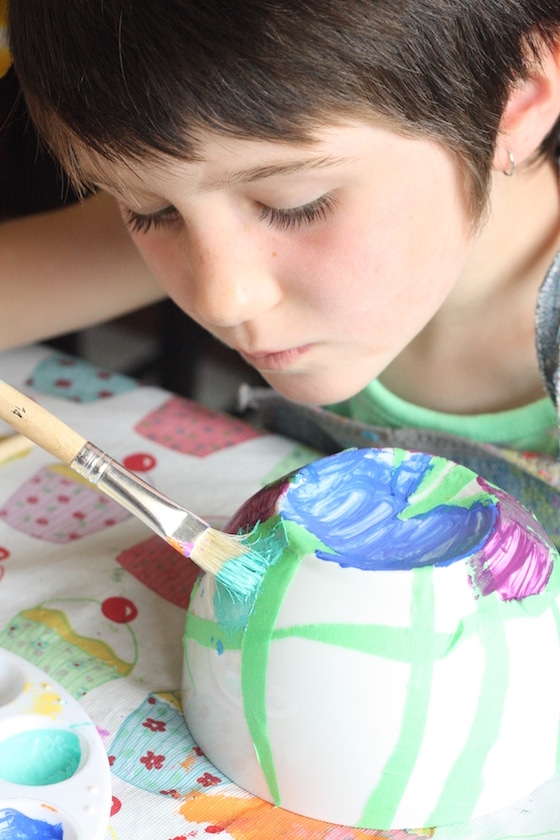
Cover your entire piece with a variety of colours, and let the paint dry.
Then, carefully pull all of the pieces of tape off to reveal your design.
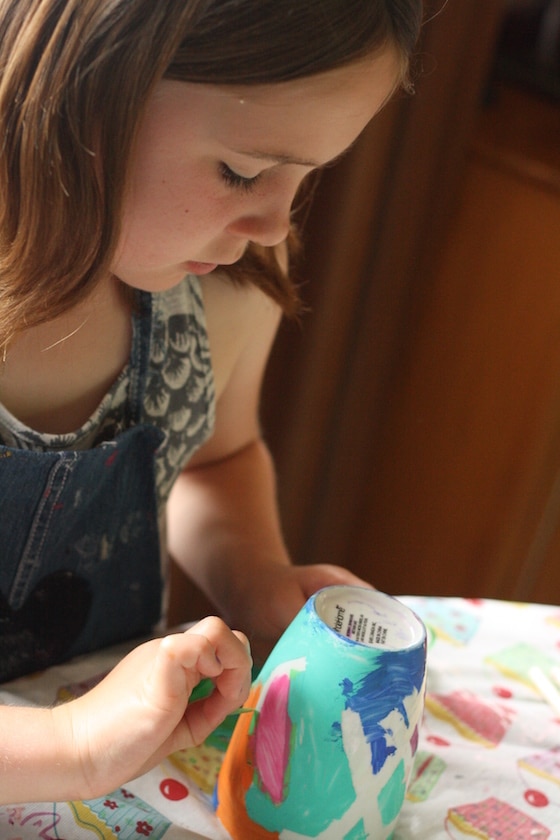
The hooligans loved this part. There were many ooh’s and aah’s as the tape came off.
Not gonna lie… I love this part of the resist-art project too!
Aren’t they lovely?
Ooh! Daddy will be so surprised!
Sealing your mug and bowl:
You need to seal/varnish your piece for a couple of reasons.
Firstly, the sealer will add a nice sheen to your piece, and make the colours really pop.
Secondly, sealer will protect the paint, and prevent it from scratching or peeling off.
Bake your painted mug and bowl to set the paint
Let me start by saying, we did not bake our pieces to set the paint before varnishing, and I wish we had. I’ve painted lots of glassware and ceramic ware in the past, and I know that it’s totally with the time it takes to bake the pieces first. When you bake them, your paint really “sets”, and won’t streak or flake as you’re varnishing. We had a bit of flaking happen because we didn’t bake. It’s not a huge deal, but you’ll get the best results if you bake first, so here’s what you do:
Place your pieces on something solid like a cookie sheet, and place them in a COLD oven.
Close the oven door, and heat the oven to 225ºF.
Bake for 40 minutes, and then turn the oven off. Do not open the door until oven has cooled completely.
When completely cool, remove pieces from the oven, and give them a couple of coats of varnish/sealer, allowing varnish to dry completely between coats.
Can you use your mug and bowl for food and drink?
I would hesitate to use our particular bowl and mug for eating and drinking. With our design, our paint and varnish comes very close to the top edge. The varnish is non-toxic, but I’m just not sure I’d want it coming in contact with lips/food often. For that reason, our set will be be purely decorative, and Dad can use it to hold pens, pencils, coins etc.
If your paint and varnish was well below the top edge, you could certainly use your pieces for food and drink. I’ve painted many wine glasses punch bowls and glass juice jugs over the years, and they’ve all held up beautifully.
Just be sure to hand wash only.
Here’s another terrific way to decorate a mug! I love this confetti art by Today’s Creative Life.
Looking for more ideas like this? Here are 10 more cool ways to decorate a mug by DIY Candy!
And here’s another cool homemade gift for Dad! Check out these comic book coasters that kids can make for their super-hero father!
More Father’s Day Crafts for Kids:
- 12 Rad Father’s Day Gifts Kids Can Make
- “Dad, You’re Tee-rific” Father’s Day Card
- Scented Tie Father’s Day Card
- Shirt and Tie Father’s Day Card
Get my latest e-book: Fizz, Pop, Bang!
40 hands-on, learning activities for kids ages 3-8. Recipes, experiments, art projects, printables and play ideas with links to 80 activities not featured in the book.
Download your copy today for just 9.99
Follow the Hooligans on Facebook!

Jackie is a mom, wife, home daycare provider, and the creative spirit behind Happy Hooligans. She specializes in kids’ crafts and activities, easy recipes, and parenting. She began blogging in 2011, and today, Happy Hooligans inspires more than 2 million parents, caregivers and Early Years Professionals all over the globe.





Courtney
Very cute idea! You said to start the pieces in a cold oven then heat to 225 and bake for 40 minutes. Does the 40 minutes start when you turn on the oven, or when the oven reaches 225? Thank you!
happyhooligans
I usually time it from when the oven reaches 225, Courtney. If your oven heats up quickly, it probably doesn’t matter.
Cindy Blackwelder
Can you use sharpies for paint resist mugs?
happyhooligans
I’ve heard that the oil-based Sharpies are best because they will not rub off. I have heard that regular sharpies will work if you bake in the oven, but I haven’t tried it myself.
Heather M Walker
Sharpies WILL rub off, even if you bake with them. I recommend sealing them with varnish. Also, you should use Enamel paint, not acrylic, as it is made for paint. Just a helpful tip. Oh yes, definitely bake them and if you want it to hold food and drink, as the author said, paint well below the rim, even with non toxic paint. A good way to do this is tape off the top of the mug with painters blue tape. 🙂
Heather M Walker
OOPS I meant enamel paint is made to stay on glass, sorry!