Does your child need to make a homemade gift for a parent or grandparent, but you don’t have a lot of time?Don’t worry! We’ve got you covered! Here’s a quick and easy kid-made gift that takes just a few minutes to make, and a couple of supplies.
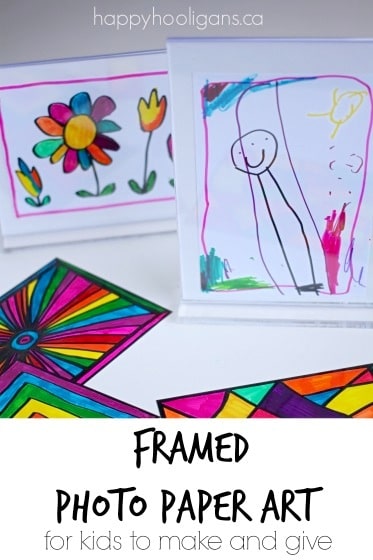
Make photo paper art with Sharpies, pop it into a clear dollar store frame, and Bingo, you have an instant, hand-made gift that your recipient will love.
We recently discovered the joy of drawing on glossy photo paper with Sharpie markers. It’s become one of our favourite ways to use Sharpies! Today we’re pairing it up with some dollar store frames for a quick and easy Father’s Day gift.
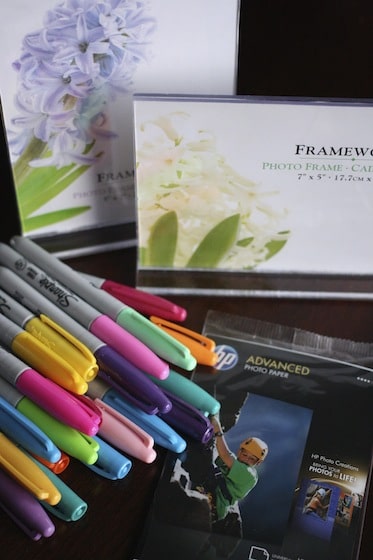
You’ll need just three simple supplies, to make this simple art project.
To make photo paper art with Sharpies, you’ll need:
For your convenience, affiliate links are included in this post.
- Sharpies (I love these Glam 80’s colours)
- glossy photo paper
(there was a package included with our recent printer purchase)
- plastic picture frame
(dollar store)
If you’re working on a surface such as a good kitchen table, be sure to protect the area with a plastic table-cloth. Sharpie ink is permanent.
How we made our art:
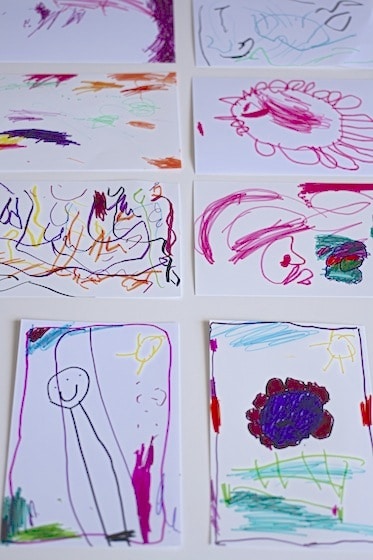
The preschoolers concentrated on drawing specific images and colouring them in.
The younger toddlers had fun exploring all of the Sharpie colours and covering their photo paper with beautiful doodles and scribbles.
This project provided a great opportunity for those little hands to work on pencil-grasp and mark-making. practiced their mark-making.
The Sharpie ink dries instantly on the photo paper. There’s no smudging or smearing. Just clean, clear, colourful images.
And the markers glide so smoothly over the glossy paper. It’s a really slick sensation; so much more gratifying than colouring on paper. I think I love the process just as much as the kids do!
Didn’t they produce some some lovely works of art?
When they were done, we slipped the photos into upright, plexi-glass frames that I picked up at the dollar store.
What an inexpensive way to display a child’s artwork.
What I love about this framed photo paper art project is that you can put two pieces of photo paper in the frame, back-to-back so each side displays a different drawing.
*note – the frames we used were larger than the photo paper, so I slipped a piece of white paper into them first to serve as a mat behind the photo paper art.
You can frequently update your frames with any new artwork your child creates too!
More Sharpie Art Ideas:
20+ Sharpie Art Projects for Kids
More Homemade Gift Ideas:
Get the 3-5 Playful Preschool e-Book!
25+preschool activities by 25 bloggers, 10 printables, 50 links to activities not featured in the book all for $8.99!
Follow the Hooligans on Facebook

Jackie is a mom, wife, home daycare provider, and the creative spirit behind Happy Hooligans. She specializes in kids’ crafts and activities, easy recipes, and parenting. She began blogging in 2011, and today, Happy Hooligans inspires more than 2 million parents, caregivers and Early Years Professionals all over the globe.






Linda
Thanks to your post about stained glass sharpie art, my kids and I have also recently discovered the joy of drawing on photo paper :-). I think I will have to invest in some of those plastic frames, before we are all buried under our pile of sharpie pictures! Thanks for all the great ideas 🙂
hp support assistant
Hey! great stuff exactly the Sharpie ink dries instantly on the photo paper.