

This fall leaf sticky window activity is a fun way for toddlers and preschoolers to decorate a window or a glass door with colourful tissue paper leaves. No contact paper necessary! (Leaf shapes printable included in post).
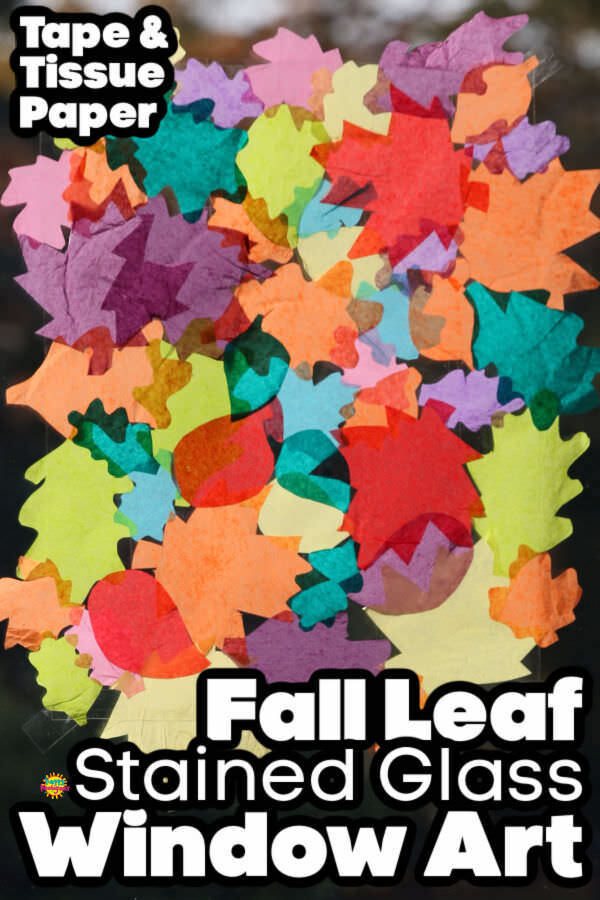
We’re all about fall leaf activities these days, and we’ve been having fun making colourful window art.
This sticky window activity is one of my favourite window art activities to do with toddlers and preschoolers.
Traditionally, it’s done with contact paper and tissue paper shapes. You stick the contact paper up on the window, and the kids have fun sticking all of the tissue shapes to it.
See our Valentines Sticky Window here.
Sadly, we don’t do this activity as often as I’d like because we don’t always have contact paper on hand.
Last week, however, I came up with an alternative for the contact paper, so now we can do the activity whenever we like!
What’s the alternative, you ask?
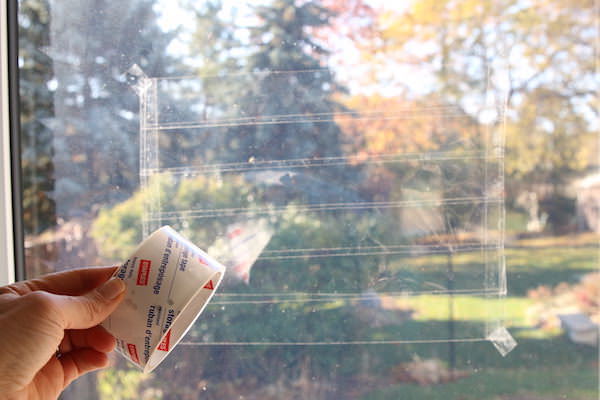
Packing Tape to the rescue!
Packing tape! You know the clear tape that you seal a cardboard box with? It works perfectly!
I used several strips of it (see above photo) to make a “canvas”. It was easy to do. You just need a “frame” of sorts to build your canvas on. I used a wooden tray with raised sides, but you can also use a cardboard box. For the sake of the tutorial below, I’m going to assume you’re using a box.
Let me tell you what you need for the whole activity, and then I’ll tell you how to make your sticky canvas out of the tape.
Fall Leaf Sticky Window Instructions:
For your conviencience, this post contains affiliate links. As an Amazon associate, I earn from qualifying purchases.
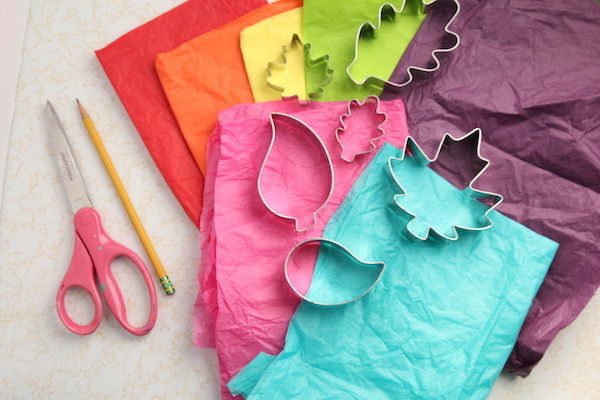
Supplies:
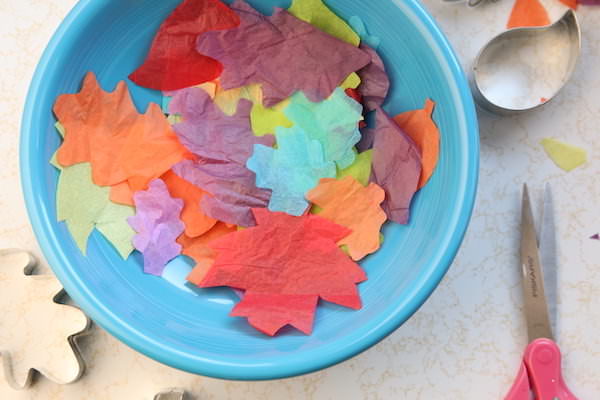
- coloured tissue paper
- scissors
- leaf shaped cookie cutters for tracing (or our leaf shapes printable)
- roll of clear packing tape (or a roll of contact paper)
The Leaves:
First, using either your cookie cutters or our leaf shapes printable, trace and cut out your leaves.
You can fold quite a few layers of tissue paper together to cut out several leaves at a time.
Note: If you’re using contact paper, you can go ahead and tape it to your window and start sticking! If you’re using duct tape, read on…
How to Make your Packing Tape Canvas:
- Set a cardboard box upright with the open side facing up.
- Stretch a strip of packing tape from one side of the box to the opposite side.
- Repeat with another strip, slightly overlapping the first strip of tape.
- Repeat with as many strips as you need to get the desired size of canvas.
- To remove canvas from the box, stretch a new piece of tape down each side of the ends that are stuck to the cardboard box to secure them together.
- Now lift the whole thing away from the box.
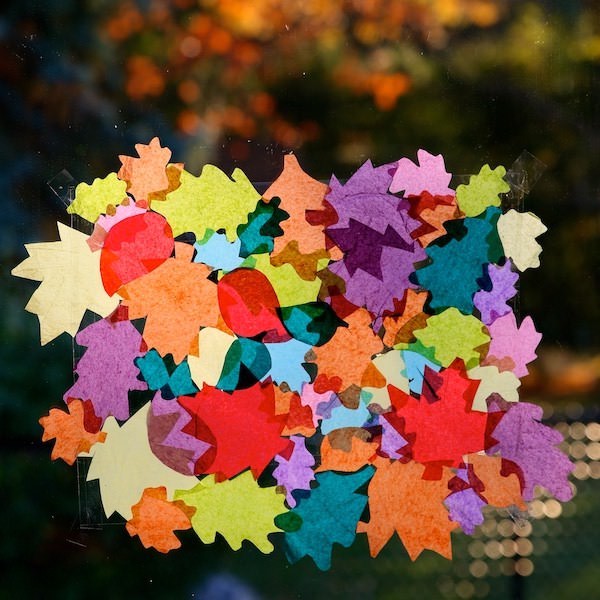
Let the fun begin!
Attach your sticky canvas to the window with some regular tape, and have fun sticking all of those colourful leaves on it.
Attach your sticky canvas to the window with some regular tape, and have fun sticking all of those colourful leaves on it.
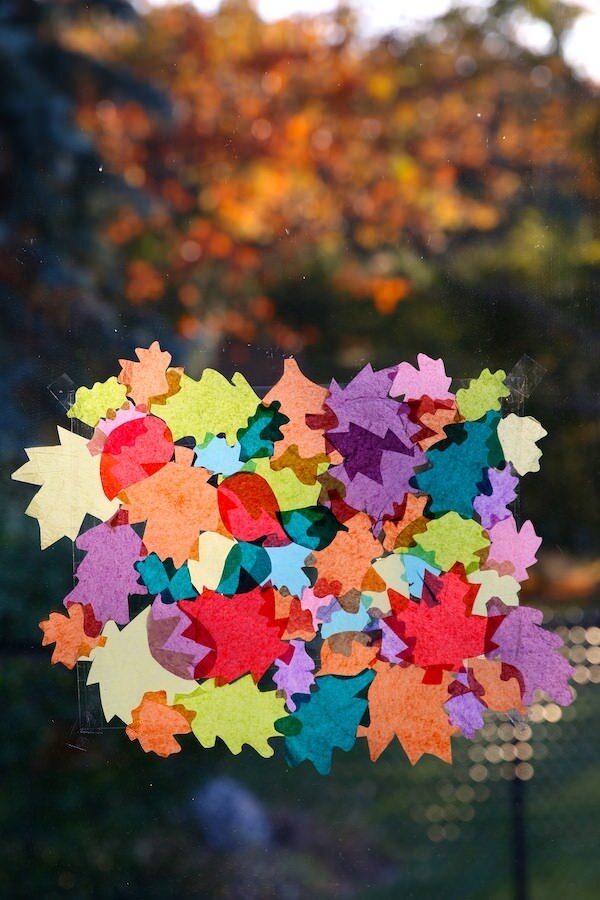
I hope your kids have as much fun with this activity as my hooligans do!
You may also like:
- Fall Leaf Silhouette Window Art
- Fall Leaf Sun Catchers
- Tissue Paper Fall Wreath

Jackie is a mom, wife, home daycare provider, and the creative spirit behind Happy Hooligans. She specializes in kids’ crafts and activities, easy recipes, and parenting. She began blogging in 2011, and today, Happy Hooligans inspires more than 2 million parents, caregivers and Early Years Professionals all over the globe.


Jody
My kids would definitely love this! thank you Jackie!
Jackie Currie
I’m so glad, Jody! Have fun with it!
agreso
My kids would definitely love this! thank you Jackie!