This is a Valentines activity that toddlers and preschoolers will love. Using tissue paper and contact paper, kids can transform a window into a colourful piece of Valentines art for the sun to shine through.
If you’ve been following along with us for a while now, you know I love crafting with tissue paper.
One creative activity I’ve always admired but never tried is using tissue paper and contact paper to decorate a window.
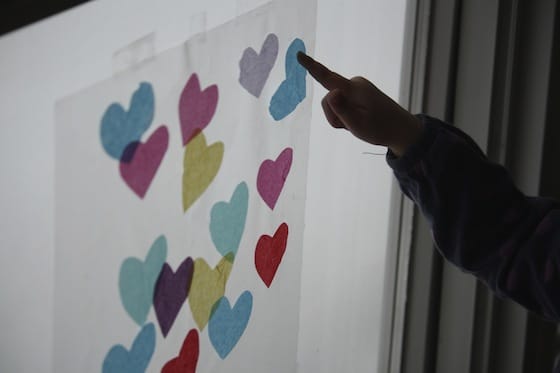
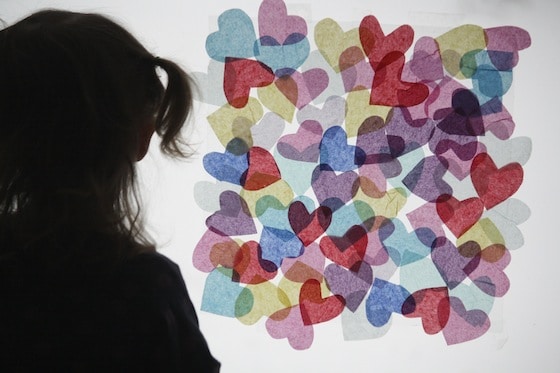
Today, as one of our Valentine’s activities, we gave the process a try. The toddlers covered our living room window with tissue paper hearts! They had so much fun pressing the colourful hearts to the sticky paper, and we were all delighted with the beautiful results. delicate hearts to the he process was so much fun for the toddler, and the results were beautiful!
No Mess!
There are actually several different ways to decorate a window with tissue paper. You can glue your tissue paper to the glass like Dilly Dali Art, and you can apply the tissue paper with water for a temporary decoration like Life with Moore Babies did. We chose the contact paper method that I’m showing you today because it’s the least messy way to do it, and we just happened to have a roll of contact paper in the craft room.
No contact paper? See our alternative here.
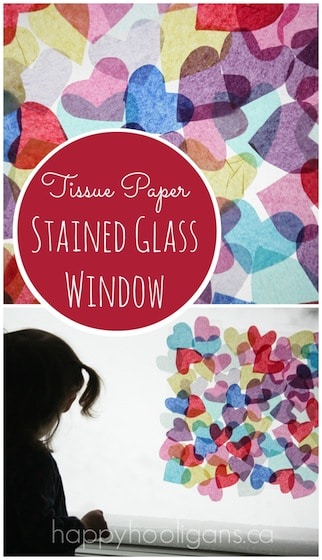
Don’t you love the way our tissue paper hearts look with the light shining through?
For this Valentines Window Decorating Activity, you’ll need:
For your conviencience, this post contains affiliate links. As an Amazon associate, I earn from qualifying purchases.
- clear Contact Paper
- coloured tissue paper
- clear tape
- scissors
- heart shaped stencil or cookie cutter
- pencil
- basket (optional)
Decorating your window:
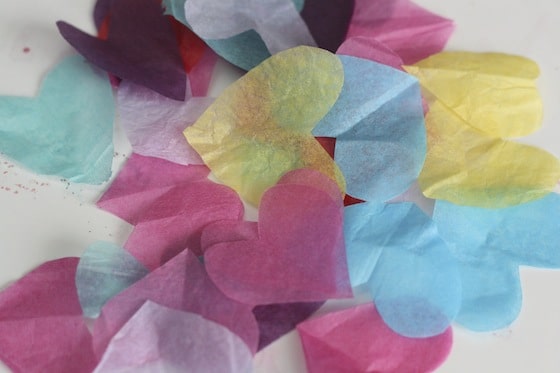
Using a stencil or a cookie cutter, trace hearts onto your tissue paper. I piled up several sheets of tissue paper, and cut through them all at the same time, so it wasn’t long at all before I had dozens of colourful hearts.
I placed these hearts in a basket beside the window so the toddlers would have easy access to them for the project.
Next, I taped a large square of contact paper to the window with the sticky side facing us. This is easier than I thought it would be.
The contact paper naturally clings to the window, so you can position it and let go of it, and it will stay put while you set about taping it in place.
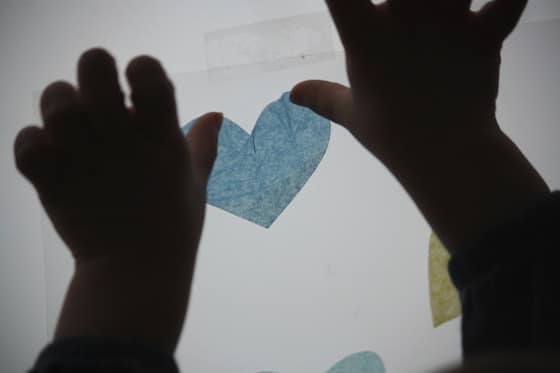
Now for the fun part!
Cover the contact paper with your tissue hearts. This is such a fun activity for young children.
Great for developing fine motor skills!
Picking up the delicate tissue paper and placing it on the contact paper helps develop fine motor skills, but sticking the tissue paper to the contact paper is easy enough for toddlers to do without assistance.
When all of our tissue hearts had been stuck to the window, we stepped back to admire our work.
Doesn’t it look gorgeous with the light shining through.
Happy Valentines Day, kids!
You may also like:
Get the 3-5 Playful Preschool e-Book!
25+preschool activities by 25 bloggers, 10 printables, 50 links to activities not featured in the book all for $8.99!
Follow the Hooligans on Facebook

Jackie is a mom, wife, home daycare provider, and the creative spirit behind Happy Hooligans. She specializes in kids’ crafts and activities, easy recipes, and parenting. She began blogging in 2011, and today, Happy Hooligans inspires more than 2 million parents, caregivers and Early Years Professionals all over the globe.





Susen
I love all the fun things contact paper allows us to do with it!! This is great!!
Ashley
That is beautiful, but I am a sucker for color! I love all the little heart shapes too!
Dawn
This looks like so much fun and my son loves heart shapes 🙂
Kristina @ School Time Snippets
Absolutely stunning!!! Love the hearts!
Heather from My Tales with Two
How pretty! I’ve been thinking about doing tissue with contact paper inside the silhouette of a heart but heart shaped tissue had never dawned on me! Thanks for sharing a great idea!
happyhooligans
I was thinking of doing that too, Heather, using squares of tissue!! Great minds think alike!
Laura Hutchison
This is SO beautiful, Jackie!
Abby
Can I please send my kids to you? I love your ideas!
Krissy of B-Inspired Mama
Love this, Jackie. 🙂 I’ll be featuring it on B-Inspired Mama’s Kids Co-Op Link Party tomorrow.
happyhooligans
Thank you so much, Krissy!
Dayle
You could just stick the overlapping parts with some glue stick
Jennifer
We did this today (we have lots of snow here). But we didn’t have contact paper so we used glad Press n Seal. It worked great but how did you get the hearts to stick were they over lap?
Thanks for all the wonderful ideas….has helped so much with all the snow we have gotten this year!
happyhooligans
They didn’t actually *stick* where they overlapped, Jennifer.
happyhooligans
The Press n Seal paper is a brilliant idea btw, Jennifer. Great thinking there!
Carol Lucas
This was so much fun for my 3 youngest grandchildren and me. The kids ages 22 months, almost 4 and barely 5 all enjoyed attaching the tissue hearts to the contact paper that I had cut into heart shapes also. Thank you! 🙂
happyhooligans
So glad it was a hit with your crew, Carol!
boymamateachermama
Beautiful!!!! Thanks for sharing at After School!
Paige M
Love this project. Using it today with my girl
Scouts. We are cutting out the trefoil symbol in various shades of green instead of the hearts. A great idea as the spring sun is getting brighter – thanks!
Dayle
Hi. Great idea! I’m thinking it may be easier for me to place the contact paper on my
Dining table for more control and then place it on the window. Also, I’d love to cut out a large heart shape from the contact paper and then place my cut out hearts on it!
Thanks for the inspiration…:)