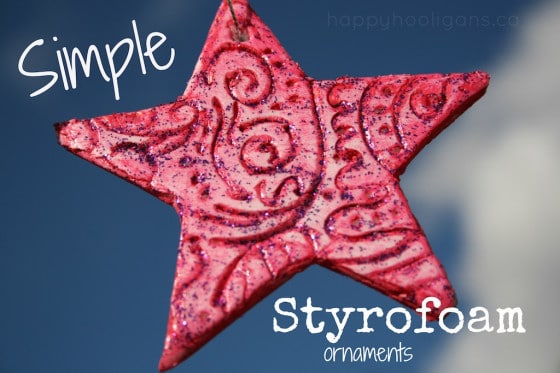
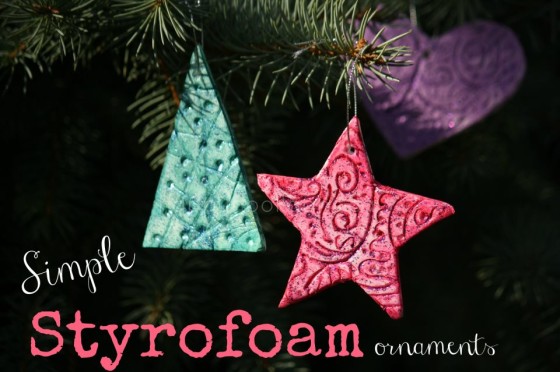
Don’t you just love a simple Christmas craft that looks gorgeous? We made these beautiful styrofoam ornaments using basic supplies we had around the house. They were so easy to make, and I think they turned out beautifully!
You can do this craft with children of any age, from toddler right up through teenager. I had a lot of fun creating these myself!
Ok, let’s get down to business! You’re going to love how easy this is, how simple the material list is!
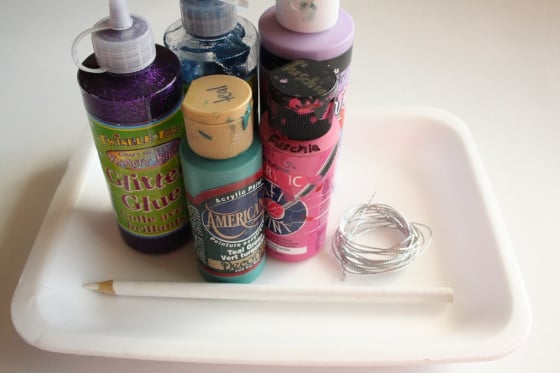
Here’s what you’ll need to make our styrofoam ornaments:
- Styrofoam meat tray (always run your trays through the dishwasher (bottom rack) to sterilize them)
- Acrylic craft paint (colours of your choice)
- Glitter glue in a co-ordinating colour
- golf tee or sharp white pencil crayon (both work well, but the golf tee is easier to control)
- ribbon or thread for hanging
How to make your ornaments:
- Cut festive shapes out of your styrofoam meat tray. (cookie cutters are good to trace for this kind of thing or you can just wing it and go free-hand).
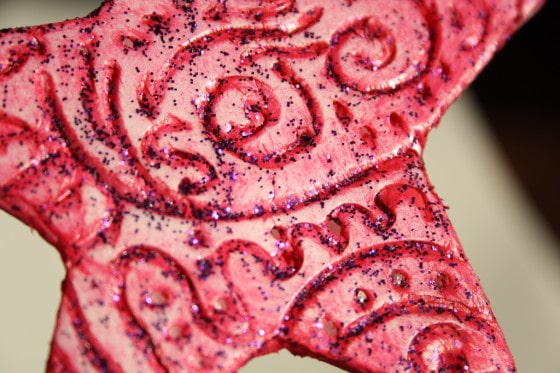
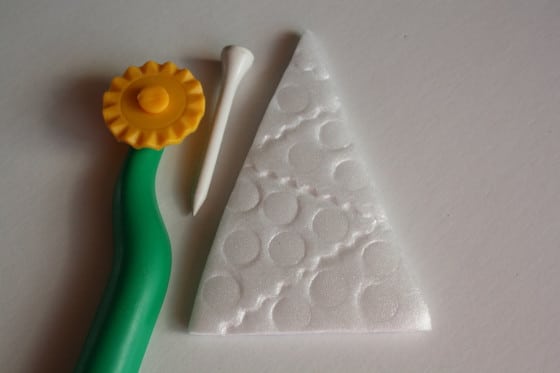
- With your white pencil or golf tee, make designs all over the front of your ornament. Get creative and have some fun with it! Squiggles, swirls, wavy lines and dots are all great.
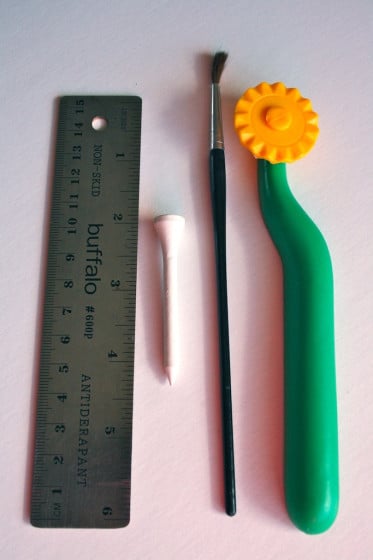
If you’re working with a younger crowd, you may want to provide some simpler tools for “carving” with. A play-dough pizza cutter, a straight ruler, and the handle of a paint brush all make interesting designs, and they may be easier for little hands to hold and manipulate.
In the next photo you’ll see a simple but really cute design that I made using only the play dough pizza cutter and a golf tee.
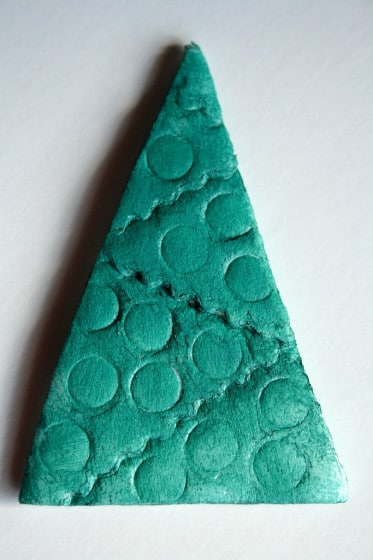
3. Give your ornament a coat of paint. Be sure to paint the edges of the ornament (which I forgot to do for the purple heart), and wiggle your paintbrush to get the paint into all of the carved dots and crevices. You can have some fun at this point by flipping it over and doing some stamping to take off any excess paint.
Let your ornament dry. (a hairdryer is a very handy thing to keep in the craft room if you want to speed up the drying process)
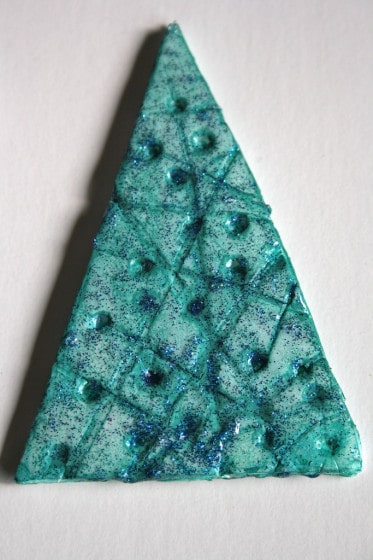
4. Now the magic begins! Squirt on a generous blog of glitter glue and using a paint brush, spread that around your ornament and work it into your carvings. You want the glitter to kind of accumulate in the carvings a bit so that your design “pops”. Note: I only have purple and blue glitter glue so I painted the ornaments with colours would allow the coloured glitter to stand out. I used the purple glitter glue on the purple heart and pink star, and I used the blue glitter glue on the green trees.
And that, my friends, is all there is to it!
Poke a hole through the top with your golf tee or pencil crayon, and loop some ribbon or metallic thread through so you can hang this little gem on your Christmas tree!
Now, wasn’t that easy? And fun? And aren’t they going to look fantastic on your Christmas tree?
More Styrofoam Christmas Ornaments for Kids to Make:
Styrofoam Christmas Tree Table Toppers
Self-Portrait Ornaments (with Styrofoam Balls)
Styrofoam and Button Christmas Tree Ornaments for Preschoolers
Get 3-5 Playful Preschool e-Book!
25+preschool activities by 25 bloggers, 10 printables, 50 links to activities not featured in the book all for $8.99!
Follow the Hooligans on Facebook

Jackie is a mom, wife, home daycare provider, and the creative spirit behind Happy Hooligans. She specializes in kids’ crafts and activities, easy recipes, and parenting. She began blogging in 2011, and today, Happy Hooligans inspires more than 2 million parents, caregivers and Early Years Professionals all over the globe.



Deb
Love these – what a fabulous idea. Thanks for sharing. Think I will try them ith my olay group next year as we are aready finished this year.
happyhooligans
Glad you liked them, Deb!
maggy, red ted art
Wow these look LOVELY!!! What a clever idea!!
happyhooligans
Thanks, Maggy!:)
Gretchen B
I love this!! They really turn out nicely (nice enough to gift!) using inexpensive materials. This could even be a class craft project.
pegges
as usual… I love this!!!!!!!!!!! …
Creative Fun Mum
what a great activity thanks for sharing !
happyhooligans
Thanks, everyone! So glad you liked them! They were really fun to make, and they turned out great!
Dominika
wow this is so beautiful ! you can also roll ink on your creation before you painted and glitter and press into paper you can have Christmas cards and also do a printmaking
happyhooligans
That’s a great idea, Dominika! We tried some stampig with them, and it worked really well. Homemade wrapping paper would be great!
Kathleen
Again, what a GREAT idea!!! You are amazing, I love following you! And…I’m looking for Styrofoam trays now! Maybe, I just go shopping to have a couple, and then… yeah, we’ll have fun with this. My boys are gonna love it (me too ;-))
happyhooligans
Thank you, Kathleen! Yes! Hang onto your styrofoam! It comes in so handy for so many crafts!
Jill @ A Mom With A Lesson Plan
I had no idea you could put meat trays in the dishwasher! You have changed our art experience for sure!!!! Adorable ornaments btw.
happyhooligans
I love that we all learn so much from each other, Jill! 🙂
Ginger Hembree
where else could I get the meat trays or white Styrofoam ? our meat trays come in black, and you have white here ?!
happyhooligans
You might ask around, Ginger. Perhaps check with your grocery store or a bake shop or a craft store? I’m not sure what part of the world you’re in, so I really can’t point you in the right direction except to suggest that you see if you can order them online if you can’t find them in your area.
Vickie
So doing this with my group! Great idea!