Looking for unique outdoor Christmas light ideas? Make your own homemade lighted Christmas balls! They’re stunning, you’ll have unique, one-of-a-kind decorations in the yard this year, and your neighbours will be in awe!
So, my hubby’s balls are the talk of the neighbourhood right now. I’m not kidding. The ladies are swooning. The men have been over to check them out. Passersby pull over to admire them, and strangers are knocking on the door, asking if they can have a look. All of this attention has my man feeling like he’s hot stuff!
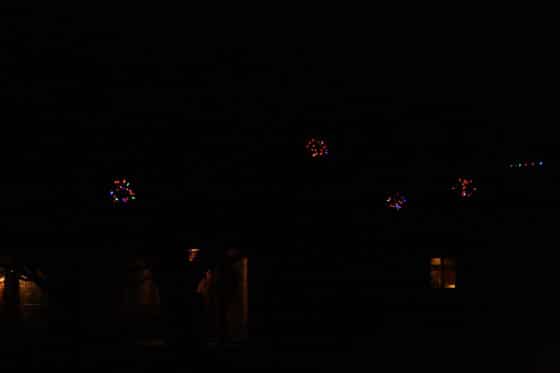
Want to see what all the fuss is about?
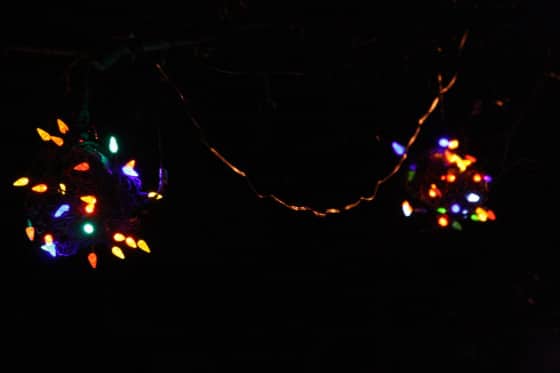
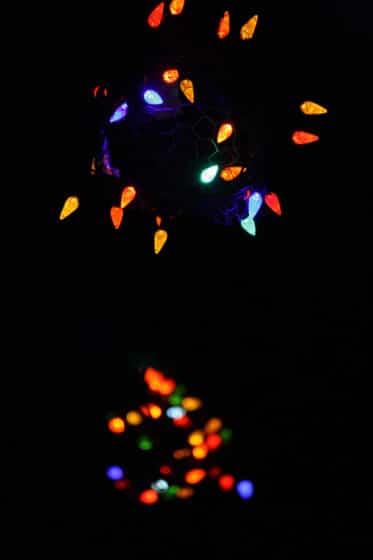
Aren’t they something?
What? WHAT? What did you THINK I was talking about?!!
Last year when my husband was looking online for unique outdoor christmas light ideas, he came across these lighted Christmas balls in the following video by Andy Coon. It tells of a neighbourhood in Greensboro, North Carolina that comes together at Christmastime to create an absolutely dazzling display of lights for the residents of their city to enjoy. Andy has given me permission to share his amazing video on my blog. Please take a moment to watch it, and you’ll understand why my husband was so inspired.
My hubby is a very handy guy, and at this time of year I joke that his alter ego is Clark Griswold. He loves coming up with new and creative ways to deck our house out every year. He lights up the back yard as well as the front yard, we have a huge star on our roof,, and this year he’s run a string of white “star” lights along the fence in our side yard, so our neighbours will have a lovely, display to look at from their kitchen window.
So it didn’t surprise me at all when he set out to make his own set of these lighted balls for our yard last year.
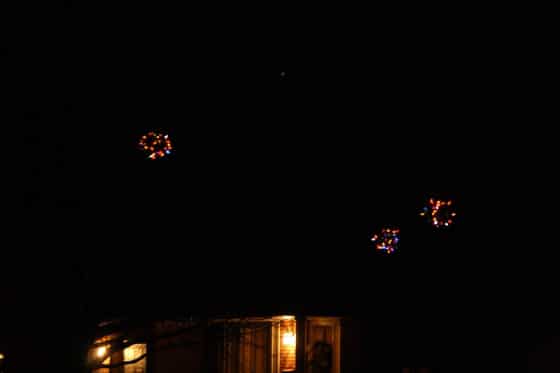
He made just a few for the tree in the front yard, last December, to test them out, and a couple of weeks ago he made several more. We have about 8 or 9 out there this year.
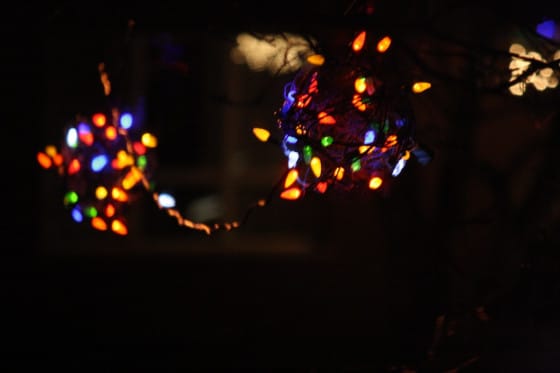
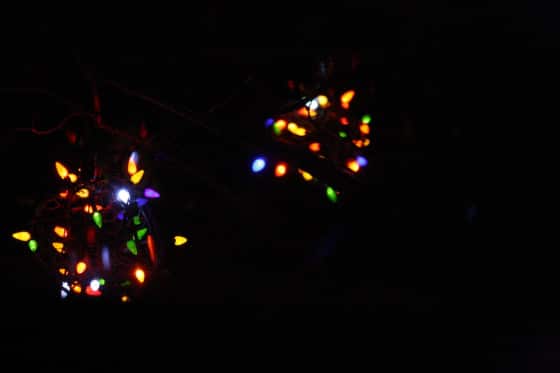
They really are unusual, and we really do get cars pulling over on the side of the road to look at them. I’ve seen men walking around under the tree, craning their necks to check out how they’re made, and we’ve actually had strangers knock on the door to ask about them.
When I posted the photos on my Happy Hooligans facebook page, I received a lot of questions about them, so I asked my hubby to give me the details so I could put a post together about them.
He didn’t follow any specific instructions when he made ours, but he’s given me a general how-to for me to share with you.
Supplies for making these hanging, lighted Christmas balls:
- A roll of chicken wire (his estimation is that a roll will get you about 10-12 balls)
- strings of outdoor mini lights (he used one string per ball for the size of ball he makes)
- extension cords (1 per ball)
- work gloves
- tin-ships (or industrial scissors)
- twine or wire to secure ball to the extension cord
How to make the lighted Christmas Balls:
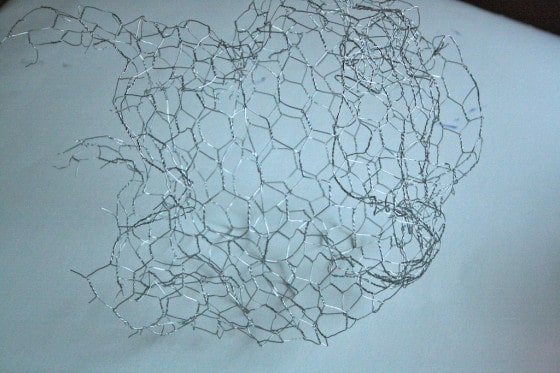
Wearing work gloves, cut a square of chicken wire that measures approx. 20 x 20 inches. Like I said, this is an approximate measurement. He said his are somewhere between 20 and 24 inches square. He doesn’t actually measure them.
Now you’re going to bend the wire to shape that square into a “ball”. As you can tell by the photo, it’s not going to be a perfect ball. That’s ok. Just make it somewhat round, and then twist the loose ends together to secure them all in place.
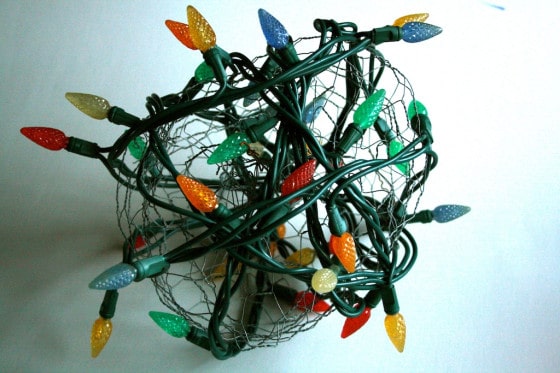
Now, wrap an entire string of your mini-lights around the ball. You’ll want to thread the beginning and end of the cord through a hole or two to secure them in place, and you can tuck a few random lights into some holes to further secure everything.
That’s all there is to that part of the project.
Hanging your lighted Christmas balls:
MAKE SURE YOU START WITH THIS STEP FIRST:
Your first step in hanging the balls is to run a long extension cord from your house to the tree. You have to do this first to ensure the cords’ male/female plugs are positioned properly. i.e. if you start with the balls and work your way back to the house, you may find that you’re standing there holding the female plug when you finish up, which might be difficult to plug into your electrical outlet. That might make you just a little bit cranky.
Ok, now you have to get that extension cord up and over a limb of your tree. My husband stands on a ladder for the part, and he tries to position the extension cord in the “Y” shaped part of a branch. He lets the cord dangle down to the height that he wants the ball at, and he then secures that cord to the Y in the branch with some thin (14-16 guage) wire (twine would also work).
To hang your first light ball, take the dangling end of the extension cord and thread it in and out of a couple of holes in the chicken wire, and plug it into the mini-lights of your light ball.
On to ball TWO:
Plug a 2nd extension cord into the OTHER end of the mini-lights that are wrapped around the first ball. Run that 2nd extension cord to another branch in the tree, and repeat the same steps as above for securing the cord in place and attaching the second light ball.
Do you get where we’re going with this? You’re just going to keep repeating this process until all of your lights are hung.
That’s really all there is to it. Now you just have to wait for night-fall to see how unique and beautiful these are.
Isn’t this one of the most unique outdoor christmas light ideas you’ve ever seen? Be prepared for cars to slow as they’re passing by and for curious neighbours to comment and ask about your one-of-a-kind display of lights.
Now check out this collection of HUGE lighted Christmas balls that you can display in the snow in your front yard!
More easy, unique DIY projects:
- Simple Pumpkin Carving Hack
- Repurposed Denim Aprons Made from Old Jeans
- Upcycled Denim Bibs
- 30 Time-Saving Tricks and Tips for the Home
- Homemade Laundry Detergent for $10/year
Get the 3-5 Playful Preschool e-Book!
25+ Preschool activities by 25 bloggers, 10 printables, PLUS 50 links to activities not featured in the book all for $8.99!

Jackie is a mom, wife, home daycare provider, and the creative spirit behind Happy Hooligans. She specializes in kids’ crafts and activities, easy recipes, and parenting. She began blogging in 2011, and today, Happy Hooligans inspires more than 2 million parents, caregivers and Early Years Professionals all over the globe.






Enter the Greenhouse
I thought you were talking about THESE balls: my fave holiday skit from SNL.
http://www.youtube.com/watch?v=6R5xcydYKqU
Valerie @ Glittering Muffins
Super job hubby! Love the start of the post Jackie, lol.
happyhooligans
Thanks Val. I thought I’d have some fun with it. Hope everyone receives it with the sense of humour that you did. x
Stephanie Madill
Teehee….pretty risqu�, Jackie!
happyhooligans
Ah, what the heck, Steph. Sometimes you just have to throw it all to the wind and have some fun. 🙂
vandana
these are just beautiful… I am totally in awe of them!
happyhooligans
Thank you! My hubby made 4 more today, and hung them up in the back yard! 🙂
Mandy
Followed one of your pins over from Pinterest, and saw this youtube video (I live in GSO, NC….small world) merry christmas
happyhooligans
Wow! You’re right about that – it is a small world! So, have you seen these lights in person then?
anna
So cool!
Racheous - Lovable Learning
What a fun idea! I’ll have to show my hubby!!
Judy
Wonderful post! I really like the idea of collecting food for local food shelves while having a neighborhood “make it” day!
renee
That sounds an looks beautiful kudos to you an YOUR HUSBAND smart guy!!! Merry Christmas?