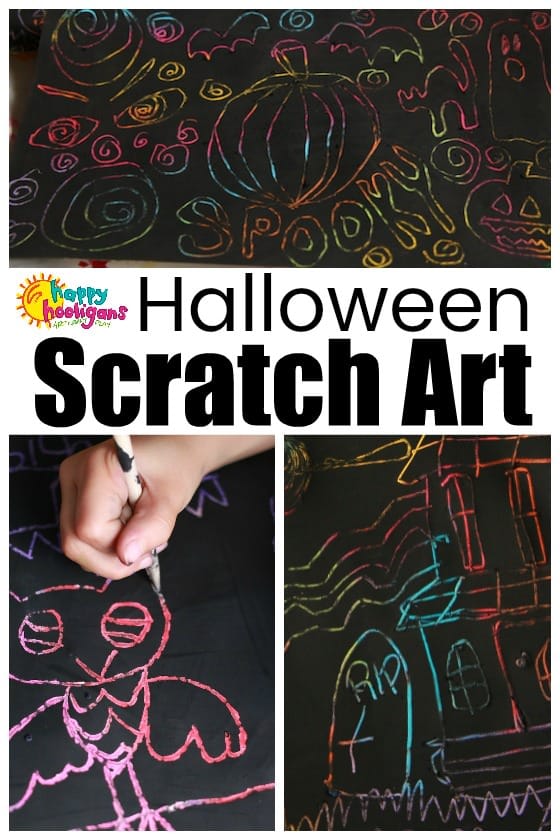
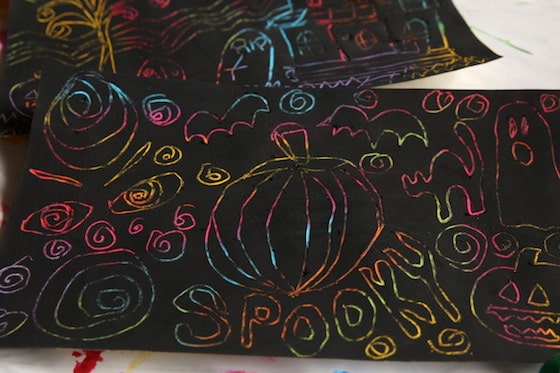
This spooky Halloween scratch art project is fun for kids of all ages and will bring back memories of the classic art technique you loved as a child. Colour your paper, paint it black and scratch a spooky scene so the colours show through.
We’re creating some Halloween art today using a classic art technique that will take you right back to your childhood.
We always did a Halloween scratch art project every year when I was in elementary school and it was one of my favourite ways to make art.
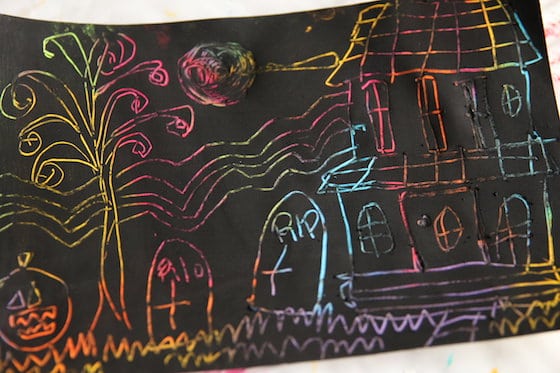
I always thought scratch art was a great way to make a spooky piece of art because the black paint was perfect for creating a night scene of a haunted house or a graveyard with a glowing moon and some gnarly trees somewhere in the scene.
I asked the hooligans the other day if they ever make Halloween scratch art at school, and they said they do, but not the way we do it here. Apparently they use special scratch art paper (that’s my Amazon affiliate link) that’s already prepared with colour and a black coating, so all they have to do is scratch their picture on it.
Well, half of the fun of a scratch art project is actually making the scratch art paper, so I quickly added Halloween scratch art to our craft plans for the day so the kids could enjoy the process from start to finish.
Two Secrets to Great Scratch Art:
Now, in the past, when I’ve done scratch art projects with my daycare kids, we’ve used crayons and black tempera paint, but I’ve recently learned about a couple scratch art secrets that improve the process and produce the better results.
Secret #1 – Oil Pastels Work Better Than Crayons For Scratch Art
Oil pastels provide better coverage and richer colour than crayons do. When you use pastels instead, colouring the paper is faster and easier, and the colours that show through the black paint will be more vibrant.
Secret #2 – Add Dish Soap to Your Black Paint
Who knew a little dish soap would make it easier to scratch through the black paint? I don’t remember adding soap to the paint when I was a kid, but we tested it out with this project, and it does make a significant difference.
When we’ve done scratch art projects in the past, sometimes the paint chipped or flaked as we were scratching through it, but that doesn’t happen when you add dish soap. Yay!
Ok, Let me show you how we made our Halloween scratch art. And if you’re interested in checking out our past scratch art projects, you can see them here:
For This Halloween Scratch Art Project, You’ll Need:
(As an Amazon Associate I earn from qualifying purchases)
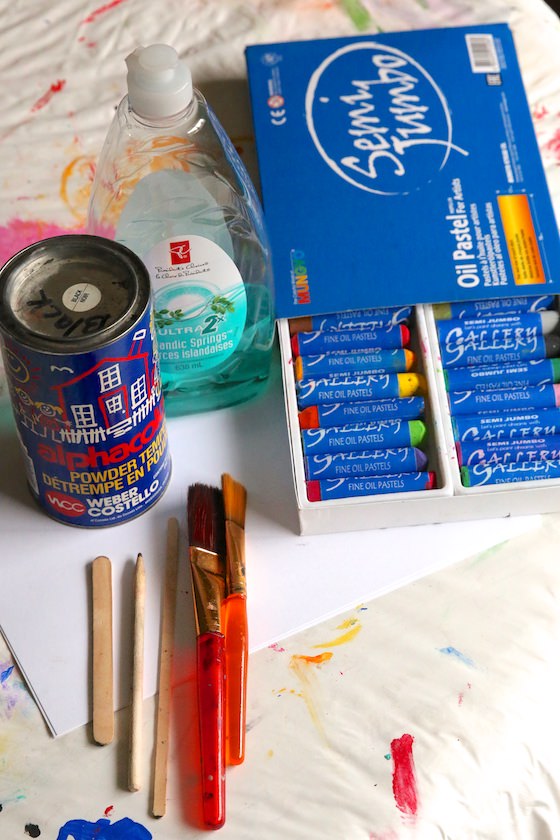
- white card stock (or similar heavy weight paper)
- oil pastels
- black tempera paint (or poster paint)
- liquid dish soap
- wide paintbrush or sponge brush
- popsicle stick or popsicle stick (toothpicks will work in a pinch)
How To Make Scratch Art
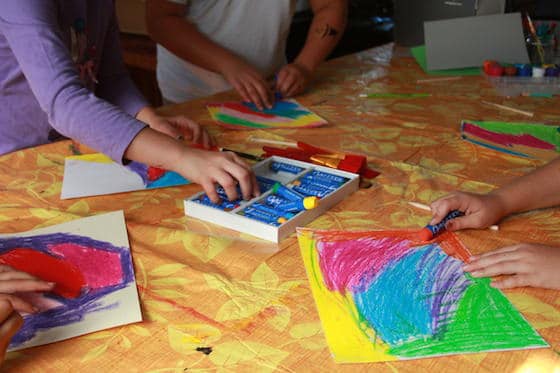
Colour your paper
The first step in making scratch art is colouring your paper. Have your kids completely cover their paper with the oil pastels using a good amount of pressure so they put down a nice thick layer of colour. Make sure all of the white is covered in colour.
Mix up your paint and dish soap
Next, mix together your black paint and some dish soap. The amount of dish soap doesn’t have to be exact. Some people say to use a 1:1 ration of soap and paint, and some people say to use a drop or two of soap. We added about 1/4 tsp of dish soap to 1/4 cup of black paint and that worked well.
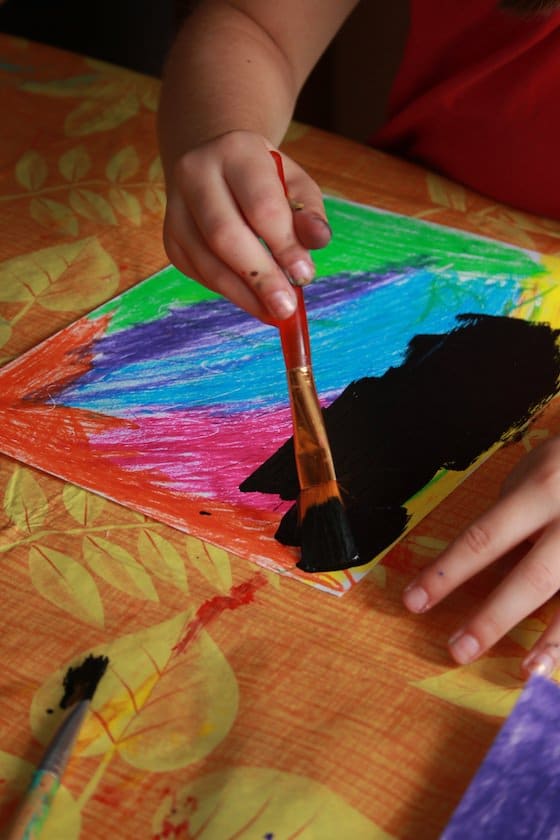
Paint over the pastels
Now, it’s time to cover up the pastels with the black paint. With a wide paint brush or a sponge brush, have your kids paint over the pastels until there’s no longer any colour showing. One coat of paint did it for us, but if you need a second coat, let the first coat dry before putting on a second.
No need to wait until the paint is dry!
You can wait until your black paint is completely dry before scratching your picture, but you don’t have to. In fact, it’s easier to scratch into the paint if it’s not completely dry.
Scratch your picture!
Now, for the magic!
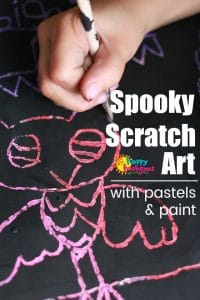
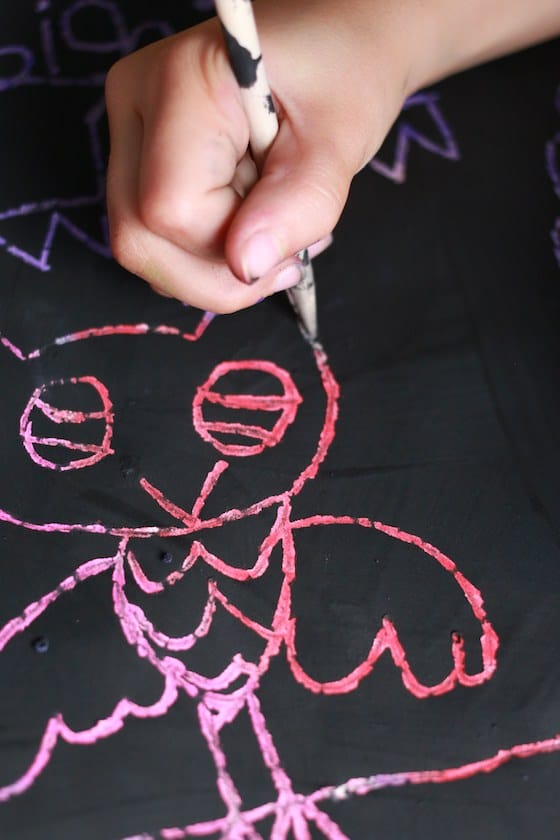
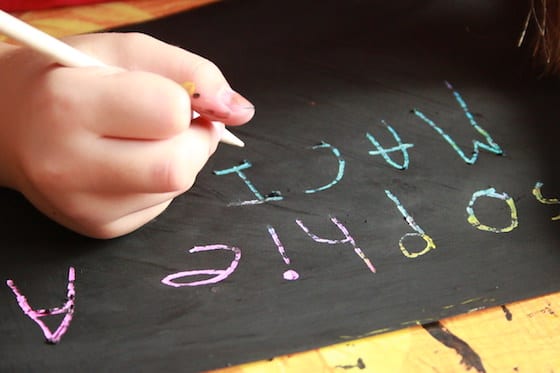
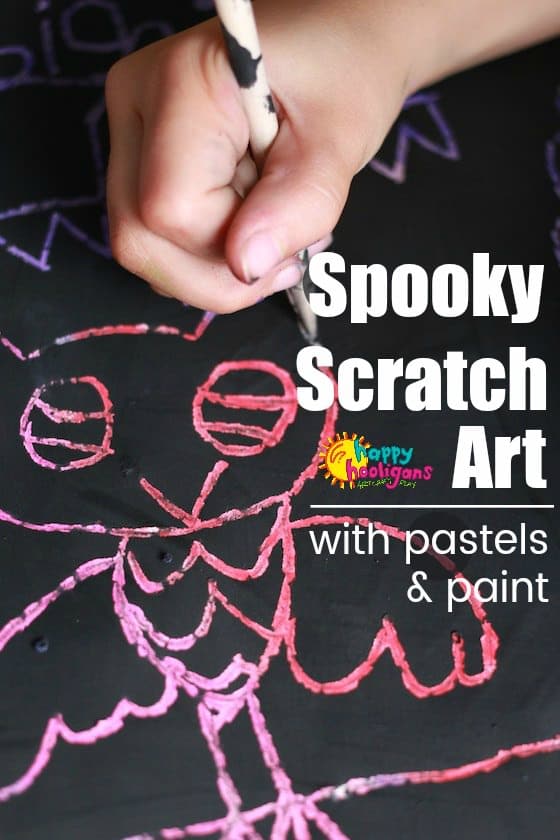
Have your child scratch their Halloween picture into the black paint. A popsicle stick can be used for wider lines, and a pointed craft stick or even a toothpick can be used for fine lines.
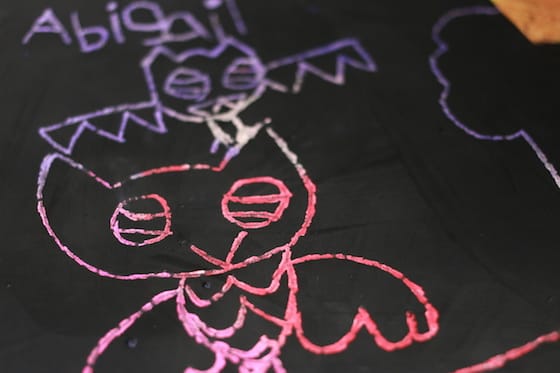
It’s so magical to see those colours come popping out from behind the black paint, and because the kids used a multitude of colours to cover their white paper, they never know what colour will appear next as they’re scratching.
Scratch art doesn’t have to be reserved for Halloween of course, but we think it does give any piece of art a rather spooky effect which is perfect for this time of year!
More Halloween Art Projects for Kids:
Handprint Spiders and Golf Ball Webs

Jackie is a mom, wife, home daycare provider, and the creative spirit behind Happy Hooligans. She specializes in kids’ crafts and activities, easy recipes, and parenting. She began blogging in 2011, and today, Happy Hooligans inspires more than 2 million parents, caregivers and Early Years Professionals all over the globe.





Leave a Reply