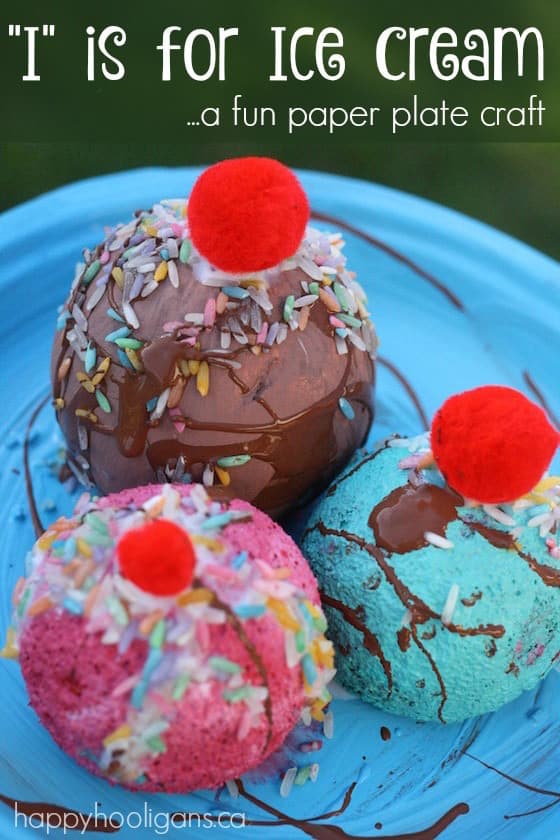
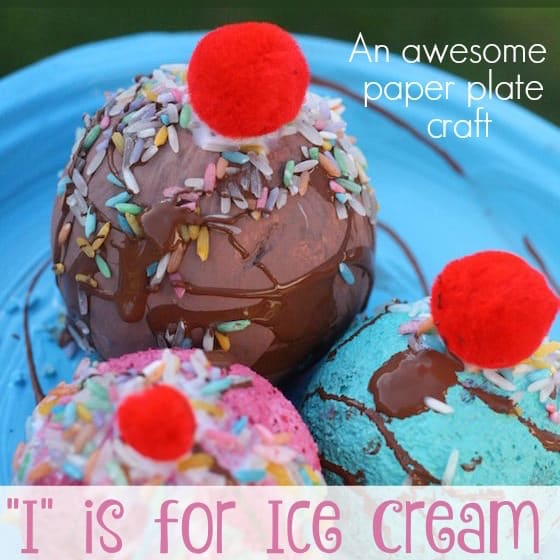
This paper plate ice cream craft looks good enough to eat, and you’ll only need a few basic craft supplies to make it!
I scream, you scream, we all scream for ice cream! Woohoo! I’m just bursting to share this fun and easy ice cream craft with you!
See, we’ve been working on an A-Z collection of paper plate crafts here in my daycare, and we’ve been racking our brains for over a year to come up with a paper plate craft for the letter “I”.
We’ve considered ice cubes, and igloo, and yes, even ice cream but we just couldn’t figure out how to make any of them work with a paper plate.
Well, the other day, I had two of my hooligan grads here for some big-kid crafting, and we were brain-storming more paper plate crafts when one of them came up with the perfect way to make the ice cream idea work for our letter I craft.
Styrofoam balls!
She suggested we paint ordinary styrofoam balls to look like scoops of ice cream, and glue them to a paper plate.
BRILLIANT! I love how my hooligans think! They’re such a creative bunch!
We got all excited, thinking about the “flavours” we could make, and we foraged through the craft cupboards looking for our “toppings”.
Then we all worked together to make our craft.
The end results were gorgeous, and the process was a ton of fun.
Of all the paper plate crafts we’ve made here over the years, this one is my absolute favourite!
For your convenience, this post contains affiliate links.
To make our paper plate ice cream craft, we used:
- paper plate
- styrofoam balls
- acrylic paint
- paintbrushes
- coloured rice
- red pom poms
- glue
Now that you’ve gathered your supplies, let me show you how we made our ” ice cream”!
To start, we brushed a coat of blue paint all over the front and back of a paper plate. Voila. Instant ice cream dish.
Next, I cut a bit off the bottom of each styrofoam ball so they would sit flat on the plate.
These are the flavours and colours the girls chose for our ice cream.
- Mint Chocolate Chip – green and brown
- Raspberry Ripple – red, pink, white
- Chocolate – a couple of shades of brown and a bit of white
You can get creative here, and have a lot of fun: think Tiger Tail, Cotton Candy, Neapolitan…
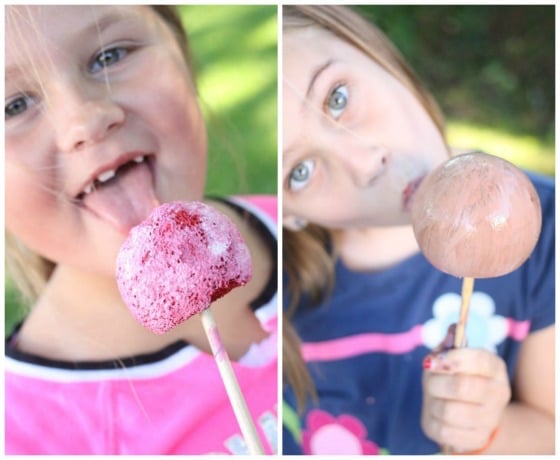
To make it easy to paint your styrofoam, push each ball onto the end of a paintbrush handle.
Painting our ice cream was SO fun! The girls brushed and swirled their paint onto the styrofoam balls, layering their colours to get a realistic look.
We couldn’t believe how yummy it looked!
To paint the chocolate chips for the mint chocolate chip ice cream, we dipped the end of a paintbrush into a some brown paint, and made dots all over the green styrofoam ball.
Oh yum! Doesn’t it look delicious? Almost good enough to eat!
We used a hairdryer to help our paint dry quickly, and then we glued the styrofoam balls to the paper plate.
Our next step was to add the sprinkles.
We have a jar of coloured rice in our craft cupboard that we use for crafting and in our sensory bins. You can get my easy instructions for dyeing rice here.
We drizzled some white glue over our ice cream, sprinkled the coloured rice into the glue, and shook off any excess.
To add our “chocolate syrup”, we squeezed brown paint over the ice cream and the plate.
And to finish, we put “a cherry on top”: red pom poms glued to the top of each styrofoam ball.
And there you have it, my Lovelies! The best darn “Letter I” paper plate craft you could ever hope for!
Gosh, I love it when something so fun and easy turns out to be this amazing!
More kids crafts and activities for you to enjoy:
17 Paper Plate Crafts for Kids
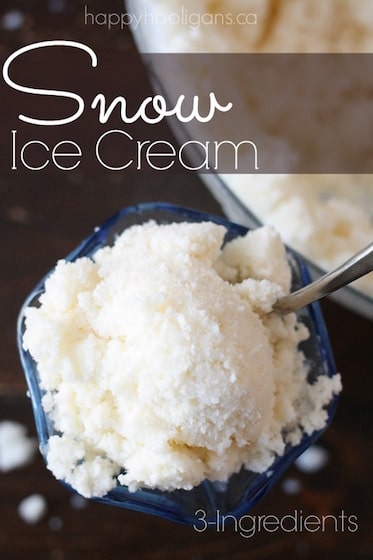
3-Ingredient Vanilla Snow Ice Cream
12 Delicious Homemade Ice Cream Recipes
Get my latest e-book: Fizz, Pop, Bang!
40 hands-on, learning activities for kids ages 3-8. Recipes, experiments, art projects, printables and play ideas with links to 80 activities not featured in the book.
Download your copy today for just 9.99
Follow the Hooligans on Facebook

Jackie is a mom, wife, home daycare provider, and the creative spirit behind Happy Hooligans. She specializes in kids’ crafts and activities, easy recipes, and parenting. She began blogging in 2011, and today, Happy Hooligans inspires more than 2 million parents, caregivers and Early Years Professionals all over the globe.







Sarah
Wow these look so appetising! Great idea!
happyhooligans
Thanks Sarah! They really do look yummy!