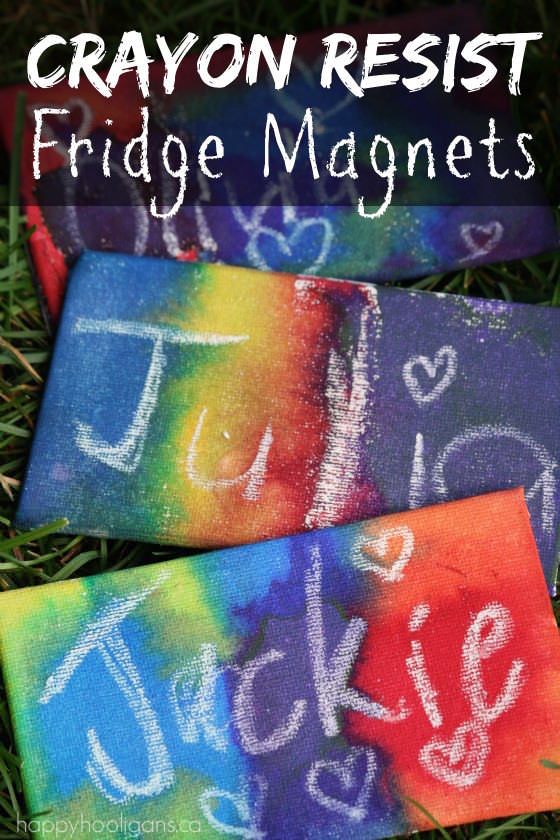
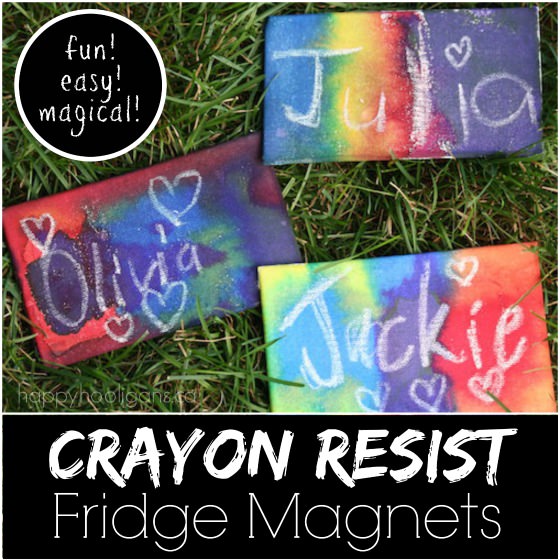
Kids can make these gorgeous homemade fridge magnets using a simple crayon-resist technique! Great homemade gift for a child to give a parent or grandparent!
I am SO excited to share our latest kids’ art project with you!
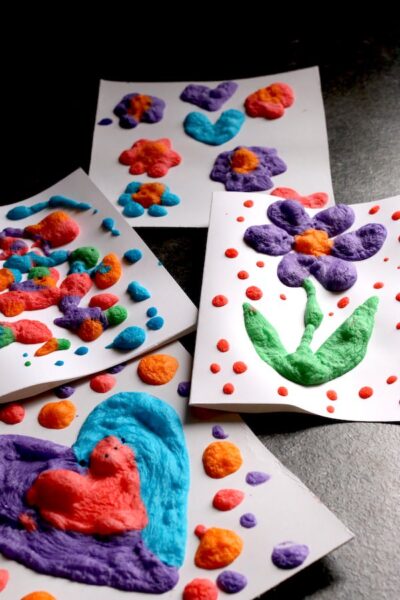
The girls and I made these beautiful homemade fridge magnets the other day, using just a white crayon and water colour paints.
The process was super-easy, and the results were absolutely beautiful!
We used a process called crayon resist to make them (crayon resist is also known as wax-resist). Don’t you just love the tie-dye look they have about them?
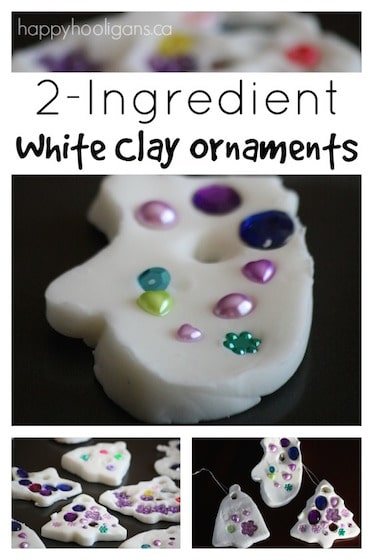
You can also do resist art with pastels and watercolours too, so be sure to check out our framed stained glass resist art.
These would be great gifts for kids to make and give for Christmas or birthdays. What parent, grandparent or friend wouldn’t love to receive a personalized fridge magnet made especially for them.
Crayon resist is one of my favourite easy art techniques for kids. We often make homemade thank you cards and greeting cards this way.
It’s a rather “magical” process that always fascinates the kids.
Ok, who’s kidding who? It never fails to “wow” me no matter how many times we do it!
Let me show you how it’s done!
To make our homemade fridge magnets, you’ll need:
For your convenience, this post contains affiliate links.
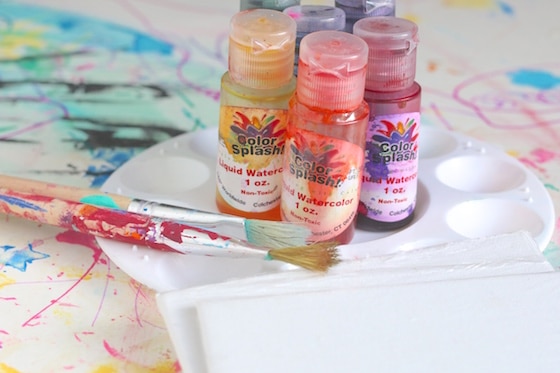
- flat, mini art canvases (very similar to the big ones, but they’re not on a wooden frame)
- watercolour paints (I love Splash brand liquid watercolours)
- white crayon
- paint brushes
- thin magnets (buy them, or use business card magnets you already have on your fridge)
- hot glue gun
Ok! Let’s get started!
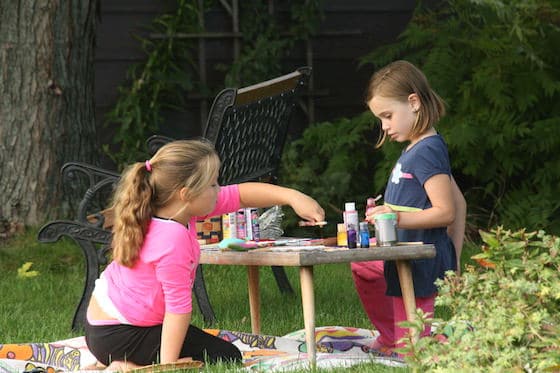
On this particular day, I had two of my favourite Hooligan grads with me (YAY!).
It was a professional development day (when the teachers have to be at school, but the kids don’t). My grads require daycare on those days, so they get spend the day here!
They’re always so excited to come back for a full day of playing and crafting, and I’m always stoked because I love the creativity and enthusiasm that these kids bring to the table. Literally. They are happy to craft and create for hours. Girls after my own heart. 🙂
I’d had this particular project in mind for my grads for a while.
See, at Christmas a couple of years ago, the toddlers made these fridge magnets with canvas and acrylic paints. The results were beautiful, and the project was perfect for that age group. I’ve always wanted to experiment with crayon resist on canvas though, and I knew my big kids would be up for it.
I picked up a few mini canvases when I was at Curry’s Art Store last month (for 39 cents apiece), and set them aside until today.
Making our fridge magnets:
To start, we each wrote our name on a canvas and embellished it with a few hearts. You can add whatever you like – stars, dots, squiggles, lines etc. Just make sure you press hard enough to leave a good amount of white wax on the canvas. The wax is essential for resisting the watercolours in the next step.
Next we dipped our brushes into the liquid watercolours, and we brushed the colour over our canvases.
And of course, the white wax repelled or resisted the paint, leaving our name and design to show through the colours.
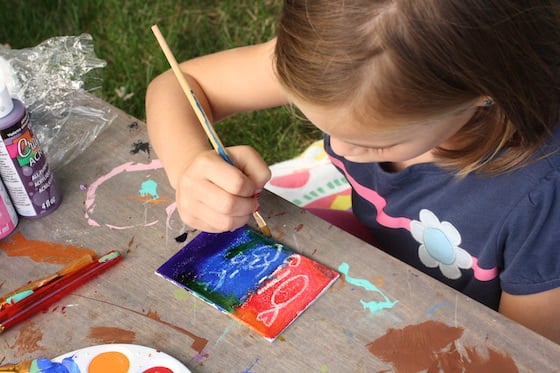
We used our watercolours full-strength, but you can dilute yours with a few drops of water if you’d like the colours to be less intense. Rinse, and wipe your brush dry when switching colours.
The canvas soaked up the watercolours beautifully, and the colours blended so nicely into each other.

I love how each of our magnets has a slightly different look. Mine reminds me of tie-dye. Julia’s has a rainbow effect, and Olivia’s brings to mind a celestial sky.
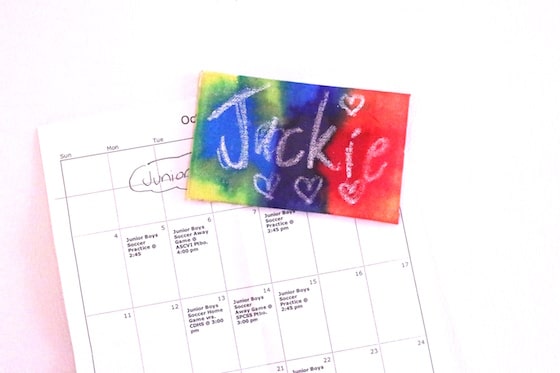
We let our canvases dry in the sun, and then we turned them into magnets.
To do this, you can purchase thin sheet magnets, but I always use magnets that we already have on our fridge for this kind of thing.
You likely already have a bunch of those business card type of magnets all over your fridge, right? Just trim one to fit the back of your canvas, and hot-glue it in place.
We did not put a coat of sealer on our magnets because the colour is water-based, and I didn’t want to risk smudging or smearing the look of our art.
I LOVE them! Sometimes the silliest, little things excite me, but I really do love them!
I hope you do too!
Get the 3-5 Playful Preschool e-Book!
25+preschool activities by 25 bloggers, 10 printables, 50 links to activities not featured in the book all for $8.99!

Follow the Hooligans on Facebook, Pinterest and Twitter!

Jackie is a mom, wife, home daycare provider, and the creative spirit behind Happy Hooligans. She specializes in kids’ crafts and activities, easy recipes, and parenting. She began blogging in 2011, and today, Happy Hooligans inspires more than 2 million parents, caregivers and Early Years Professionals all over the globe.


Gina (aka East Coast Mommy)
What a sweet craft. LOVE it!
happyhooligans
Thanks, Gina!
s
Just tried this. It is not working at all. What could I possibly be doing wrong? It seems pretty easy. The paint covers entirely – no crayon resist. I was counting on this for my Holiday gifts for Thursday. Ugh!
happyhooligans
What kind of paint are you using, Sharon?
Serenity
Hello,
Love your site! It’s so helpful! I’m planning on making these soon. I’ve already purchased the mini art canvases from Amazon. I’m not crafty at all so I actually have to go to a craft store to buy watercolor paints, thin magnets, and a white crayon! How long does the paint take to dry? Is is a very messy paint that stains clothing,etc.? What size should I cut the magnet?
Thanks in advance!
happyhooligans
The paint doesn’t take all that long to dry. To speed it up you can always blast the painting with a hair dryer. Most watercolours will wash out of clothing, but to be safe, you should protect your table top. I often give the kids a cookie sheet to place their art in when we’re working with messy materials. For the magnet, cut it just a little smaller than the magnet itself.
Serenity
So we ended up making these and they’re so cute! I must say I was more excited about them than the kids! I ended up purchasing business card magnets from Amazon that have the sticky backing on them. Do you think they’ll be strong enough for the job? Or should I still super glue them? By the way I prefer the Crayola twistable white crayon over the ones you linked too. The regular white crayon from Amazon ‘flakes’ too much.
I’m looking forward to making many more of these for friends and family. Thanks so much!
JACKIE
HOW DO I DELETE THIS POPUP FROM CONSTANTLY SHOWING UP ON MY SCREEN. I NEVER ASKED FOR THIS
happyhooligans
Hey Jackie, you must have clicked “allow” when the notifications box popped up when you were visiting my site. To unsubscribe from notifications for my site or any site, just follow the instructions in this link. Choose the instructions that suit the browser you use: https://support.pushcrew.com/support/solutions/articles/9000064230-a-website-is-sending-me-push-notifications-how-do-i-unsubscribe-
Kelly
I used all the same equipment you did (same paint, not watered down), and these looked gorgeous when wet (like your pics above). When the dried, they looked so incredibly washed out, dull, and muddy. Like a night and day difference. Such a bummer and not giftable. Nice idea, just didn’t work out.
Jackie Currie
That’s really strange, Kelly. We made these 3 years ago, and I still have mine (the “Jackie” one) on my fridge. It’s still as colourful as the day we made it. I can’t imagine, when you’ve used the same brand of watercolours as us, why you didn’t get the same results. I’m so sorry I don’t have an explanation for you.