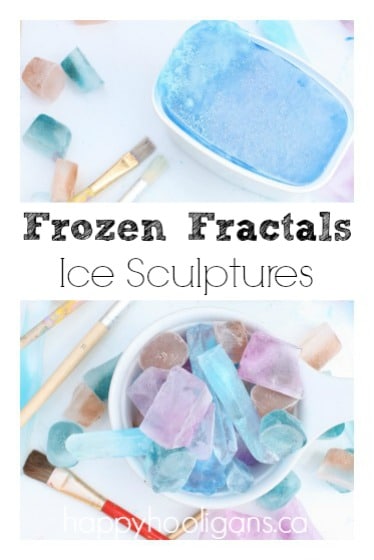
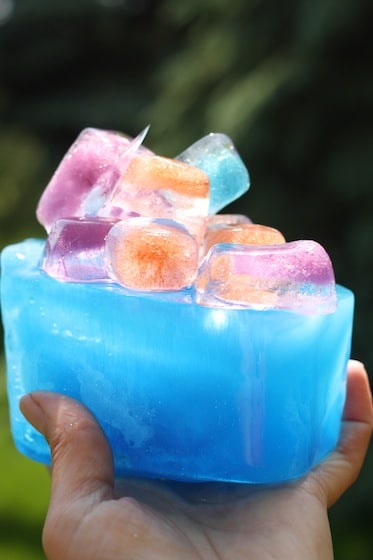
If you have any “Frozen” fans at your house, this Frozen Fractals Ice Sculptures activity will be a hit! It’s so easy to prepare, and your Anna and Elsa fans are going to love it.
We’ve done a number of “Frozen” activities here in my daycare recently, and they’ve gone over very well! If your kids are into science activities, this will be a hit whether they’re frozen fans or not. Colouring the water, freezing the ice and then building with it will be a thrill for any little budding engineer.
For your Frozen Fractals Ice Sculptures Activity, you’ll need:
For your convenience, this post contains affiliate links.
- Ice-cube trays
- larger plastic containers
- liquid food colour
, or Wilton gel coloursor liquid watercolours
- glitter
- paint brushes
- bowl of water
A few days in advance:
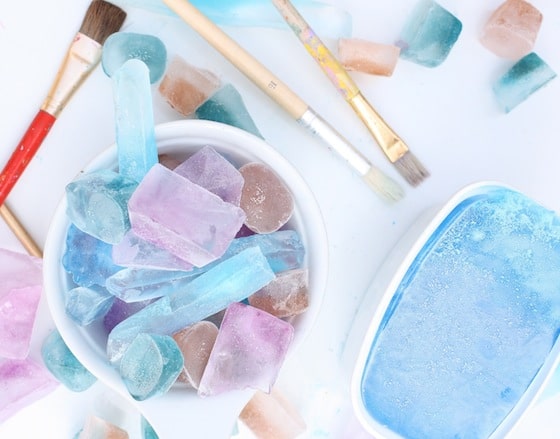
Freeze as many coloured, glittery ice cubes and ice blocks as possible. The easiest way to do this is to mix up a jug of water, colour it, dump in your glitter, and then fill a few trays with it.
Fill the jug again, tint it a different colour and repeat, repeat, repeat. Load your ice-cube trays up on a baking pan or cookie sheet and put the whole thing in the freezer. You can skip the baking sheet, but I find it keeps the ice-cube trays level, and catches any dripping/spilling that might occur.
If you’re wondering about the long, skinny ice cubes, those are for water bottles!
You can buy them here on Amazon.com.
If you’re in Canada, you can get them here.
In the UK, you’ll find them here.
On the day of the activity:
Simply pop your ice out of the ice-cube trays, and put them all in a bowl.
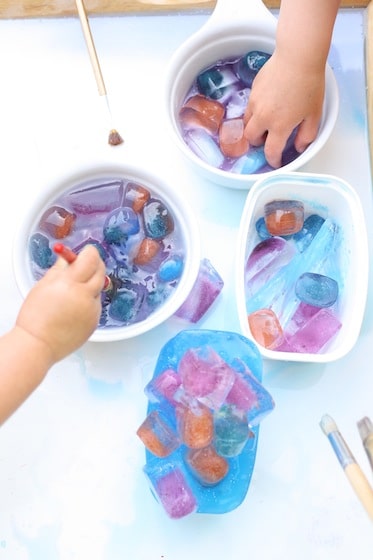
Provide a second bowl filled with cold water.
Set out the ice cubes and water along with some paint brushes. I set up the activity in the shade, on our outdoor activity table (read: thrift-shop coffee-table).
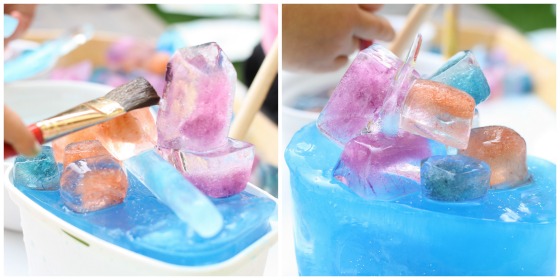
I explained to the girls that we were going to try to build an ice sculpture. They wet their brushes and pressed them to the big block of ice, and we took turns pressing coloured cubes to the larger blue block.
This was a bit tricky because the weather was so hot. In winter time, the wet blocks stick together in seconds because the water between them freezes so quickly. A great science lesson for kids.
Quite honestly, the girls preferred to scoop, pour and mix the ice cubes in the bowl of water. Hey, that’s to be expected. They’re 2, 3 and 4 years old. I, on the other hand, had quite a good time building my frozen fractal structure!
Isn’t it beautiful?
And… I have loads of glittery ice cubes left in my freezer! And I have more activities planned for them! Stay tuned!
More Ice Activities For Kids:
Get the 3-5 Playful Preschool e-Book!
25+preschool activities by 25 bloggers, 10 printables, 50 links to activities not featured in the book all for $8.99!
Follow the Hooligans on Facebook, Pinterest and Twitter!

Jackie is a mom, wife, home daycare provider, and the creative spirit behind Happy Hooligans. She specializes in kids’ crafts and activities, easy recipes, and parenting. She began blogging in 2011, and today, Happy Hooligans inspires more than 2 million parents, caregivers and Early Years Professionals all over the globe.



jenetamasson
What a fantastic activity!
pien
We used to do this frozen activity for a sunny frosty morning in the winter. Having watched the weather forecast for a few days ahead and putting the freezer full of ice cube trays and other containers. The colorful frozen shapes build in to a sculptures looked amazing with the sun light shining through them.
Even more exciting was when we knew it would freeze out side enough overnight to put out all sorts of containers with colored water, glitter, little objects etc and come out in the morning, tip out all the frozen shapes and build with them. The rest of the day we could watch them through the window whilst doing other in door activities.
Tia Fraser
Just curious what you do when the ice cubes melt, does the glitter go everywhere? Seems a little messy but very cool!
happyhooligans
We used a very fine glitter, Tia. All of the water was contained in the tray we were working over. You could pour it down the drain or let the spills evaporate and wipe the tray clean.
Birute Efe
it’s more than awesome. how didn’t i think of that!!!
Monique
Maybe I missed it but I didn’t see anything in the instructions about making a larger block of ice for the base. Seems like you should add that in, since sticking things to a larger block is part of the instructions. It looks like you just used a repurposed plastic food container?