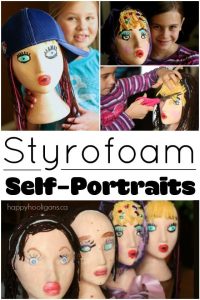
This styrofoam head self-portrait craft is an amazing art activity for kids to do for art class, craft camp or a craft session with friends. With paint, yarn, ribbons and craft jewels, your kids can create a custom image of themselves to hold hats and hairbands, sunglasses and jewelry or to display as a one-of-a-kind piece of art in their bedroom.
Do you ever hit on a craft idea for the kids, and somehow you just know it’s going to be a screaming success? That’s how it was with these styrofoam head self-portraits. I don’t know who was more excited about the process and the results – the hooligans or me – but I do know that this was, hands-down, one of the coolest self-portrait projects the kids in my daycare have ever done.
At the end of the Halloween season last year, I came across a bin of white styrofoam mannequin heads at Value Village (I’ll tell you where else you can get them in a minute), and I picked up a bunch.
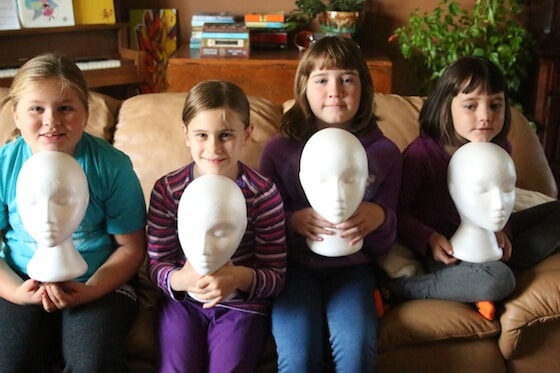
I wasn’t exactly sure what we would do with them but I knew that the 5-10 year olds would be up for whatever I came up with because hey, a styrofoam head is a pretty cool thing to have sitting in front of you on the craft table, right?
It took me a while to figure out precisely what to make with these heads. I thought about having the kids turn them into clowns or gory Halloween characters but then an even better idea dawned on me.
Self Portraits!
I had all of the heads sitting on the craft table when they arrived the next day, and you should have heard the squeals of excitement when they discovered them. They were so intrigued and wanted to know right away what we’d be making.
I asked them how they felt about self-portraits and a big cheer went up. “YEAH!!!”
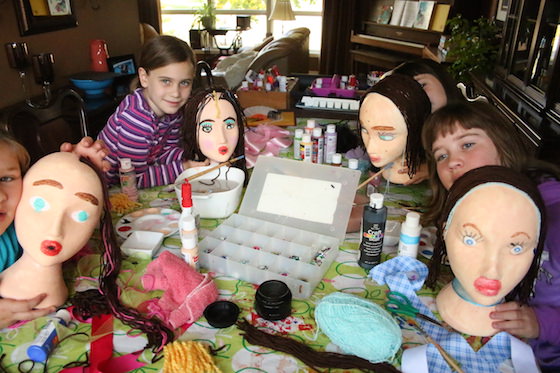
Well, what a huge hit. I can’t even begin to tell you how much the kids loved this art project. Start to finish, it took them a couple of hours to complete their self-portraits, and over the course of the morning, they said several times that this was the coolest craft they’d ever made.
I couldn’t agree more. It was really exciting watching them transform a bunch of plain styrofoam wig forms into beautiful pieces of art!
I took a ton of photos because every stage of the process looked so cool. It was hard to scale back to just the few that I’m sharing here. We were all so fascinated by the transformations that were taking place before our eyes that we literally oohed and aahed our way through the morning, totally getting giddy as each step of the project was completed.
This would be such a cool project for art class, or craft camp, but it’s also a great art activity for kids to do solo or with a few friends at home.
You may also like our small styrofoam self portrait ornaments for the Christmas tree.
First, let me tell you where you can find styrofoam heads and then I’ll tell you about the process.
For your convenience, this post contains affiliate links.
Where to buy styrofoam heads:
You can get inexpensive female and male styrofoam heads all year long here on Amazon. Styles vary and so do the prices, so just scroll through until you find one that suits both your tastes and your budget. Some are priced as low as $1.49 each, which is the best deal I’ve seen on the web.
Sally Beauty also carries foam heads, but I only saw female ones here on their website, and they do cost a quite a bit more than Amazon.
Hobby Lobby and Michaels websites carry male and female foam heads all year long, but again, they’re more expensive than Amazon.
And during the Halloween season, Walmart, Michael’s and Value Village stores will likely have them on their shelves.
Ok, let me show you how the kids made their styrofoam head self-portraits.
Supplies for our styrofoam head self-portrait craft:
We earn a commission from sales made via product links in this post.
- styrofoam head
- skin-toned craft paint (we used this colour to match the girls’ fair complexions)
- various colours of paint for eyes, cheeks, mouth etc.
- paint brushes in varying widths
- yarn
- ribbons
- craft gems and jewels
- glue
- scissors
Making our styrofoam head self-portraits:
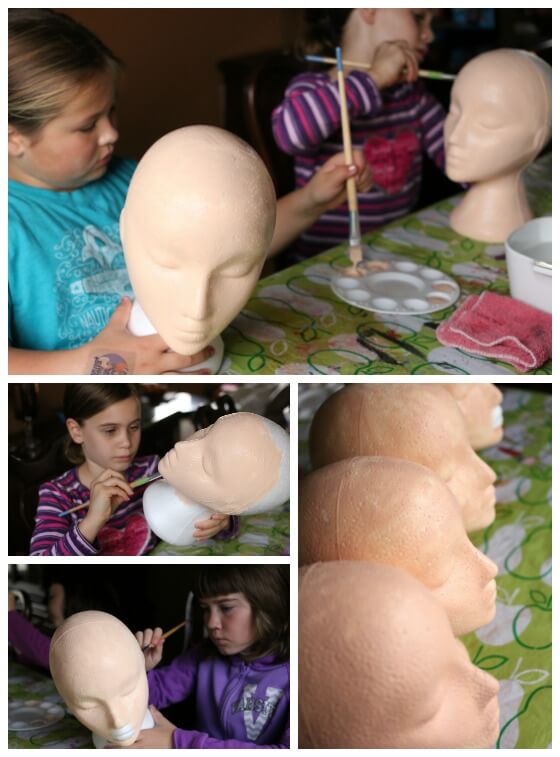
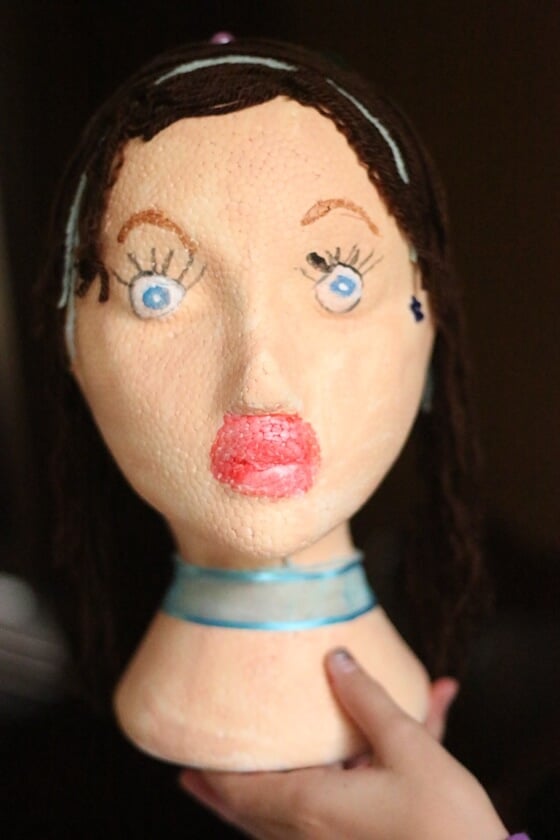
The kids began by painting their styrofoam heads with flesh-coloured acrylic craft paint. This in itself was exciting because we quickly saw their white mannequins’ faces start to look a little more realistic.
Then the real fun began: painting the features and details on their faces.
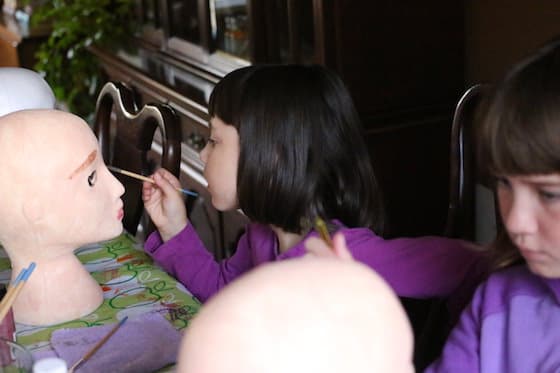
Most of the children started with the eyes of their self-portraits.
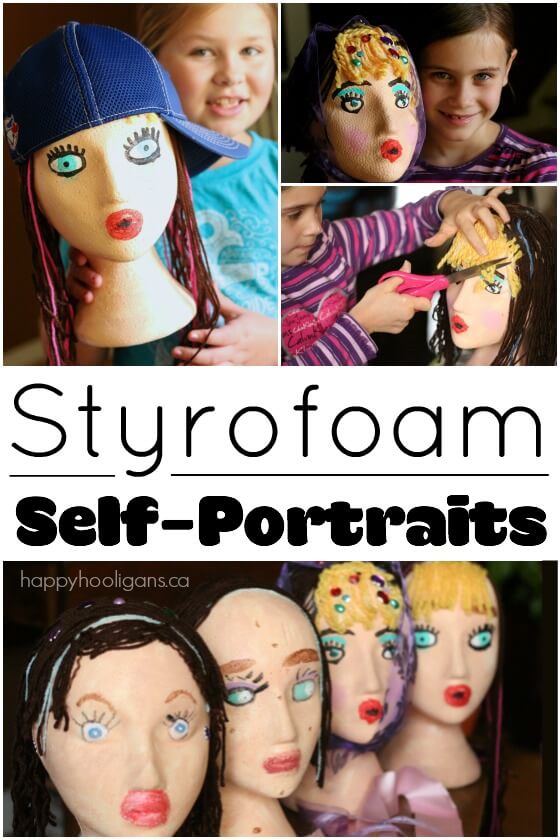
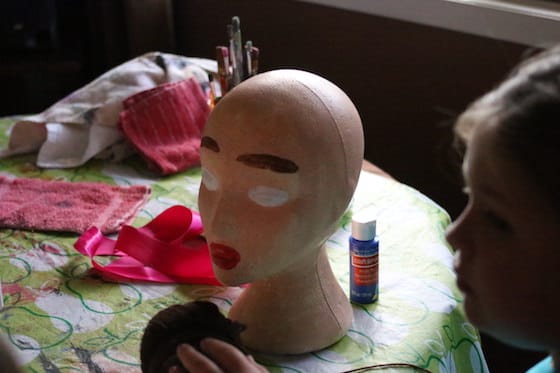
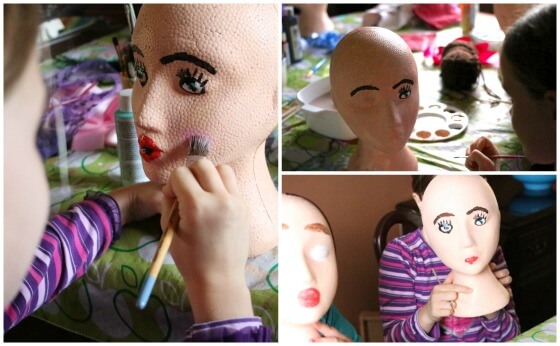
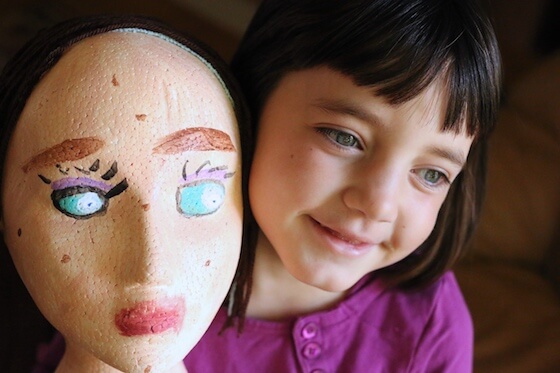
They painted the whites of their eyes and then the coloured pupils. They outlined their eyes with fine liner brushes, and painted on eyebrows.
It was so exciting to see the faces with the eyes painted on. They started to look so life-like!
Next, they dipped their brushes in varying shades of pink, red and coral, and painted their mannequins’ mouths.
Some stippled on rosy, pink cheeks and dotted on freckles and beauty marks to make their self-portraits unique.
And then they gave added the hair to their mannequins. This part of the project took the longest, but was perhaps the most fun of all.
The kids sifted through our yarn collection, choosing just the right colours for their hair and any fun highlights they wanted to add.
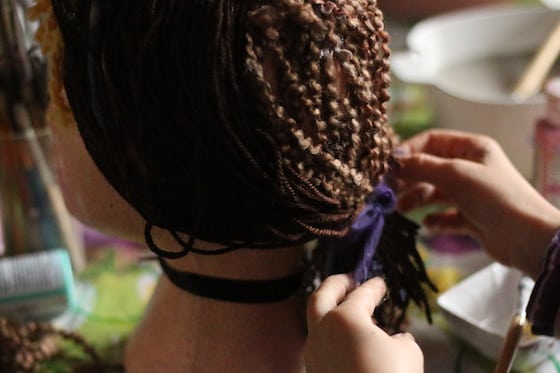
They cut their hair into long strands and glued them to their mannequin heads.
Some of the kids glued the hair onto their styrofoam heads in batches, but others took painstaking care to glue the strands on one by one. You can imagine why this part of the project took the longest to do!
Then – and this was so much fun – they trimmed their mannequins’ hair to even it all out. I think they enjoyed the hair-cutting part of the process most of all. It was like playing hairdresser with a rather life-like head of hair in front of them. .
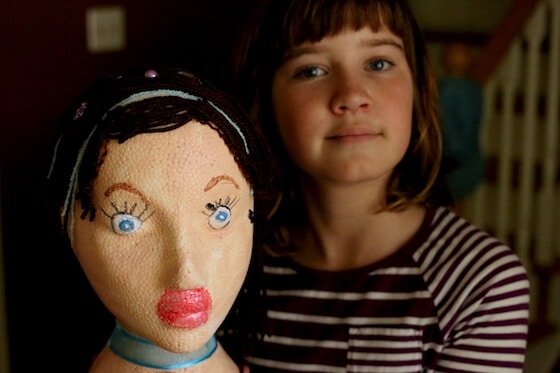
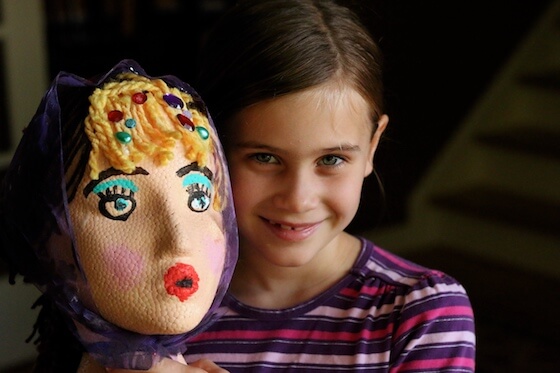
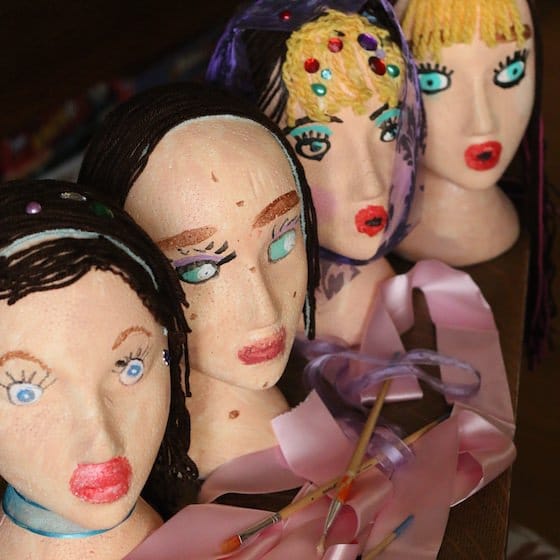
To finish, they styled their mannequins’ hair and added some gems and jewels. Then, using ribbons, they made scarves, necklaces and headbands.
They were so excited with the finished results!
I asked the kids what they were going to do with their styrofoam head self-portraits when they got home. They had all kinds of great ideas.
One said she would use hers as a hat rack to hold her ball caps and sun hats. Another said she would keep all of her hair bands on her mannequin’s head. Another child said would use her mannequin to hold her sunglasses, and yet another said she was simply going to display her self-portrait on her dresser in her bedroom.
Great ideas, kids!
And now that the Halloween season is here again, I’m going to pick up more of these styrofoam heads. I’m sure we’ll have no problem coming up with another super art activity to do with them.
For more fun self-portrait crafts for kids, check out our:
Get the 3-5 Playful Preschool e-Book!
25+preschool activities by 25 bloggers, 10 printables, plus links to 50 additional crafts and activities all for $8.99!
Follow the Hooligans on Facebook

Jackie is a mom, wife, home daycare provider, and the creative spirit behind Happy Hooligans. She specializes in kids’ crafts and activities, easy recipes, and parenting. She began blogging in 2011, and today, Happy Hooligans inspires more than 2 million parents, caregivers and Early Years Professionals all over the globe.






Leave a Reply