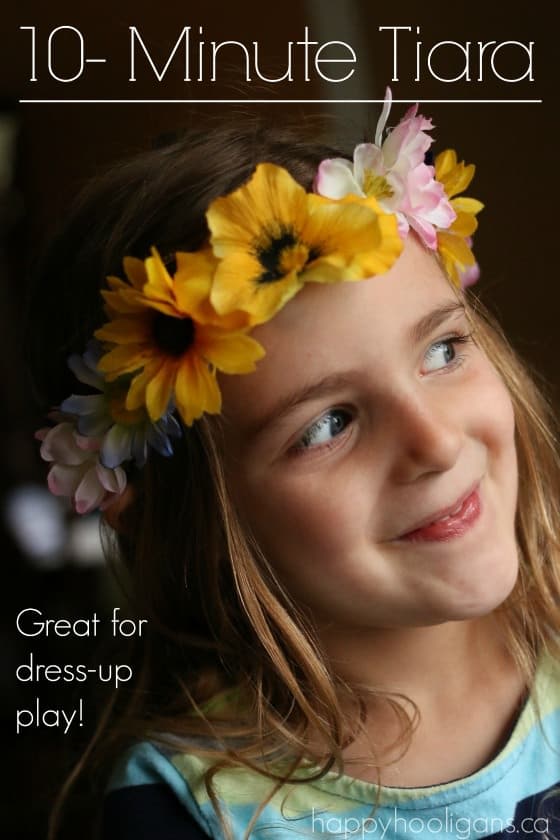
Kids can make this adorable flowered tiara craft in minutes with a low-heat glue gun and a handful of artificial flowers. It’s a great craft for kids who love fairies and princesses and dress-up, and it would be an easy, inexpensive homemade headpiece for a costume as well!
I’m so excited to show you the fairy-princess tiaras we made yesterday! They’re so easy to make, and they look AMAZING!
You know how sometimes the best craft ideas just hit you right out of the blue?
That was the case with this flowered tiara.
We were sorting through our bin of artificial flowers, thinking of what we could make when the idea hit me.
See, I’ve been thinking about teaching the kids how to make daisy chain head-pieces. I love old-fashioned, classic crafts and the hooligans love flowery, princess and fairy crafts, so daisy chains would be a win-win.
The trouble is, spring is “springing” super-late this year, and our garden is only just starting to come to life. It’s going to be a while before we see any daisies.
So… when we were sifting through the fake flowers yesterday, and a couple of artificial daisies tumbled into my hand, I thought: A-ha! We can make a tiara with our artificial flowers!
A couple of years ago, we made these flowered tiaras with paper bags and artificial flowers, but the tiara I came up with yesterday is even quicker and easier to make. I’m pretty sure this new tiara will last indefinitely too, which I’m not sure could be said about the paper bag version.
Before I show you how we made them, I need to tell you how much of a hit our tiara was.
First of all, it was quick and easy to make. It seriously took us less than 10 minutes from start to finish.
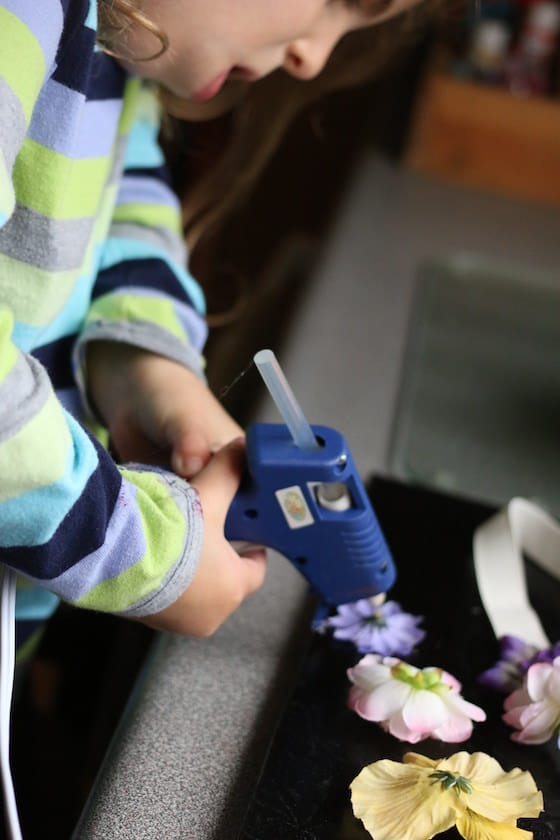
We learned a new skill; it was the first time that this particular hooligan had used a low-heat glue gun. (You can read about my love of low-heat glue guns for preschoolers here.)
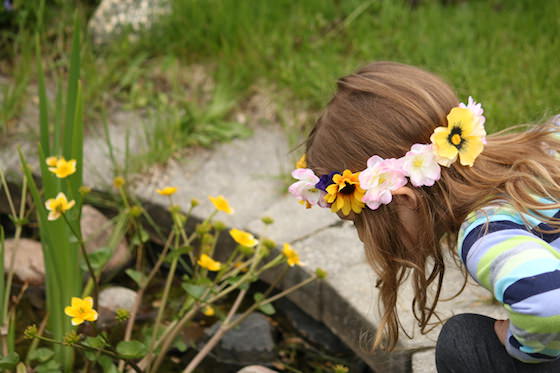
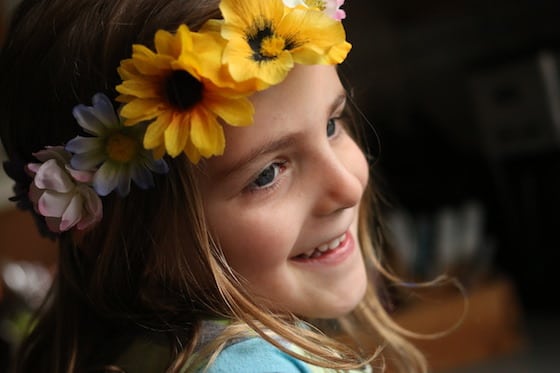
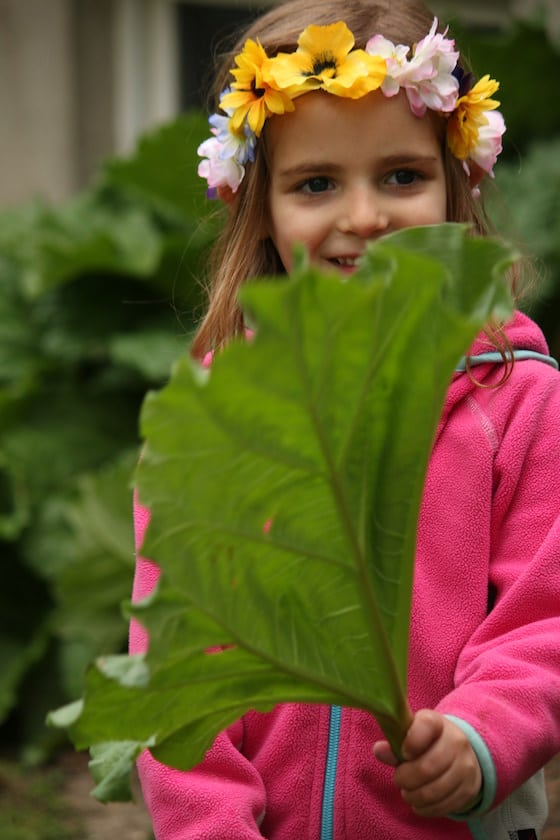
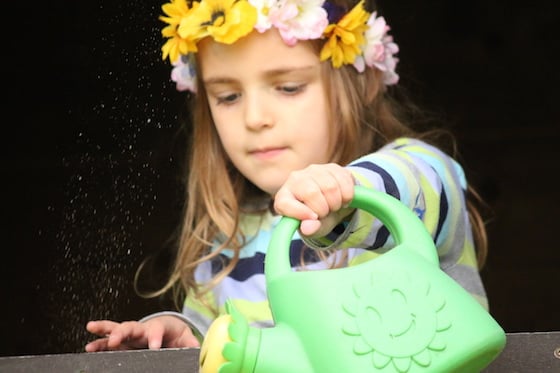
And the best part… She ADORED her tiara. With the exception of lunch and quiet time, she wore it all day long, and truly felt like a princess.
Ok. Are you ready to make one?
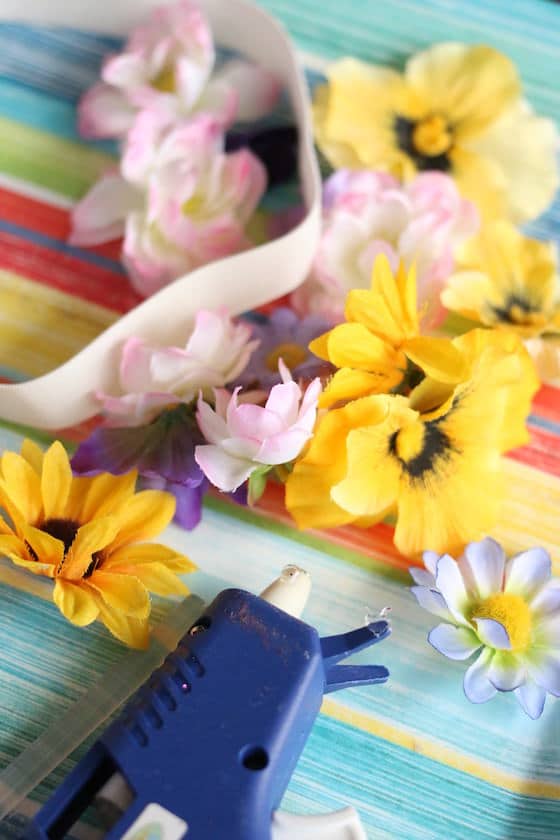
To make our flowered tiara craft, we used:
For your convenience, this post contains affiliate links.
- one length of white elastic (ours was 3/4 inches wide)
- artificial flowers
- scissors
- low-heat glue gun
The elastic portion of the tiara:
To start, I got a piece of white elastic from my sewing basket. To get the size right, I measured it around my little friend’s head, and just held it in place with my fingers where the ends met. I walked it over to the sewing machine, and using a zig-zag stitch, I ran it back and forth under the needle enough times that the stitching would be secure. From start to finish, that whole process took about a minute.
Then, we plugged in the glue gun, and while it warmed up, we selected the flowers for the tiara.
Young children and glue guns:
We placed everything on the kitchen counter, and I delivered my “glue-gun pep talk”
Even though our daycare glue guns are the low-heat kind, I always make sure I tell the kids that the glue is hot (well, it’s actually just VERY warm), and I warn them not to touch the glue or the nozzle of the glue-gun where the glue comes out.
I also place a bowl of ice water beside our work station JUST in case anyone gets glue on their finger, and needs to cool it off. The bowl is more for peace of mind than anything. We’ve never had any mishaps. It IS a great trick to remember when you’re gluing with your HOT glue gun though. Man, I’ve had plenty of personal mishaps with mine, and that bowl of water is magic when your finger is on fire!
Ok, back to our tiaras…
Assembling our tiara:
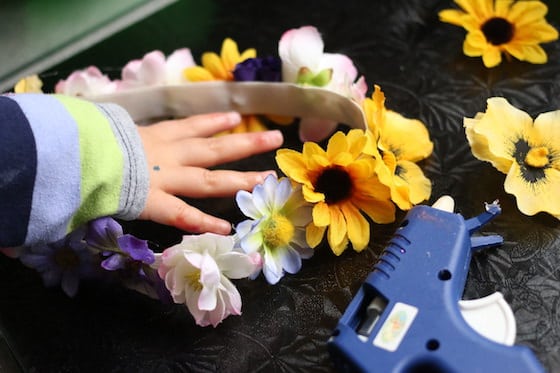
With our glue gun warmed up, and supplies and materials spread out on a tray (it’s actually one of those foil-covered boards that a grocery store birthday cake comes on), we began gluing.
We lined the flowers up on the tray, and worked with them one at a time. We squeezed glue onto the back of the flower, and then pressed the flower to the elastic, holding it in place for a few seconds. Each new flower got tucked up nice and close to the one before it so the elastic would be completely hidden by the flowers.
We could have held our flowers, to apply the glue to the backs of them, but young children will likely need two hands to manipulate the glue gun, so it was easier to have the flowers sitting upside down on the tray, and to squeeze the glue onto them that way.
We continued gluing the flowers all the way around the elastic until it was completely covered.
And then…. so exciting…. She slipped her enchanting, flowered tiara on, and was instantly transformed into a fairy princess.
She LOVED it, and she wore it all day long.
Don’t YOU just love it a kids craft as simple as this? So easy! So fast!
And so beautiful!
If you enjoyed this tiara craft, you need to check out:
30 fairy crafts and activities for kids
Get the 3-5 Playful Preschool e-Book!
25+preschool activities by 25 bloggers, 10 printables, 50 links to activities not featured in the book all for $8.99!
Follow the Hooligans on Facebook, Pinterest and Twitter!

Jackie is a mom, wife, home daycare provider, and the creative spirit behind Happy Hooligans. She specializes in kids’ crafts and activities, easy recipes, and parenting. She began blogging in 2011, and today, Happy Hooligans inspires more than 2 million parents, caregivers and Early Years Professionals all over the globe.



Leave a Reply