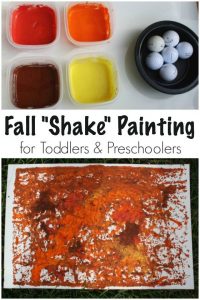
Here’s a really fun fall art activity that will get toddlers and preschoolers moving and shaking while they explore the colours of Fall. Golf balls, paint and a cardboard box are all you’ll need for this easy activity.
We’re doing lots of fall crafts here in my daycare these days, and the kids have really enjoyed some of the fall art projects we’ve done.
We’re trying a really fun art process that I’ve seen all over the we lately – painting with GOLF BALLS!
To be honest, when I’ve seen this activity online, people usually use marbles and paint, but we don’t have any marbles, so we’re improvising with golf balls.
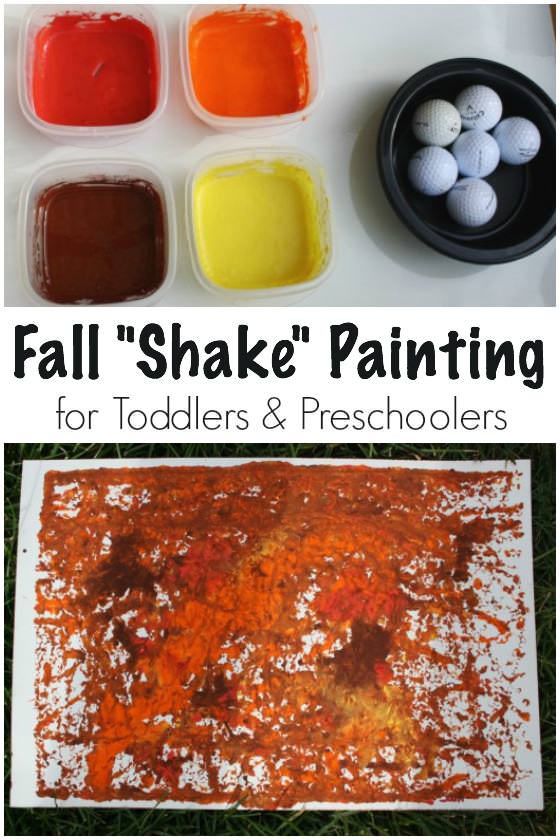
So fun!
This was one of the funnest art activities the toddlers and preschoolers have done this year. I love that it’s easy enough for even the youngest children to have complete control over.
Before the kids got started on this easy art project, we talked about Fall in general. We discussed how Fall can also be referred to as Autumn, how the weather turns cooler, how the leaves fall of the trees, and how those leaves turn colour. Then we looked at the trees around us, and noted what colours of leaves we could see. The children identified the colours red, orange, yellow and brown.
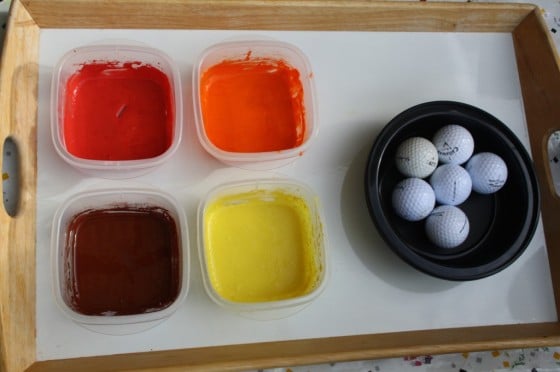
I asked them if they’d like to create some fall art in those colours, and of course they were excited. They jumped up and down, saying “Yeah! Yeah! Yeah!”. Don’t you love how excited little kids get about the simplest things?
To do this Fall Art Activity, you’ll need:
- Cardboard box
- white paper or card stock
- paint
- golf balls
Painting with golf balls:
We put a piece of white cardboard (you can use any kind of paper, or card-stock. We just happen to have a lot of white cardboard) into the bottom of a cardboard box. Then we dribbled Tempra Paint onto the white cardboard (this was the only part of the activity that I participated in, simply because I wanted to control the amount of paint that went into the box – you don’t need a lot.
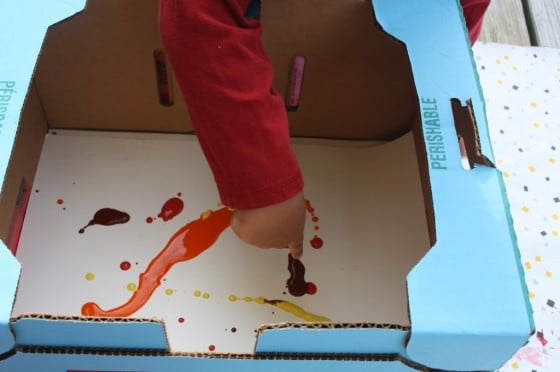
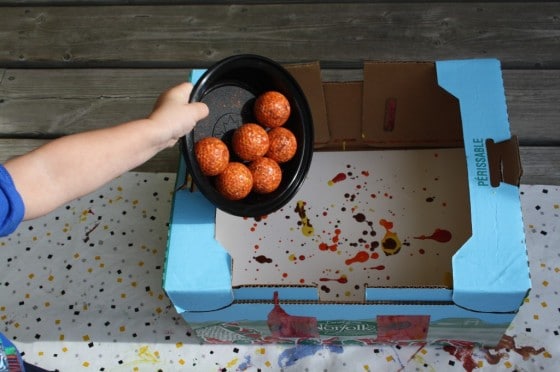
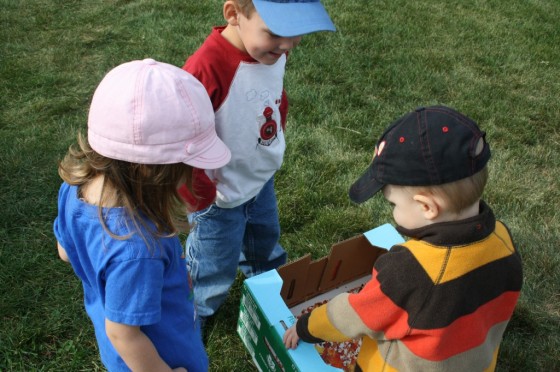
The Hooligans tossed the golf balls in, and then they tipped, tilted, jiggled and shook the box, and let the golf balls do their thing.
They jumped and bounced and danced around, shaking the box back and forth and up and down, watching the golf balls make tracks through the paint.
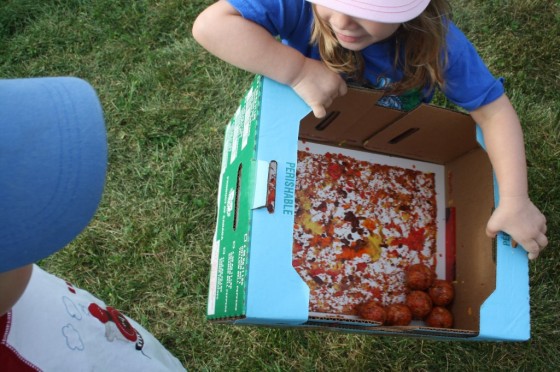
They found it so exciting to watch their white paper transform into a colourful piece of art.
I loved that they were all so supportive and encouraging of whoever was shaking the box.
They cheered each other on, saying “Good job”, “That’s the way!”, and “You’re doing it!” to each other.
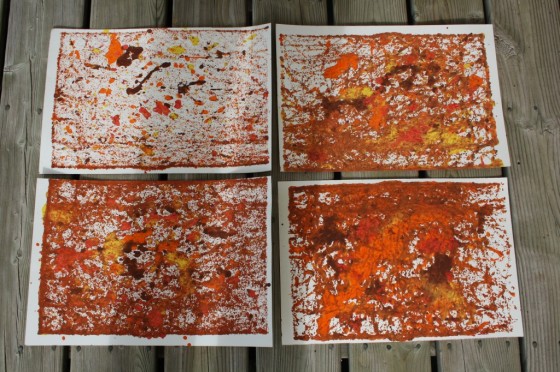
The results were truly beautiful!
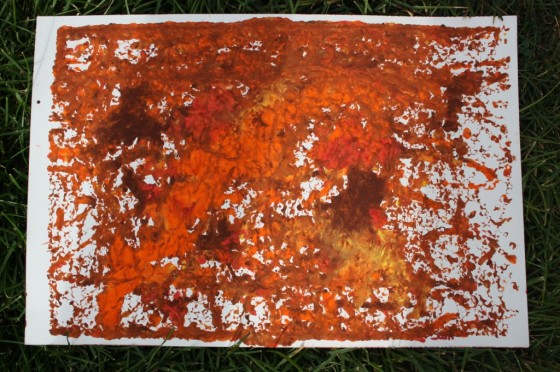
What was really neat, was because the centre of the golf ball is making the tracks, our paintings naturally had an unpainted white border all around the edges.
If your toddlers and preschoolers haven’t tried painting with golf balls, you have to give this art activity a try! It’s so, and the kids will have a blast.
I think these pieces will look lovely displayed in our play room.
More Fall Art for Toddlers and Preschoolers
- Fabulous Fall Collage for Toddlers and Preschoolers
- Fall Scrape Painting
- Apple Stamping with Fall Colours
Get the 3-5 Playful Preschool e-Book!
25+ Preschool activities by 25 bloggers, 10 printables, PLUS 50 links to activities not featured in the book.
Click to download your copy now!
Follow the Hooligans on Facebook!

Jackie is a mom, wife, home daycare provider, and the creative spirit behind Happy Hooligans. She specializes in kids’ crafts and activities, easy recipes, and parenting. She began blogging in 2011, and today, Happy Hooligans inspires more than 2 million parents, caregivers and Early Years Professionals all over the globe.





2girlsandapoodle (joanne)
this looks fun! did you use lots of balls at once, or one at a time?
happyhooligans
We had 5 or 6 zooming around at the same time. I would recommend a box with tall sides. Ours even had a wee edge around the top which really stopped them from popping out.
WN Momma
We did a similar project with friends not to long ago.
We used tins and ping pong balls but same concept. Heheh .. I love the idea of the cardboard boxes and golf balls. The colors are gorgeous!! Around my little ones, though, balls tend to get thrown at some point so I think next we will try out the cardboard boxes but stick with the ping pong balls for saftey. 🙂 Beautiful work!!
Sarah
I’ve done something like this, and we used a box with a lid! Really keeps the balls from bouncing out “accidentally”, but you have to open the lid once in a while to check out how the picture looks. 🙂
Arianne
How fun! You could then take the painting and use it to die cut some leaf shapes.
happyhooligans
You definitely could. I think thinner paper would be best for that – easier for cutting than the cardboard. Thanks for the great idea. 🙂
Sherry
My pre-school kids love doing a mini version of this, Marbles in a 9″ round (or square) tin baking dish! 🙂 so much fun!!
me
I love the natural border made from the balls an the box. This is a great idea! I am a new follower
happyhooligans
Yes! I loved the “border” too. I didn’t even expect that, so I was surprised when it turned out that way. Thanks for coming on board!
sandy
We use different sized marbles and the results are marvelous!!!
happyhooligans
That would be pretty! I imagine bouncy balls in various sizes would work well too.
Aimee
The possibilities- you could cut leaf shapes out of these! Thank you for linking up to The Sunday Showcase!
Mom to 2 Posh Lil Divas
so fun and they really look great! the way the colors mixed was perfect – so fall like!!!!
thanks for sharing on the sunday showcase & I’ve shared on FB & twitter.
Bern
margie goodluck
Hello happy hooligans….from me in sunny Australia
just a quick note to thank you for sharing with us all, your passion for nurturing the creativity within all of us…especially children…! Thanks for sharing your fabulous ideas with such enthusiasm and colour. they are all so fun, creative, easy and affordable. all the best to you and your happy little hooligans….you are a blessing to us all. margie g xx
happyhooligans
What a beautiful comment to wake up to on a Monday morning, Margie! Thank you! It’s wonderful to know we’re inspiring others through our crafts and activities. Blessings to you! x
Ana
This looks like so much fun! I loved marble painting as a kids and this is a great variation. I wonder how it would be to use both marbles and golf balls…
Gillian
I’ve done this using marbles & different coloured & textured paper.
Kim
Now I know what to do with all those Costco boxes!! Thanks Jackie!
Mahala
we’ll be giving this a go – briliiant pieces of artwork! Now I know what to do with all my delivery boxes 😉
msmcdphd
Did this yesterday- a lot of fun for my 2 year old, and my husband was really impressed with the results. We just used 3 golf balls.
happyhooligans
Yay! Isn’t it a fun process? So glad you gave it a try!
Kristina Seifert
I have also take a long sand table, or similar table, and let the kids roll/toss the gold balls to the other end. They love doing this!