
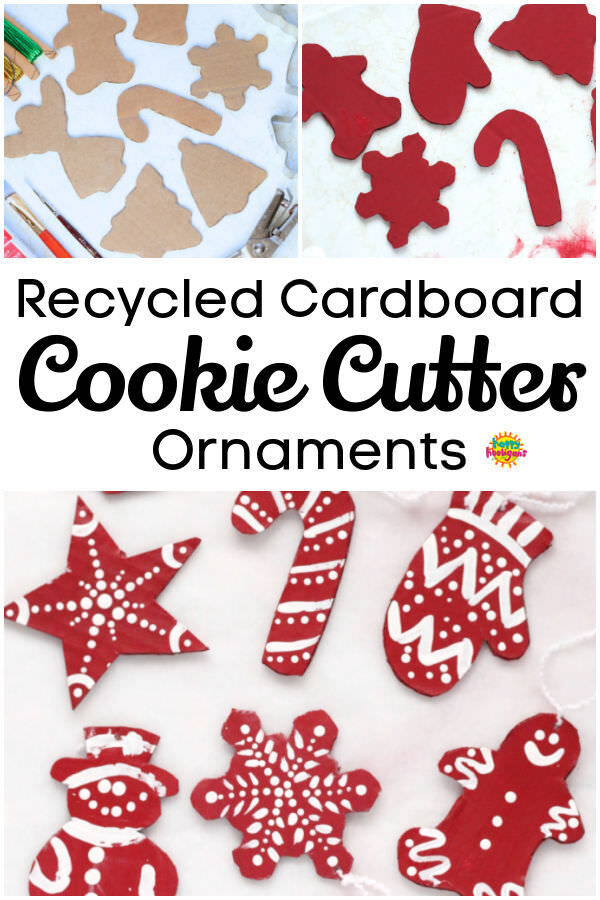
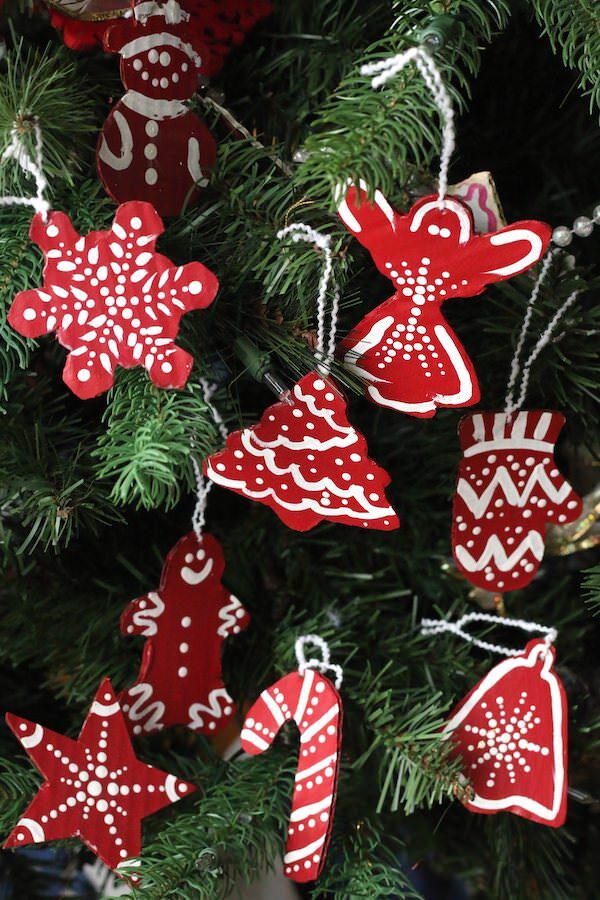
Using a scrap piece of cardboard, Christmas cookie cutters, and paint, kids can make gorgeous sets of colour-themed ornaments to hang on the Christmas tree. No cookie cutters? No worries… we have a shapes printable in the post for you.
Ok. I have the cutest, easiest Christmas craft ever to share with you today.
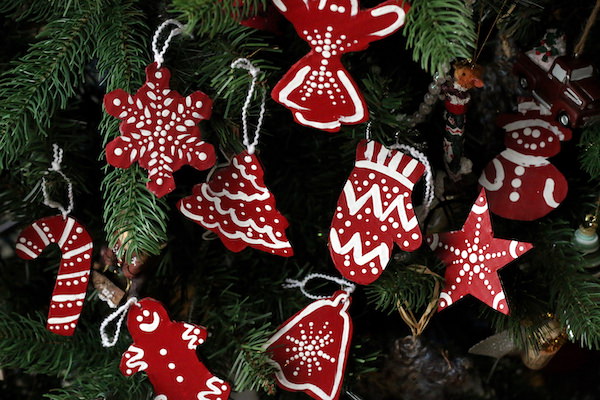
These simple red and white cookie cutter ornaments are so ridiculously easy to make, and so darn cute!
I love using cardboard to make Christmas ornaments. With a little creativity, you can turn a piece of cardboard into almost anything.
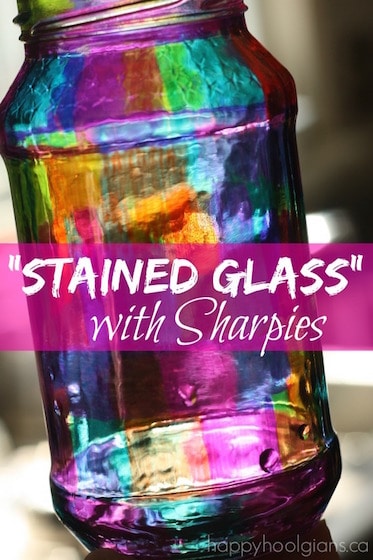
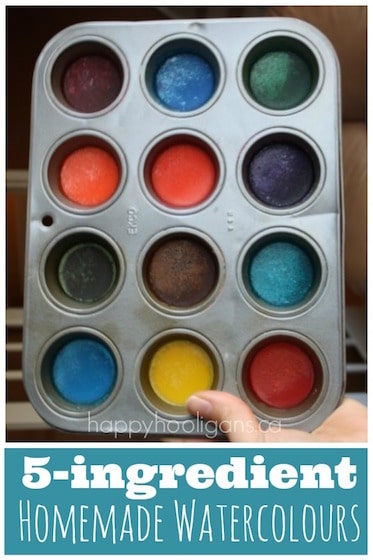
You can see some of our favourites here:
I came up with the idea for this craft when I was scrolling Amazon the other day, and these red and white Diamond Painted Ornaments (affiliate link) caught my eye.
I thought they were stunning but simple enough to replicate with just cardboard and paint.
Free Christmas Shapes Printable
We used Christmas cookie cutters to trace our shapes, but if you don’t have any, I traced ours, and turned it into a printable for you.
CLICK HERE TO PRINT OUR CHRISTMAS SHAPES
Get creative with your colours!
Don’t feel you have to make your set of ornaments red and white like we did. You can choose any colour you like and just add the details in white. I think it would be fun to make some really bright and colourful sets: turquoise/white, lime green/white, fuchsia/white etc.
Great for all ages
Kids of all ages will enjoy this simple Christmas craft. Older kids can make it with no assistance, while younger children may need help with the tracing and cutting.
Colour-Themed Cardboard Cookie Cutter Christmas Ornaments
For your conviencience, this post contains affiliate links. As an Amazon associate, I earn from qualifying purchases.
Supplies:
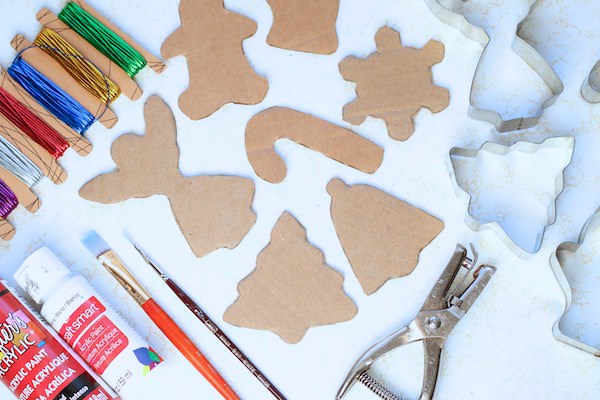
- cardboard
- pencil
- Christmas cookie cutters (or our printable) for tracing
- scissors
- white paint
- coloured paint
- paint brush
- thread or yarn for hanging
Instructions:
Printable instructions can be found at the bottom of this post.
STEP 1: Trace your shapes on the cardboard.
STEP 2: Cut out your shapes and punch or poke a hole in the top of each one.

STEP 3: Paint the shapes in one solid colour and allow to dry.
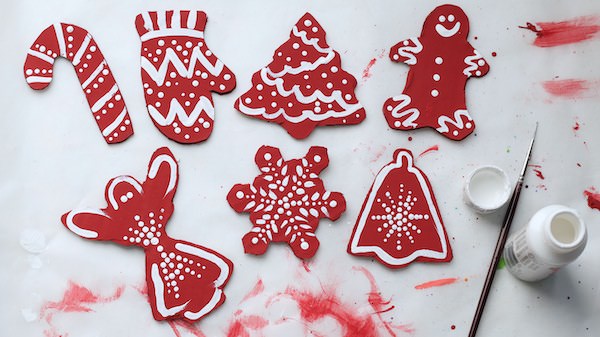
STEP 4: With the handle of your paintbrush, dot the details on each ornament.
STEP 5: Tie a piece of thread or yarn through the tops of the ornaments for hanging.
You’ll
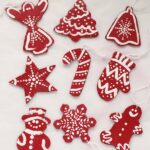
Colour-Themed Painted Cardboard Cookie Cutter Ornaments
Supplies
- cardboard
- pencil
- cookie cutter shapes
- scissors
- white paint
- coloured paint
- paint brush
- thread or yarn for hanging
Instructions
- Trace your shapes on a piece of cardboard.
- Cut out your shapes and punch or poke a hole in the top of each one.
- Paint all of the cookie cutters in one solid colour and let dry.
- Using the handle end of a paintbrush, dot details on each cookie cutter.
- Let dry, and then flip over and repeat the process on the back for a double sided ornament.
- Loop a thead or piece of yarn through the hole in the top of your ornament for hanging.
You may also like:
Cardboard “Vintage” Christmas Ornament Craft
Cardboard Sugar Cookie Ornaments
Get the 3-5 Playful Preschool e-Book!
25+ Preschool activities by 25 bloggers, 10 printables, PLUS 50 links to activities not featured in the book.
Click to download your copy now!

Follow the Hooligans on Facebook!

Jackie is a mom, wife, home daycare provider, and the creative spirit behind Happy Hooligans. She specializes in kids’ crafts and activities, easy recipes, and parenting. She began blogging in 2011, and today, Happy Hooligans inspires more than 2 million parents, caregivers and Early Years Professionals all over the globe.


Kathy
Awesome Sauce
FORKAN2811
Thank you!!1
agreso
Awesome Sauce
JOMES0713
Thank you!!1
Sarah
This is completely brilliant…..I have never thought of making my own cutters, I’ve always bought them. Thanks for making this tutorial, you are amazing!