Looking for a quick and easy homemade gift for your toddler or preschooler to make? These finger-painted paper weights are perfect, and they won’t cost you a thing!
The hooligans love making homemade gifts for their parents. We’ve made a number of paper weight crafts over the years. The older kids have made these ones:
- pour painted paper weights
- crystallized paper weights (with borax)
- chalk-rock paper weights
- Canada Day paper weights
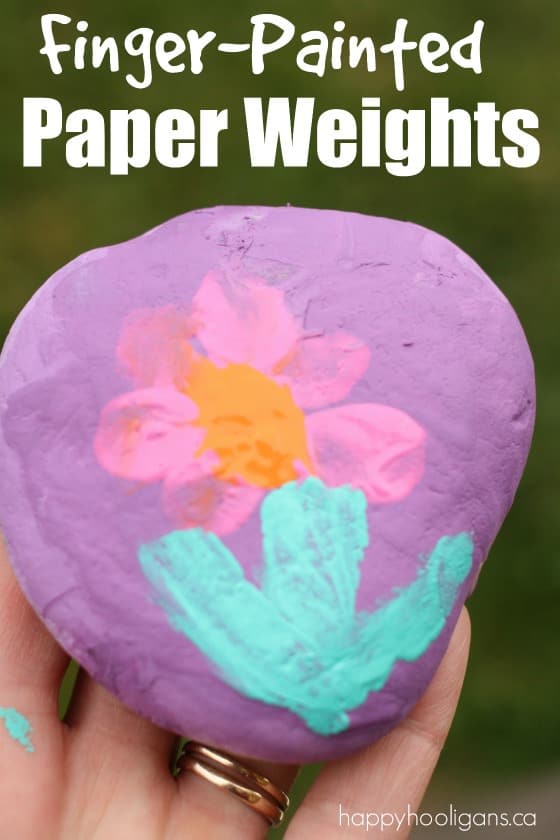
The finger-painted paper weights I’m sharing today are great paper weights for toddlers and preschoolers to make. They make a lovely Mother’s Day or Father’s Day gift, or a gift for a teacher or parent. iEveryone can use a paper-weight, right?
If you’ve been following us for a while, you know how much I love crafting with rocks and stones. First of all, they’re free (always a bonus), and they’re really fun to decorate.
One of the best things is that a trip to the beach is always in order when we’re making a rock craft. Our beach is covered with these smooth stones that are just perfect for painting on and crafting with.
Check out the links at the bottom of this post to see more of my favourite ways to play and craft with beach stones.
On this day, Miss Mess was hoping to make something for her mom for Mother’s Day.
We had been to the beach just a couple of weeks before, and had a nice big bucket of rocks just itching to be turned into something.
Paper weights are our go-to craft when we have rocks. We’ve made these painted paper weights before, and more recently we made these gorgeous crystallized rocks which can be used as paperweights.
Miss Mess thought she’d like to finger-paint some paper weights this time. I thought that sounded like a great idea.
She chose her rocks and her paint colours and she got to work.
For your convenience, this post contains affiliate links.
To make our finger-painted paper weights, you’ll need:
- clean, dry beach stone
- paint brush for the base coat
- acrylic craft paint
- craft sealer or varnish
It was a beautiful day, and we were crafting outside, so I put a plastic table cloth down on the deck to protect it from the paint.
Miss Mess started by base-coating her rocks with the acrylic paints.
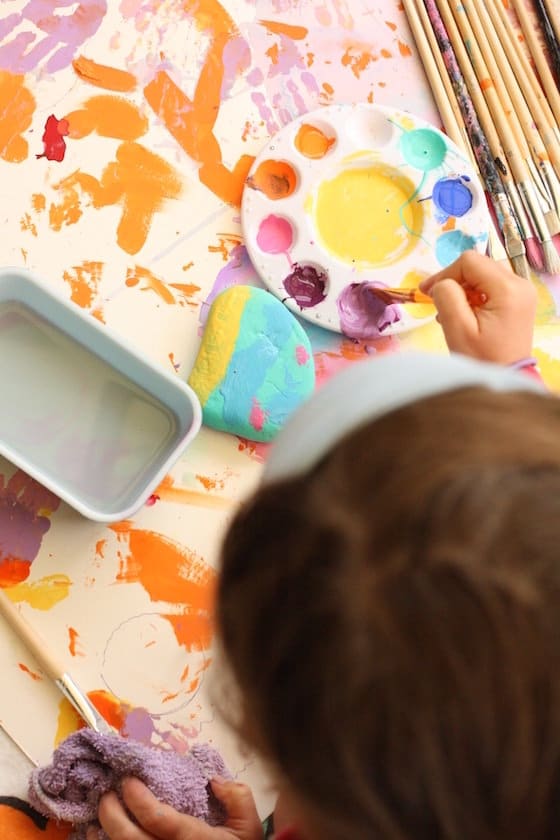
Acrylic paint dries quickly, especially in the sun/heat, so it didn’t take long at all for the rocks to dry.
Depending on the colour and thickness of your paint, you may need to give your rocks a couple of coats of paint. Just let the paint dry in between coats. Set it in the sun, or give it a blast with the hair dryer. That always speeds up the drying process.
Then she decided she decided on a picture to paint on her rock – a flower. We had just finished making these gorgeous flower drop ornaments, so flowers were very much on her mind.
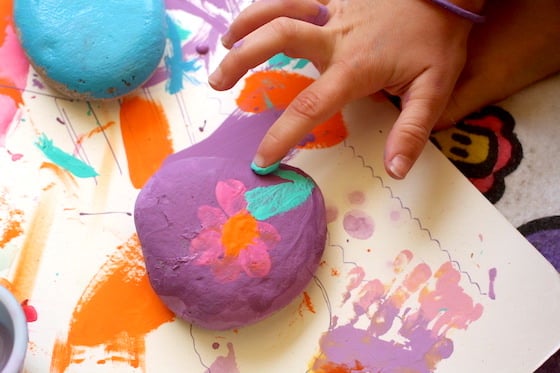
She started by painting the petals of the flower. She pressed a finger into the paint tray, and dotted the paint around the top of the rock. She added a “center” to her flower, and then she added leaves and a stem by trailing a painty finger over the smooth surface of the rock.
Voila! A pretty finger-painted flower atop a homemade paper-weight for mom!
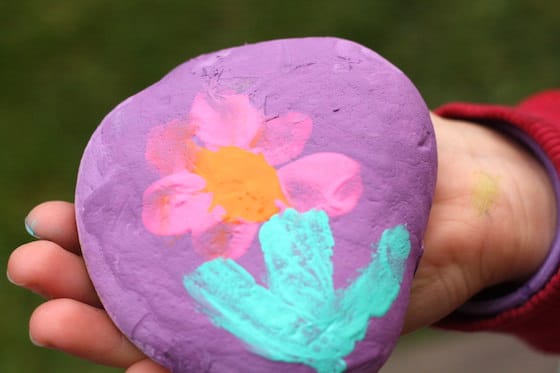
When your paper weight is completely dry, give it a coat or two of craft sealer.
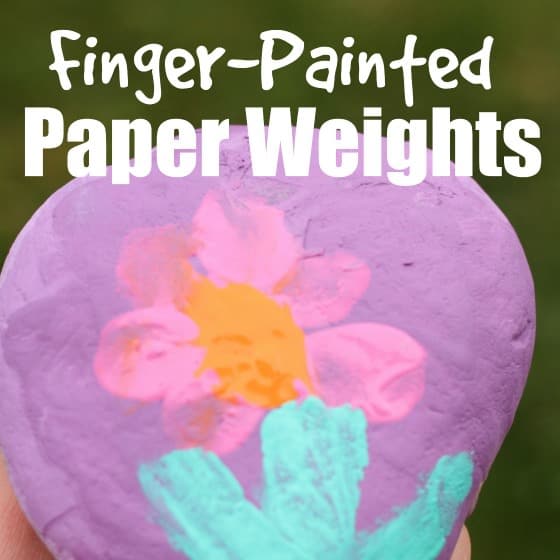
I didn’t get a picture of ours before we varnished, but a coat of varnish will add a lovely sheen to your rock (see what I mean here) , and it will protect the paint from ever being scratched.
More rock and stone crafts for kids:
Get the 3-5 Playful Preschool e-Book!
25+preschool activities by 25 bloggers, 10 printables, 50 links to activities not featured in the book all for $8.99!
Follow the Hooligans on Facebook!

Jackie is a mom, wife, home daycare provider, and the creative spirit behind Happy Hooligans. She specializes in kids’ crafts and activities, easy recipes, and parenting. She began blogging in 2011, and today, Happy Hooligans inspires more than 2 million parents, caregivers and Early Years Professionals all over the globe.




Leave a Reply