Skip to primary navigation
Skip to main content
Skip to primary sidebar
Skip to footer
Happy Hooligans
Crafts and Activities for Toddlers and Preschoolers to Tweens
Home
About
About Jackie Currie
Contact
Work With Me
Privacy Policy
Happy Hooligans Accessibility Statement
HOLIDAY CRAFTS
Christmas
Valentines Day
Mardi Gras
St. Patrick’s Day
Easter
Mother’s Day
Father’s Day
Canada Day
4th of July
Halloween
Thanksgiving
Remembrance Day
CRAFTS
Fall Crafts and Activities
Winter Crafts
Spring Crafts and Activities
Nature Crafts
Paper Plate Crafts for Kids
Toilet Roll Crafts
ART FOR KIDS
Kids’ Art Projects
Homemade Paint Recipes
Activities
Science Activities for Kids
Concoctions
Outdoor Activities
Backyard Play Ideas
Winter Activities
Sensory Play Ideas
Water Play
Messy and Muddy Play Ideas
Ice Play
Homemade Games and Toys
Fine Motor Activities
Recipes
Easy Family Recipes
Easy Soup Recipes
Dessert Recipes
Cookie Recipes
Kid-Friendly Recipes
Christmas Recipes
Parenting
Parenting 0-5
Books
Best Books for Boys – 40+ Fantastic Reads for Boys ages 8-16
75+ Best Chapter Books for Girls Ages 5-13
25+ More Great Books for Boys
Get My e-Books
Easy Sewing Projects
House and Home
Home Daycare
Search
Home
»
fine motor activities
fine motor activities
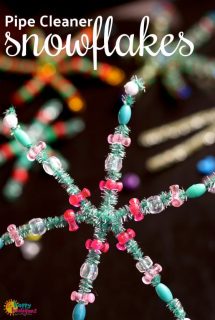
Beautiful Pipe Cleaner Snowflakes for Kids to Make
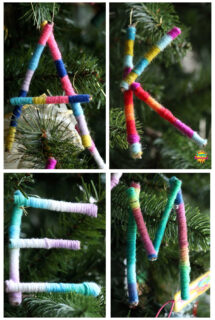
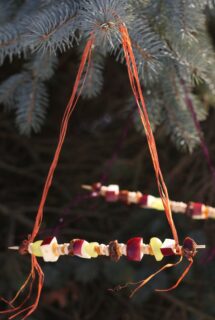
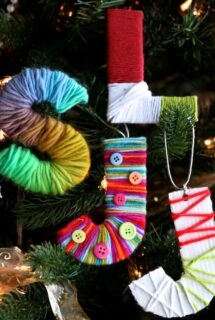
Colourful Yarn and Twig Initial Ornament
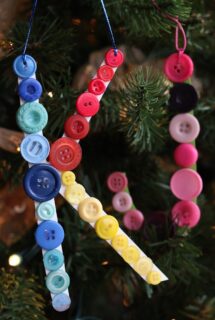
Cardboard and Button Initial Ornament
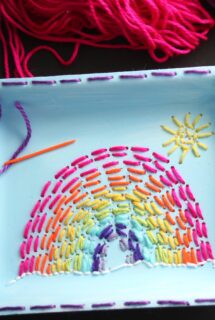
Yarn Rainbow Beginner Sewing Activity
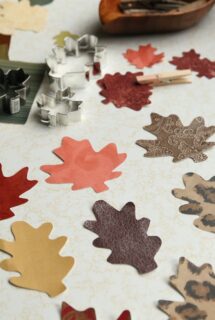
Leaf Matching Activity for Preschoolers (Printable Included)
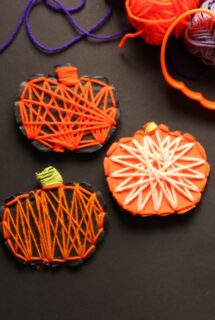
Cardboard Pumpkin String Art Craft for Kids
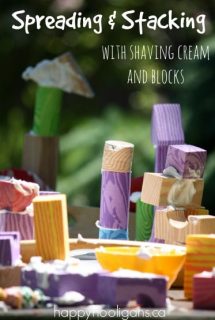
Teach Kids How to Spread with a Knife with Blocks and Shaving Cream
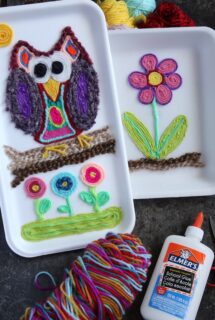
Yarn Painting For Kids (Huichol Style Yarn Art)
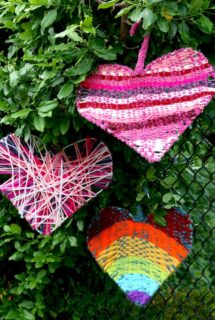
Coat Hanger Weaving – Hearts for Hope
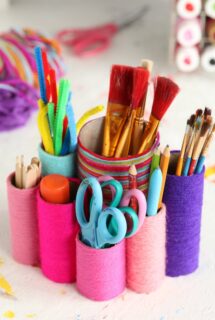
Yarn-Wrapped Toilet Roll Art Supply Organizer for Kids
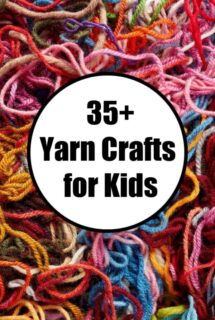
35+ Yarn Crafts for Kids
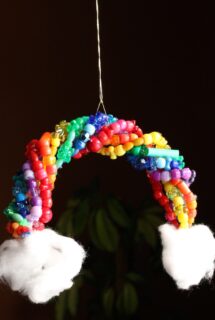
Beaded Rainbow Sun Catcher Craft for Kids
Fruit and Cheerios Bird Feeder
Yarn-Wrapped Cardboard Initial Ornaments
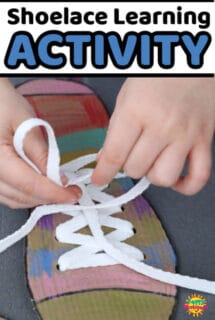
DIY Shoe Tying Practice Board
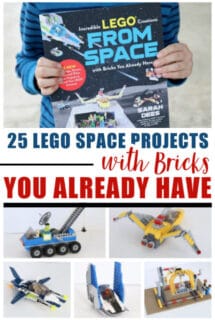
Incredible LEGO Creations from Space with Bricks You Already Have!
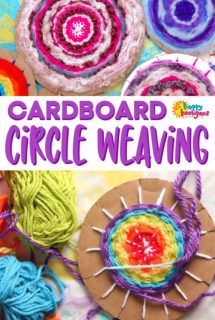
Easy Cardboard Circle Weaving for Kids
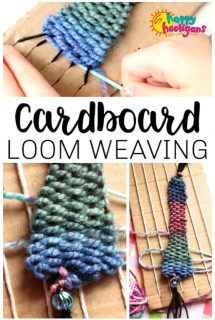
Cardboard Loom Weaving Activity for Kids
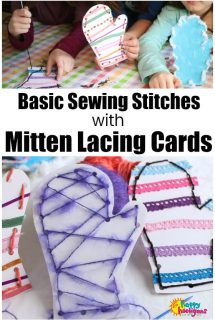
Homemade Mitten Lacing Cards
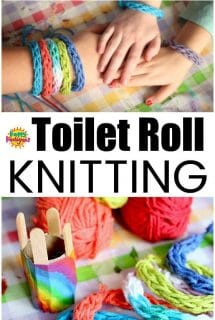
French Knitting for Kids (with a Toilet Roll Loom)
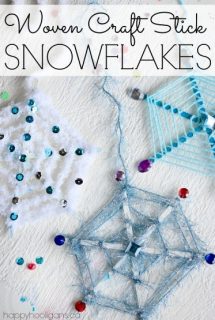
Woven Craft Stick Snowflake Ornaments
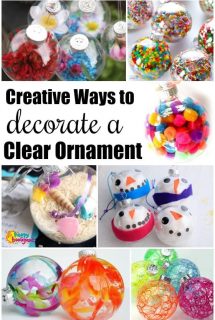
Clear Ornament Crafts for Glass or Plastic Ornaments
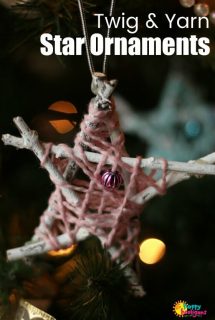
Yarn and Twig Star Ornaments for Kids to Make
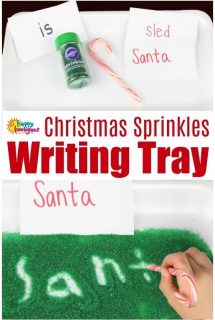
Christmas Sprinkles Writing Tray Activity for Kids
Page
1
Page
2
Page
3
Page
4
Go to
Next Page »