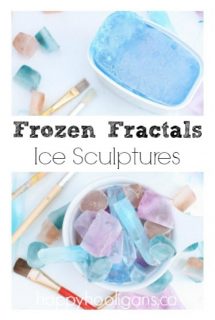
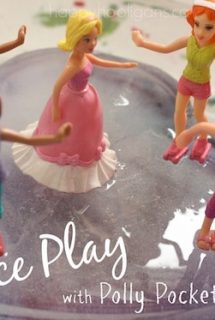
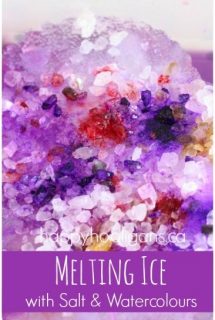
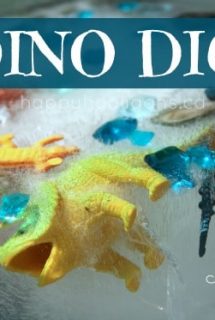
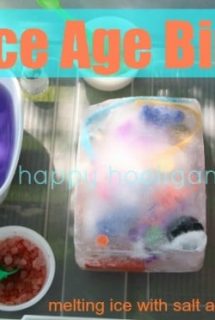
Ice Play Activities
If you're looking for fun and fascinating Ice Play Activities for toddlers and preschoolers to do at home, preschool or daycare, you'll find loads of creative ideas below.
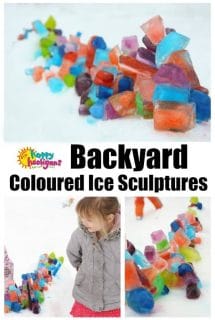
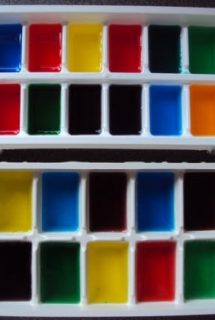
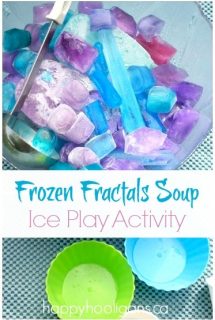
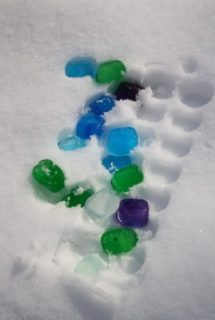
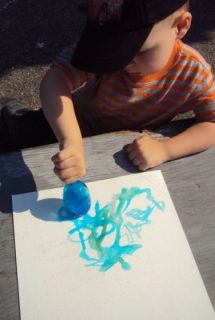
From icy sensory bins and frozen science experiments, to building coloured ice sculptures and making art with coloured ice cubes, there are so many easy ways to incorporate ice into your playful learning activities.
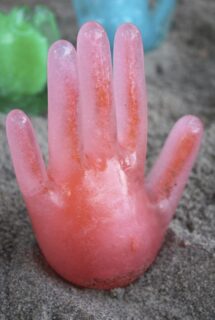
Playing with ice provides children with an exciting sensory experience, and the opportunity to observe how ice behaves when exposed to different temperatures and substances (i.e. water, salt etc.).
And the best part, for you as the parent, care provider or teacher, is that ice activities are super-easy to prepare and do. Just freeze your water the night before, provide the kids with some interesting tools and instruments and you're good to go!
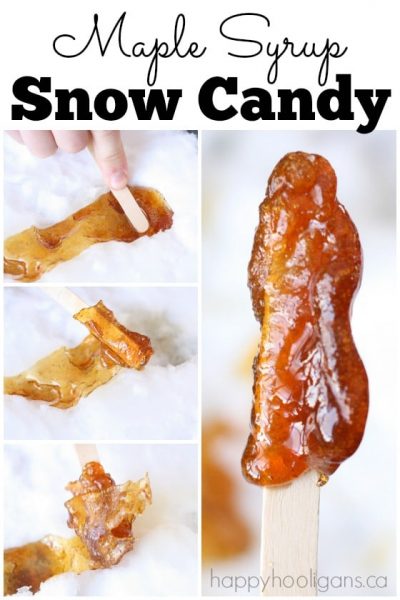
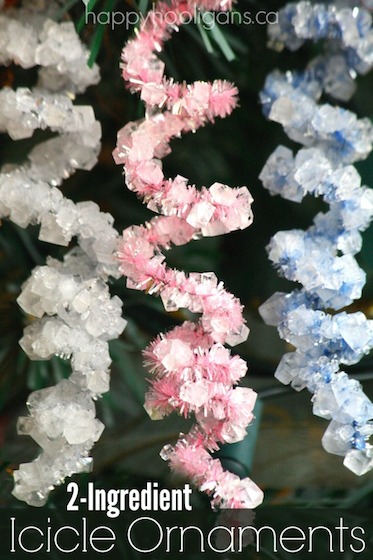
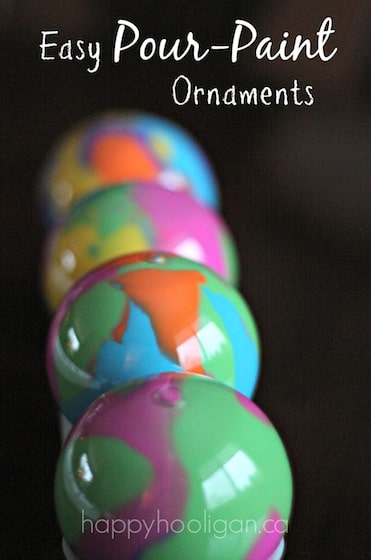
Click on the images on the pages below for the full instructions for each activity.