Painting with coloured ice – a great summer art activity for kids experience!
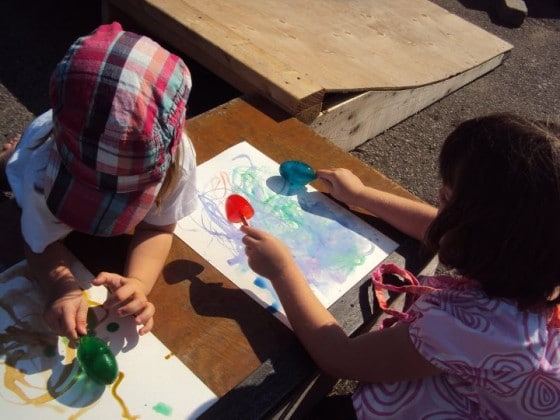
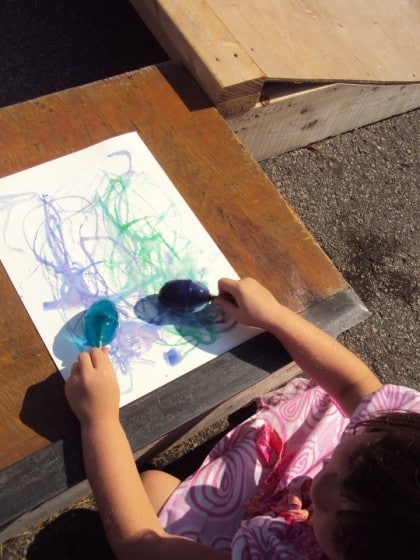
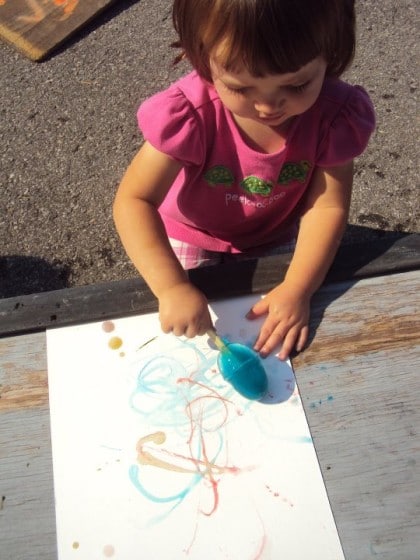
Check it out!! We were painting with coloured ice today! Every year, here in my daycare, I colour a batch of ice for the kids to get creative with. It’s always a hit with the kids no matter how old or young they are.
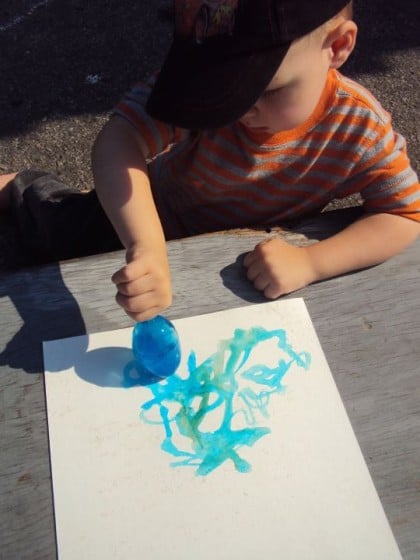
The colours are vibrant, the “paint” slides across the page beautifully, and the results are really pretty! They look like watercolour paintings.
An ice painting activity is really easy to prepare. I used an egg mold to make my coloured ice, but you can use ice cube trays, paper cups, popsicle molds etc. You can even paint with real popsicles, but I’m thinking the sticky-factor might be a bit of a put-off, especially if you’re planning on keeping your little one’s art-work. Not to mention it would be pricey and wasteful.
Here’s what we did:
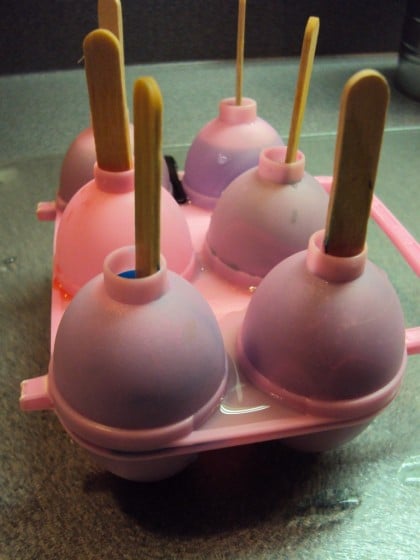
I filled the container to the halfway point, and then added some food colouring (I used the gel kind for cake decorating, which made for beautifully vibrant ice-eggs), snapped the case shut, and finished filling the eggs through the hole on top. There was a bit of leaking, as the case didn’t shut quite right, but I secured the two halves together with the caps of a couple of pens (I know, Einstein or what?).
Then, I dropped the popsicle sticks through the holes, and placed the case in the freezer (and totally forgot about it until today).
I popped the whole thing into a bucket of warmish water for a couple of seconds so the ice-eggs would come out easily.
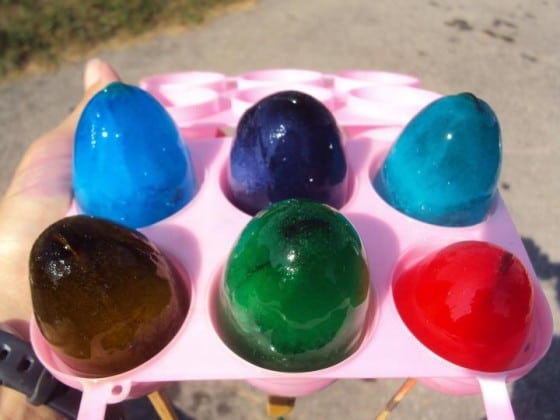
I couldn’t belive THE COLOURS when I opened it up.
Hello, my pretties!
One of the Hooligans’ grandparents brings us loads of thin white cardboard (a little thicker than Bristol Board) so that’s what we used as our canvases.
You could paint on anything really, but I suspect regular paper would get a fairly soggy if your ice was melting quickly (which ours was today, as it was a super hot afternoon).
Isn’t it pretty?
I was so excited! This was way better than I ever imagined it would be! The colours were gorgeous.
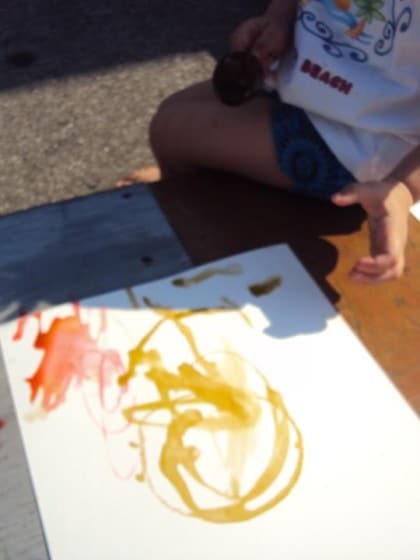
My advice would be to quit while you’re ahead though, because some of the paintings became really wet with all the melting, and the colours kind of blurred together, which was pretty, but not quite as interesting as the lines and squiggles that were so clear at the beginning.
This actually used up very little of the ice-eggs, so I popped them all back in the case and put them back in the freezer.
We’ll be able to do this several more times, before they run out.
Big hit! So easy, so beautiful! Give it a try, and let us know how it works out for you!
More Ice Play Activities for Kids
- Frozen Fractals Soup Activity
- Playing with Coloured Ice Cubes
- Dino Dig – Melting Ice with Salt and Water
- Melting Elsa’s Frozen Hands
Get the 3-5 Playful Preschool e-Book!
25+ Preschool activities by 25 bloggers, 10 printables, PLUS 50 links to activities not featured in the book.
Click here to download your copy today
Follow the Hooligans on Facebook!

Jackie is a mom, wife, home daycare provider, and the creative spirit behind Happy Hooligans. She specializes in kids’ crafts and activities, easy recipes, and parenting. She began blogging in 2011, and today, Happy Hooligans inspires more than 2 million parents, caregivers and Early Years Professionals all over the globe.



Jessi
BRILLIANT! I’ll have to look for those next Easter. That is the best painting with ice activity I’ve seen!!
Joanne
What fun! What you have is actually a jello egg mold, meant to make jello Easter eggs. Those are fun to make too!
happyhooligans
I had no idea, Joanne! Thanks for letting me know! Those WOULD be fun to make. 🙂
Kristin
That is a fantastic idea! I have used them for Jello, but would have never thought to make ice painting with them. What fun to use those as colored ice cubes in a punch at Easter!