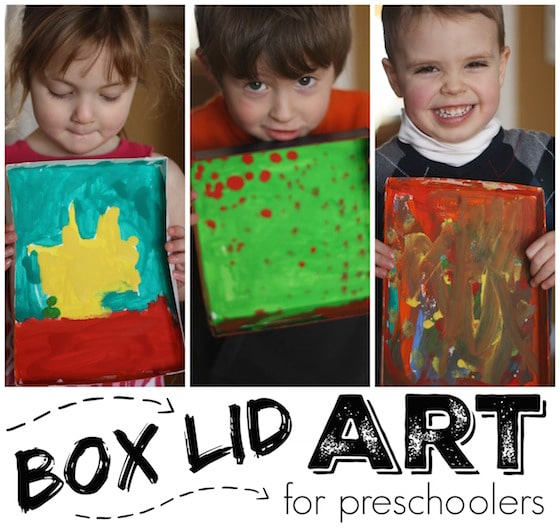
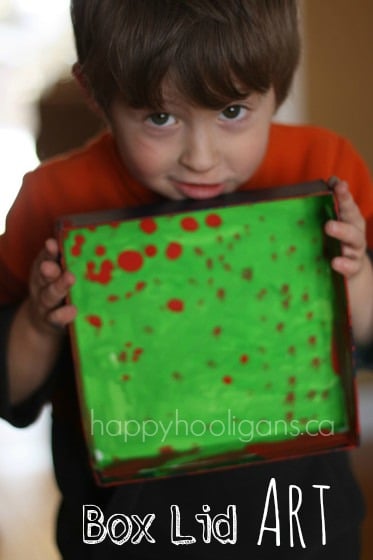
Box Lid Art: Kids can create a custom piece of art in a ready-made picture frame – the lid of a box!
We’re sprucing up the playroom here, so over the next few weeks my daycare toddlers and preschoolers will be doing some easy art projects that we can hang on the walls of the play room.
As most of you know, I like to keep our crafts and activities easy and affordable, so today, we’re using box lids as canvases for our art.
Our playroom is simple and furnished with all kinds of cast off goodies from around our home, and with thrift shop finds that I’ve accumulated over the years. Until last year, my daycare didn’t have a dedicated space in our home; when we were inside, but last year, I converted our seldom-used spare room and storage area into a rockin’ space for the daycare, and an area for all of our crafting and supplies. You can read about the awesome makeover, and see all the pics here and here.
We spend a lot of time playing and crafting in this room in the winter time, and I think having some hooligan-made art on the walls will look great
Using a box lid as an art canvas:
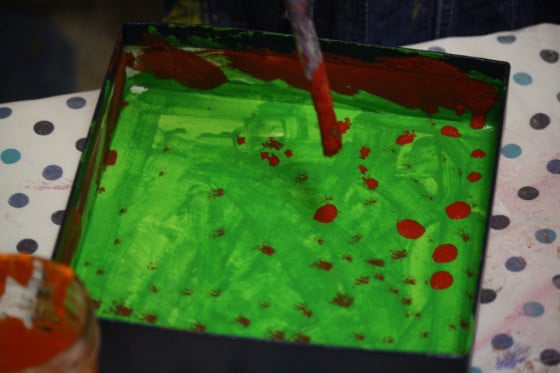
For today’s project, we used box lids that I’d saved from Christmas time. Box lids make a great canvas for a child’s art because the edges of the lids serve as a frame for whatever is created in the lid.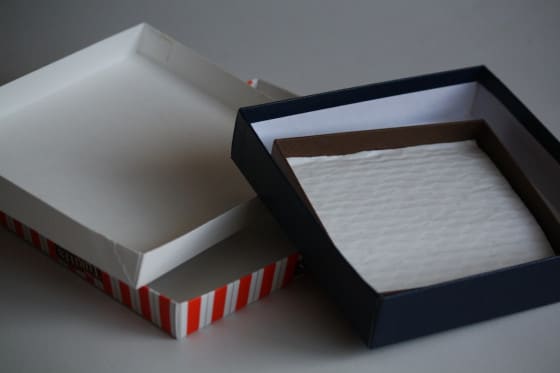
Box lid art is easy!
I set out several jars of tempera paint, and gave the hooligans no directions other than to try and keep each paintbrush with the jar of paint that I’d popped it into so the colours wouldn’t get too muddy. When we use powdered tempera paints, I’ve recently started mixing them in mason jars. They’re small enough that they can be held in a child’s hand, they’re heavy enough that they don’t easily tip, and I can pop the lids on and store any leftover paint for next time.

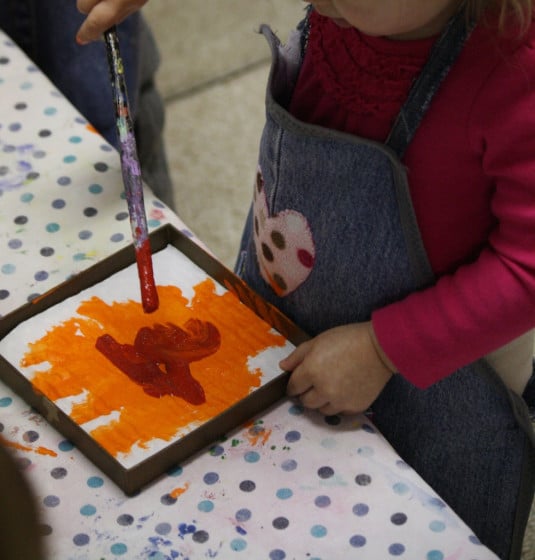
I’m always amazed when I watch these very little people get creative. Even at these young ages, each child has his or her own distinct style.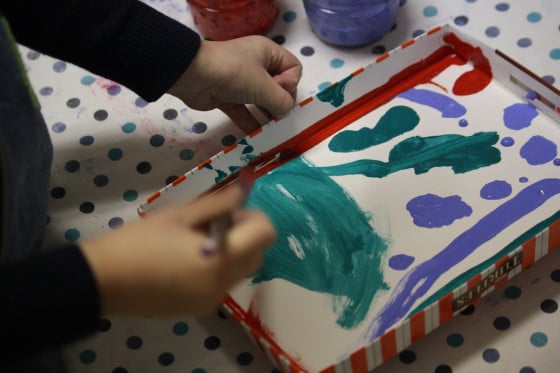
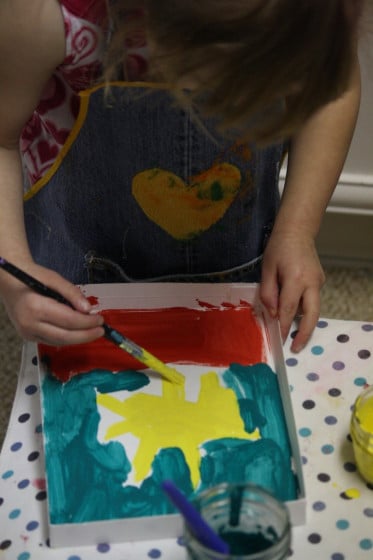
One had a specific image in mind that she wanted to paint.
Another painted very deliberately, being selective about which colours he chose and how he applied them.
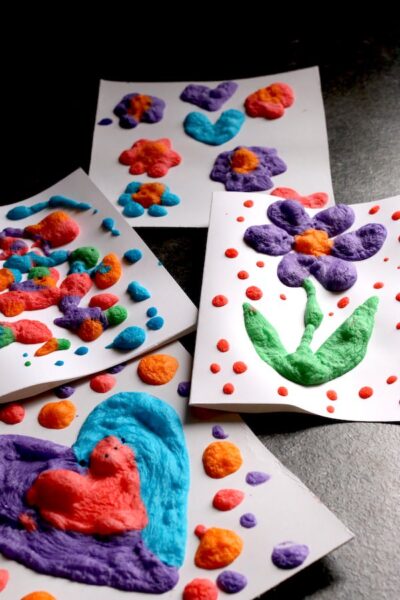
 Others layered colour upon colour, mixing and blending until they were satisfied that they’d gotten it just right.
 When they were finished, we placed their paintings by the fire to dry, and when we checked on them after lunch the hooligans were thrilled with their masterpieces! Just look at these proud, little faces.


I think these are going to look fantastic on a wall in our playroom!
Boxes are terrific aren’t they? Check out this nifty shadowbox ornament (by Mod Podge Rocks) that your kids (or YOU) can make.
You may also enjoy:
Recycled Painting
Smoosh-painted, upcycled art
Starry Night with melted crayons
Credit Card Painting
White Crayon Art
Olympic Ring Art stamped with tubes
Get the 3-5 Playful Preschool e-Book!
25+preschool activities by 25 bloggers, 10 printables, 50 links to activities not featured in the book all for $6.99 until May 25, 2014. Price increases to $8.99 after the 25th. Download your copy today:

Follow the Hooligans on Facebook!

Jackie is a mom, wife, home daycare provider, and the creative spirit behind Happy Hooligans. She specializes in kids’ crafts and activities, easy recipes, and parenting. She began blogging in 2011, and today, Happy Hooligans inspires more than 2 million parents, caregivers and Early Years Professionals all over the globe.


Rachel@ I Heart Crafty Things
Such a fun idea!! I hope you share what it looks like all put together on the wall. I bet it will be fabulous!
happyhooligans
I plan to, Rachel! 🙂
Cerys @ Rainy Day Mum
I love this T would enjoy making them so much (just got to stop her eating the paint!!) We’re in the planning phases of turning our dinning room into a family room/playroom which will showcase the kids artwork as well so will be looking to see what you create for inspiration
happyhooligans
I’m so envious of your plans to convert your dining room. I would absolutely love to convert my main floor living room to the hooligan room. We have a main floor fam. room, and don’t really use the living room. However, I must draw the line. My family really doens’t want to feel like they’re living in a daycare. lol
Eddie - The Usual Mayhem
Those are wonderful! I love the idea of ready-made framing, too. They’ll look great on your walls.
pegges
awe… so nice and easy! so smart 🙂 … btw. not wanting to advertise for my blog or anything, you can delete the link after you read this …but wanted to share with you my story about my baby’s birth http://myfamilybliss.com/2013/01/19/perfect-pregnancy-not-so-perfect-labor-and-delivery/
Jessica @ Play Trains!
Fun! I love the built-in frame the box lid provides.
maggy, red ted art
Oh my goodness the kids are adorable. They look so pleased with their wonderful artwork. Lovely idea to use lids and have “Instant frames”!
Thanks for sharing on Kids Get Crafty!
Maggy
Melissa (@ChMuffinTree)
These aren fabulous Jackie! We made Nature Treasure Boxes with Shoe Box lid in the Fall!
Ann
Great idea!
Anna U.
LOVE this! I did something similar to decorate my daughter’s room. I splurged and bought different-sized canvases and then had friends, family & daycare kiddos decorate them & hung them up to create a fun collage. It turned out WAY better than I could’ve imagined! Back to the topic at hand though-we are in desperate need of some fun stuff to put at kid-level in our play room now & I think this will be a super fun & cheap way to do it! Thanks!