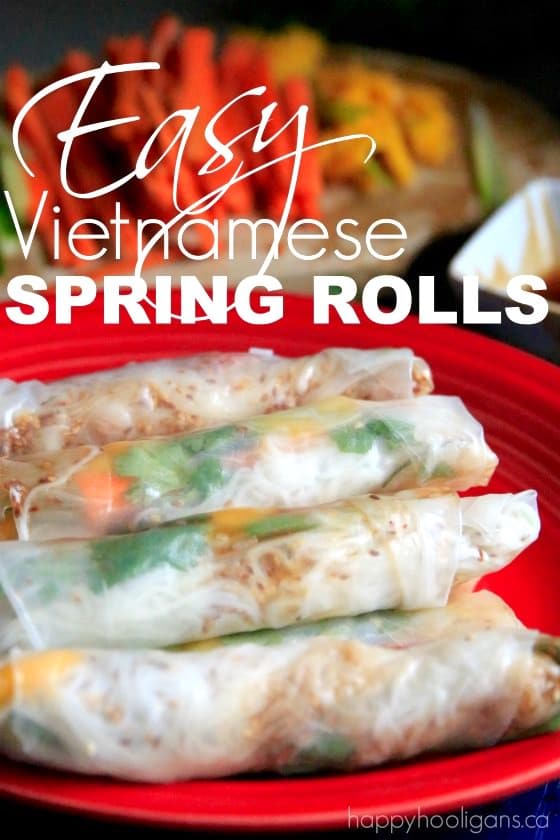
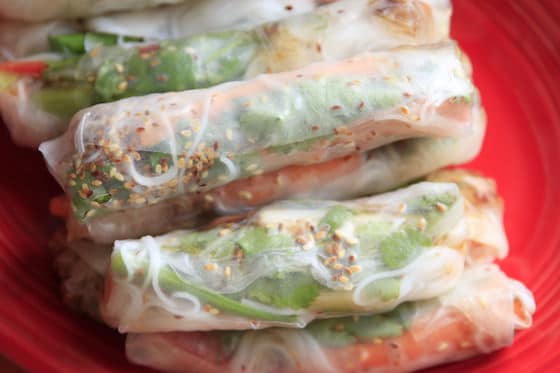
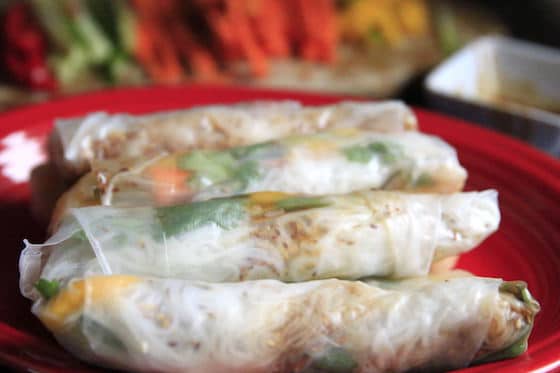
Vietnamese Spring Rolls are fresh, healthy and full of flavour. Wrapped in rice paper and stuffed with fresh vegetables, sweet mango and a zippy sprig of cilantro, they’re great as party food, appetizers or a healthy snack. With this recipe, you can make lots, which is good news because they always go fast!
I first fell in love with Vietnamese Spring Rolls (also known as summer rolls or salad rolls) several years ago when one of my daycare parents made a bunch from scratch one weekend and gave me a dozen at drop-off on Monday morning.
I had eaten plenty of deep-fried spring rolls in my time (love them), but I’d never had cold spring rolls before. I have to admit, when I first saw the translucent rice paper wrappers, I thought they looked a little odd.
She assured me that they were delicious, and she gave me a couple of dipping sauces to go with them. I decided to sample one that afternoon after putting the hooligans down for their nap.
Oh. My. Goodness! They were divine!
I tucked them away in the back of the fridge, and conveniently forgot to mention them to my family. Over the course of that day and the next, I ate every single one of those summer rolls myself.
Knowing I would need more of these fresh, crunchy and totally addictive delicacies in my life, I found out how to make them, and guess what. They’re EASY! I make them all the time now, and I’ve served them to friends, family and neighbours.
See? I’m totally capable of sharing!
Vietnamese Spring Rolls are now my go-to appetizer when I’m entertaining, and I’m always asked to bring them to get-togethers and pot-lucks.
Everybody LOVES them.
What’s not to love, right? They’re bursting with flavour, they’re fresh, and they’re healthy, so you can eat a ton of them without feeling guilty. This is a good thing because, if you’re like me, you’ll have a hard time controlling how many you scarf down.
Please don’t let the rice paper thing intimidate you! Vietnamese spring rolls are really easy to make!
The first couple of rolls might turn out a little wonky, but you’ll quickly get the hang of it.
And there’s a bit of prep involved, but once you get your ingredients chopped and set up in an assembly line, the process is really fun.
You may also like: Best Homemade Guacamole
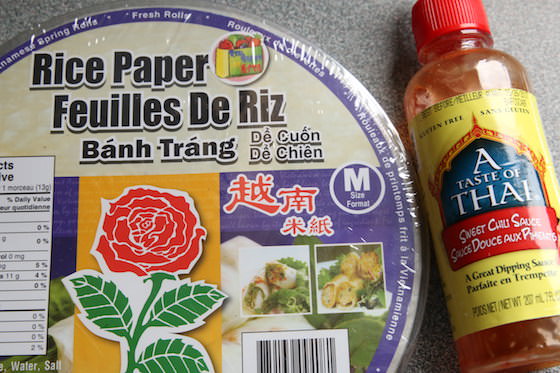
There are two must-have ingredients when you’re making Vietnamese Spring Rolls: Rice Paper Wrappers and a dipping sauce, but as far as what you put in your spring rolls, well, that’s up to you.
I like to use a variety of flavours and textures: crispy vegetables, sweet mango, soft vermicelli noodles, nutty sesame seeds and zippy fresh cilantro.
For your convenience, this post contains affiliate links.
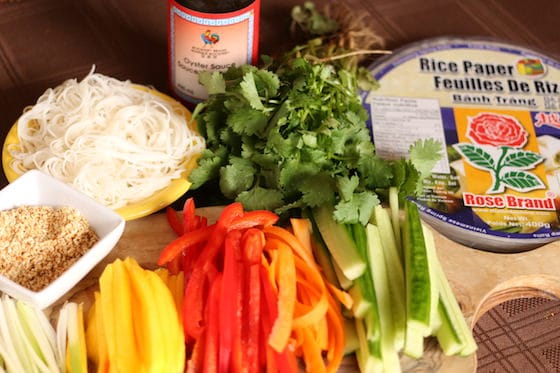
Ingredients for Vietnamese Spring Rolls:
- mango
- red pepper
- carrots
- green onion
- cucumber
- sesame seeds
- rice vermicelli
- cilantro
- oyster sauce
- rice paper wrappers
- Thai sweet chilli dipping sauce
- Pie plate filled with warm water (for softening your rice paper wrappers)
- Plastic cutting board to assemble your spring rolls on
Prep your fillings:
To start, you’ll need to julienne your vegetables by slicing them into thin strips. Chop all of them up match-stick style, making them all roughly the same length. For the mango, you can check out this quick video for peeling and slicing a mango.
Next, soften your vermicelli noodles and toast your sesame seeds, and put them into bowls.
Top tip:
Setting your ingredients up in an assembly line is key. Trust me on this. The first time I made spring rolls, I added the ingredients in random order, and I can’t tell you how many times I’d get one all rolled up and realize that I’d forgotten to add the cilantro or the seeds or one of the vegetables.
Fill a pie plate with warm water, and have that sitting beside your assembly line. You’ll use this to soften each piece of rice paper before using it.
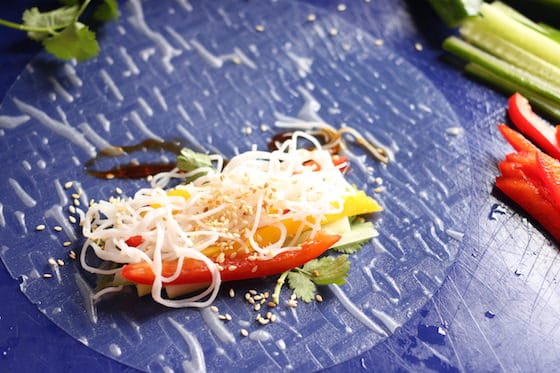
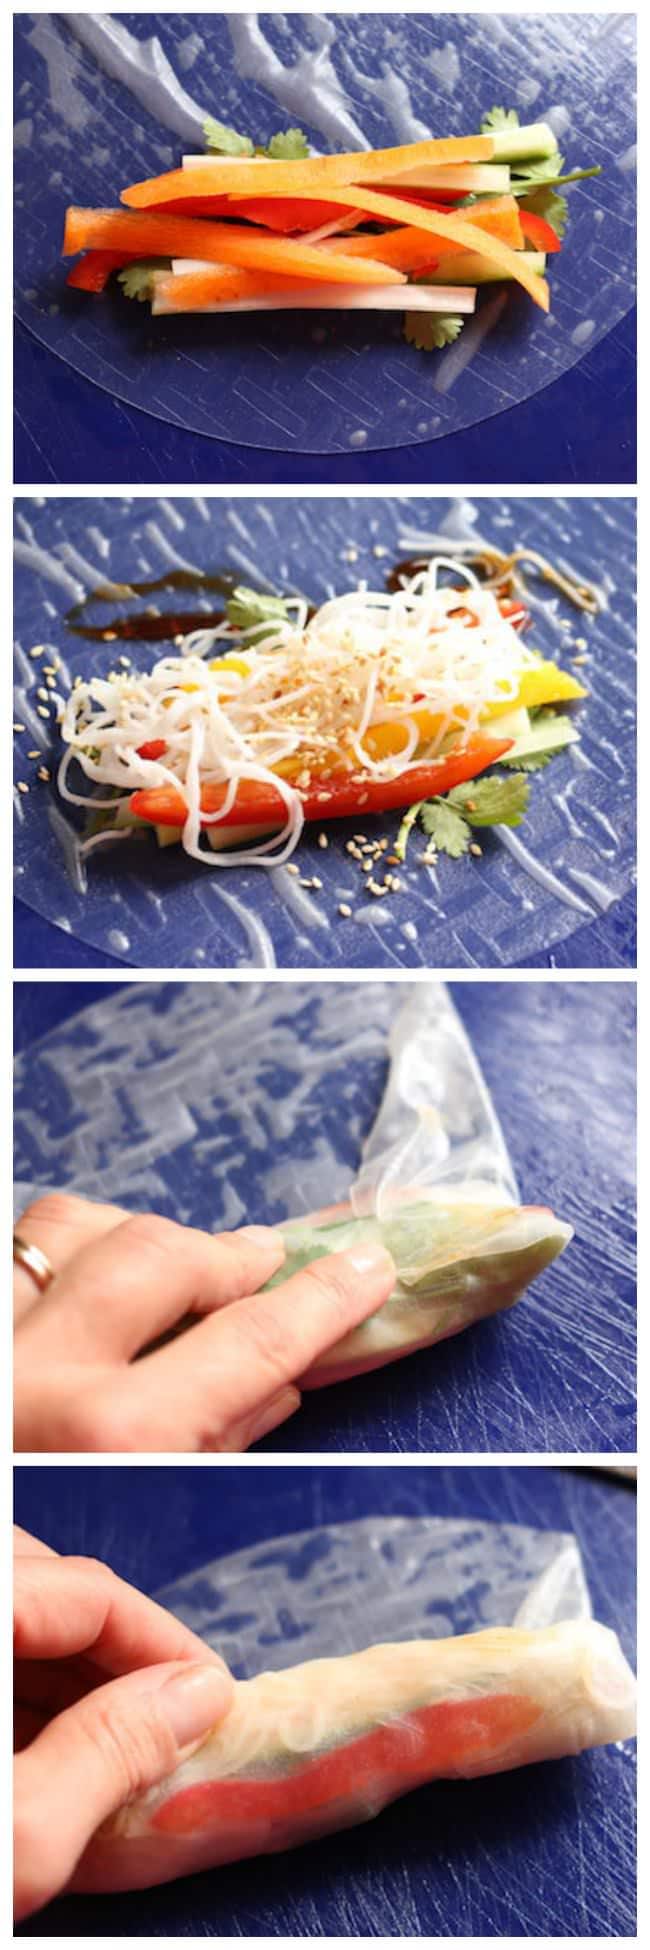
This makes it easy to build your spring roll by just working your way down the line: veggies, noodles, herbs, seeds, oyster sauce, and roll ‘er up.
Ok, let’s make these bad boys!
Soften your rice paper:
Submerge one rice paper wrapper in the pie plate of water for about 15 seconds to slightly soften it. Your rice paper will still feel slightly firm, but it will continue to soften once removed from the water. Don’t soak it too long or it will become fragile and tear.
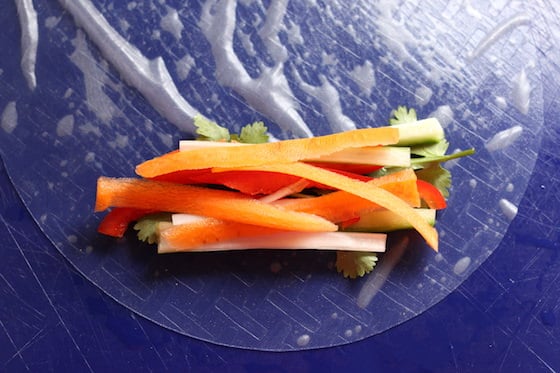
Shake the water off, and lay your rice paper on a plastic cutting board.
Add your fillings:
Moving down your assembly line, stack your ingredients in the centre, towards the bottom of the rice paper.
To finish, swipe a dollop of oyster sauce alongside your fillings.
Now, for the fun part.
Rolling up your spring roll:
Let me start by saying I am in no way an expert when it comes to rolling these suckers up, but you really can’t go wrong because the wrapper sticks to itself so it’s kind of a self-sealing process.
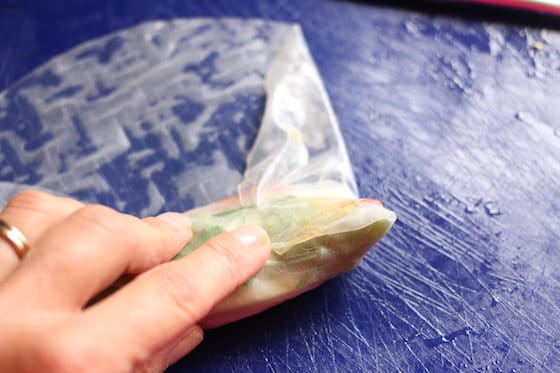
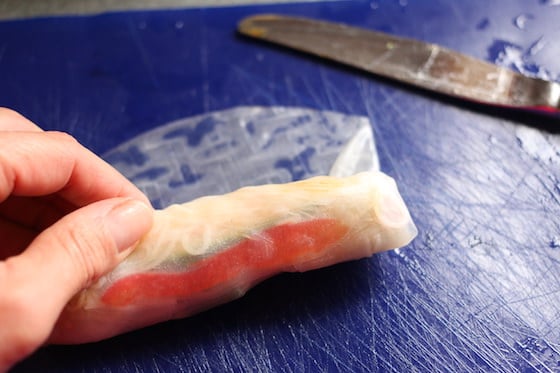
Start by bringing the bottom edge of the wrapper up over the filling. Fold in the sides, and then roll-away, my friend.
As you roll, continue to bring the sides in, sealing things as you go until you get to the end of the wrapper.
Storing & Serving your Vietnamese Spring Rolls:
If you’re serving your spring rolls shortly after making them, you can keep them on a platter, covered with a damp paper towel.
If you’re making them hours ahead, place them in a sealable container. If you’re layering the spring rolls, put wax paper in between the layers to prevent them from sticking together.
Note: Vietnamese spring rolls are best served the same day that you make them.
What to dip your spring rolls in?
As for your dipping sauce (also known as nuoc cham), I like the sweet chilli sauce pictured above, but your choices are endless. Here’s a collection of 5 homemade dipping sauces that a quick Pinterest search turned up.
Ok, so? What are you waiting for? You have to make these spring rolls ASAP!
Everyone will love you for it! I promise!
That’s if you don’t squirrel them away in the back of the fridge and conveniently “forget” to tell anyone about them. 😉
Follow the Hooligans on Facebook

Jackie is a mom, wife, home daycare provider, and the creative spirit behind Happy Hooligans. She specializes in kids’ crafts and activities, easy recipes, and parenting. She began blogging in 2011, and today, Happy Hooligans inspires more than 2 million parents, caregivers and Early Years Professionals all over the globe.




Shabeena Malik
Just made them for my husband , great great! Thanks a lot!
happyhooligans
Yay! So glad you loved them!