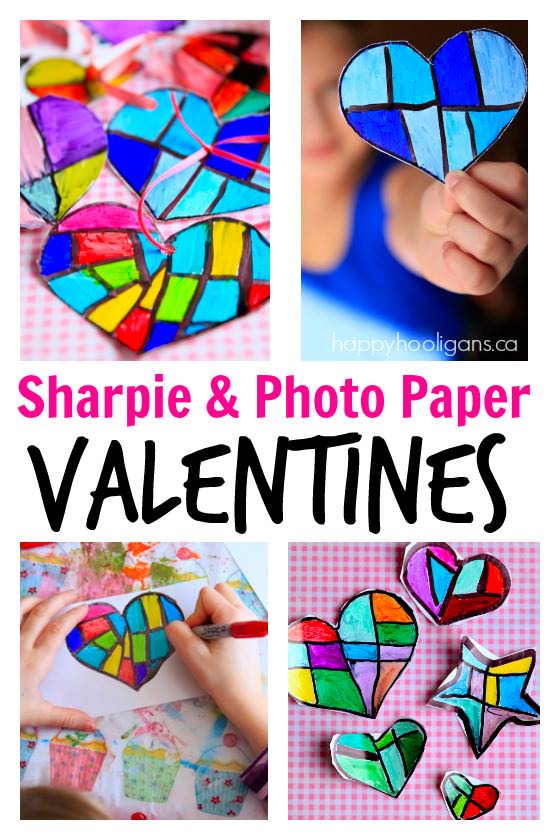
Valentines Hearts with Sharpies and Photo Paper – an easy, eye-pleasing Valentines craft for kids and a fun way to get creative with Sharpie markers.
Egads! Tomorrow is Valentines Day.
Let me guess. You’re up to your elbows in *Monday*, trying to catch your breath after a whirl-wind weekend, and the kids are asking to make Valentines crafts.
The last thing you feel like doing is hauling out all the craft supplies, right? If they’re crafting today, it’s gotta be low-maintenance, no-mess and something that doesn’t require a ton of effort and prep.
Relax. We’ve got you covered.
Today we’re going to show you the easiest Valentines craft ever. We’re making super-simple (but charming) Valentines hearts with Sharpies and photo paper.
Your kids can tuck these colourful and adorable hearts into a card or letter for parent or grandparent or even a teacher or friend.
The best part?
You won’t have to deal with paint, glue, doilies and construction paper. And you won’t have a big craft-astrophe to clean up afterwards.
Sound good?
Good.
This project quite fun and a little bit addictive.
And you know what that means, right?
It might just keep the kids busy long enough for you to actually sit for a minute and breathe.
The hooligans love using Sharpies to make art here in my daycare, and I like to provide them with unique surfaces to use them on. Glass jars, tin foil and photo paper are a few of our favourites because they’re kind of slick, and the markers glide over these surfaces so smoothly. The colours really pop on these surfaces too.
The nice thing about photo paper for an art project is if you want to, you can frame the finished piece like we did with our “stained glass” Sharpie project. Or you can use it to make a greeting card by gluing it to a piece of card stock or layering it behind a cut-out in a piece of card stock.
We’re not doing anything that fancy with our Sharpie art today though.
We’re keeping things simple. Remember?
To be honest, I actually didn’t have an end result in mind for this project. I just thought the kids would enjoy making and decorating some colourful hearts with our Sharpies.
They were the ones who decided how they would use their hearts when they were finished.
To make our Valentines Hearts with Sharpies and Photo Paper, you’ll need:
For your convenience, this post contains affiliate links.
- Sharpies (I love the the colours in these 80’s Glam Sharpie set)
- Photo Paper (we use the pack that came with our printer)
- Heart Stencil
- Pencil/Ribbon
- Hole Punch (optional)
- Ribbon (optional)
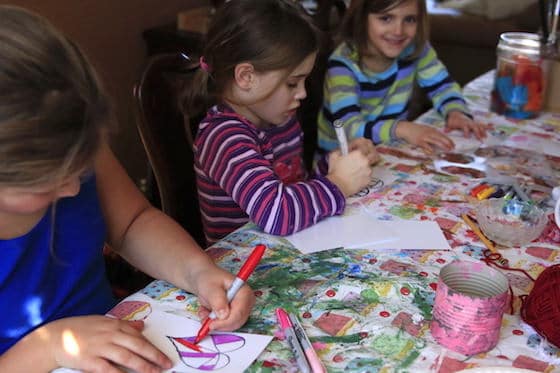
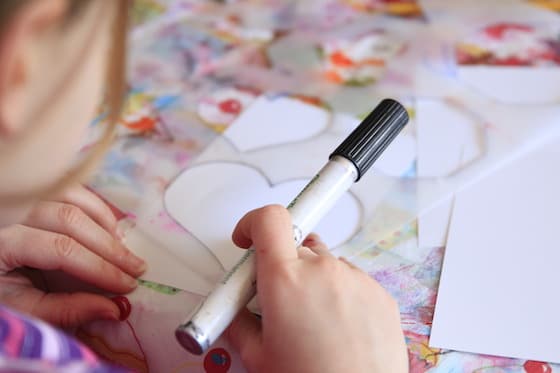
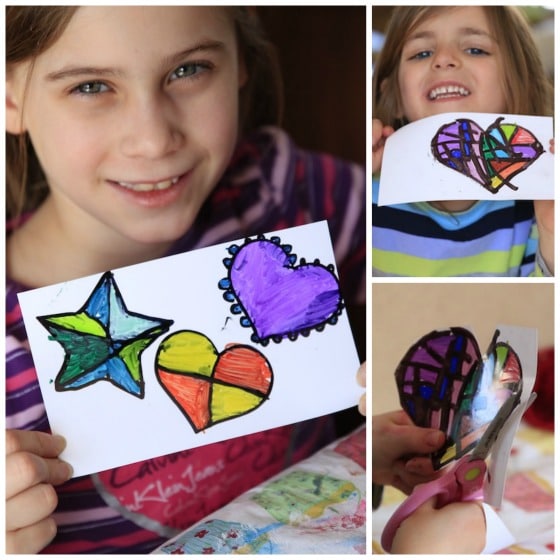
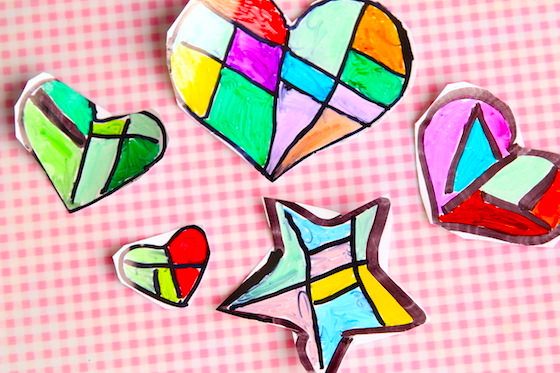
The kids began by tracing a heart on their photo paper.
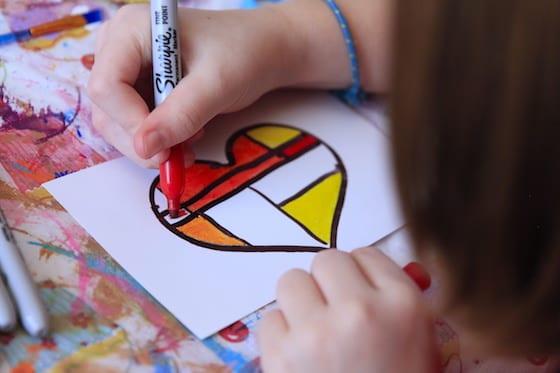
Then they used the Sharpies to decorate their hearts.
It should go without saying that you should protect your table when the kids are colouring with Sharpies, but I’m going to say it anyway. Protect your table.
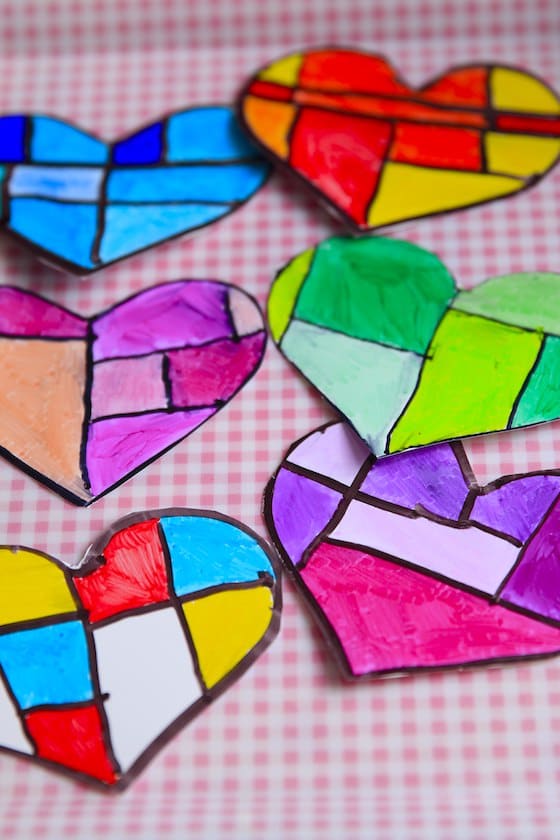
Most of the kids wanted to create a stained glass effect on their paper, so they outlined their hearts with a black Sharpie, and then drew intersecting lines in their hearts so they could fill the sections in with different colours.
Then they cut our their hearts.
Even the 5 year old cut her heart out perfectly. She’s been using scissors since she was just over two years of age. She was never content to just observe what the older kids were doing. No sir.
She always insisted on doing everything they did, so I started her years ago with a pair of safety scissors and some materials to cut through like the ones you’ll see here in this beginner scissor activities post. They were great for helping her develop her fine-motor skills.
As you can see, they made many hearts. Like I said, it’s a bit addictive.
Aren’t they vibrant?
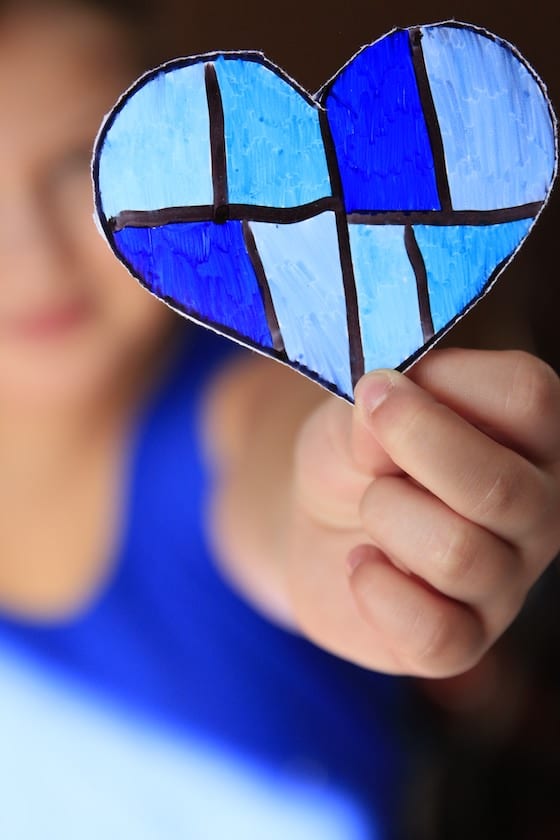
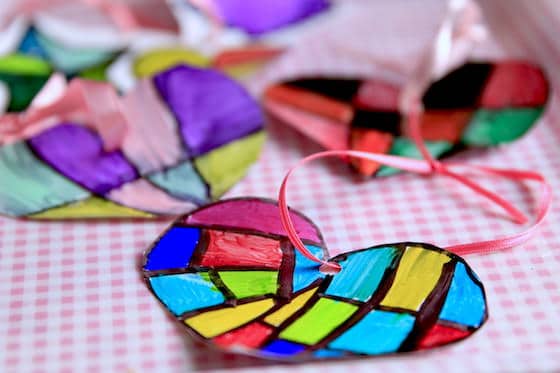
I love this blue one.
When the kids had finished colouring their hearts, they discussed what they wanted to do with them.
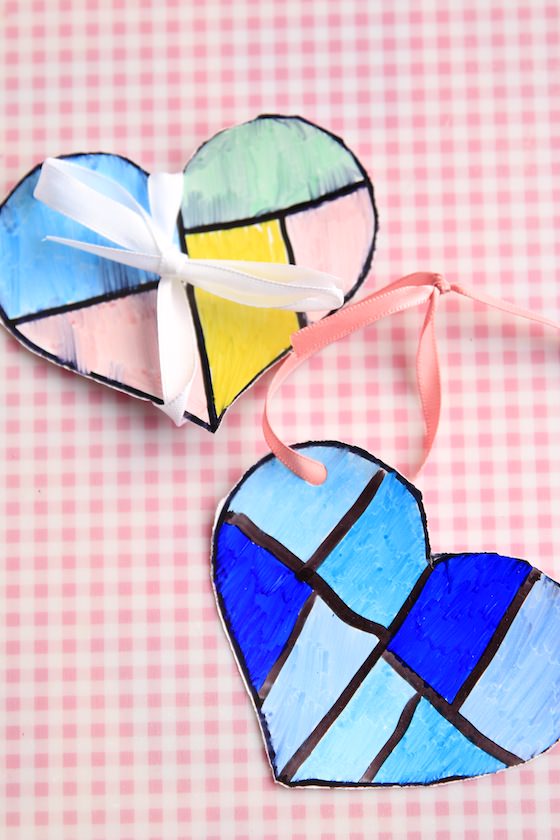
Some punched holes and threaded a ribbon through the top of their hearts soothed could hang them as ornaments.
One hooligan chose to wrap ribbons around some of her hearts so she could give them as gifts.
And the two sisters left their hearts just as they were so they could tuck them into the Valentines cards they were planning to send to their Nana in Glace Bay, Nova Scotia.
So round up the Sharpies and some photo paper. In just a few minutes, your kids will be crafting contentedly, and you can pour yourself a coffee, and enjoy a moment of peace.
More Sharpie Art Ideas:
20+ Sharpie Art Projects for Kids
For more easy Valentines crafts for kids, check out:
Valentines Art with Sharpies and Tin Foil
Easy Tie Dyed Heart Sun Catchers
Get the 3-5 Playful Preschool e-Book!
25+preschool activities by 25 bloggers, 10 printables, plus links to 50 additional crafts and activities all for $8.99!
Follow the Hooligans on Facebook

Jackie is a mom, wife, home daycare provider, and the creative spirit behind Happy Hooligans. She specializes in kids’ crafts and activities, easy recipes, and parenting. She began blogging in 2011, and today, Happy Hooligans inspires more than 2 million parents, caregivers and Early Years Professionals all over the globe.





Olivia
The ultra fine markers do not work for little kids at all .what a waste of money.
happyhooligans
You’re right, Olivia. It’s the “fatter” sharpies you need. They’re the fine-tipped ones, where as the ultra-fine tip markers are better for drawing, writing, tracing. I’ve made sure the links in the post go to the correct product on Amazon but it looks like some of their Sharpies are incorrectly labeled over there, as you can see here with these ones: http://amzn.to/2kuORKP. Lesson learned for me too here – check to make sure the title of the product on Amazon matches the image shown. 🙁