Here’s another easy star ornament for the kids to add to their Christmas crafting list this month!
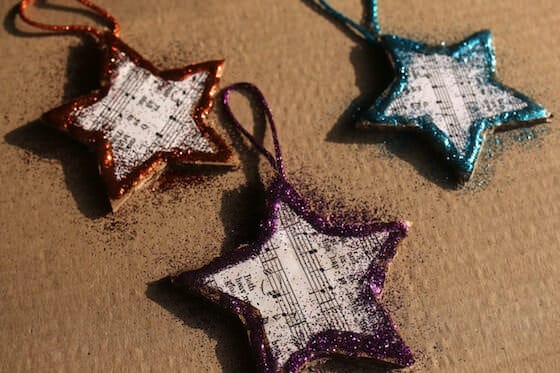
These adorable sheet music star ornaments are great for all ages of kids to make. They’re really easy, but gosh, they look beautiful hanging on our Christmas tree.
We love using sheet music for Christmas ornaments. It’s so charming and old-fashioned. Remember the sheet music Christmas trees we made a couple of years ago?
We made some cardboard yarn-wrapped stars the other day, and had some stars left over, so I thought they’d be perfect for another sheet-music ornament.
These ornaments were fun to make. The kids got to do some tracing, and some cutting and gluing, and then, their favourite part, some glittering.
Glitter really does make everything better, doesn’t it? Check out the gorgeous glittered cookie cutter ornaments we made yesterday!
An alternative to loose glitter
If you’re not a fan of glitter, you don’t have to sprinkle loose glitter on your sheet music stars. You can have your kids brush on some glitter glue. We did that with a few of our ornaments. I’ll share a photo to show you. They still look great.
Ok! Let’s make these ornaments, shall we?
Sheet Music Star Ornaments for Kids
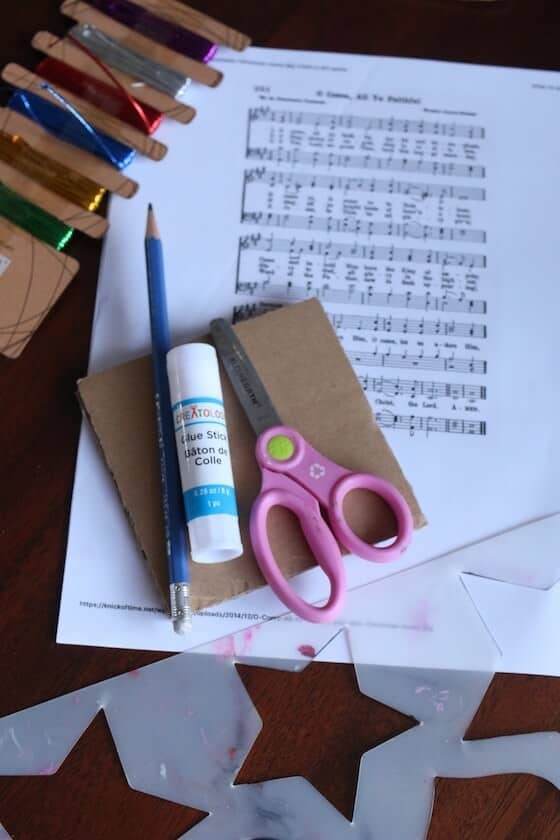
Supplies:
- cardboard (we used thick stuff, but any weight will do)
- sheet music (you can print some here)
- star stencil
- pencil scissors
- glue
- glitter (we use this fine glitter by Martha Stewart)
- metallic thread for hanging
- glue gun or hole punch (depending on how you want to hang your ornament)
Making your sheet music stars:
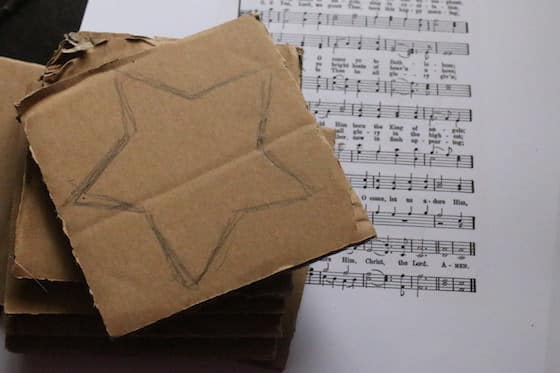
I cut some cardboard pieces out of a cardboard box, and I gave those to the hooligans for them to trace their stars onto.
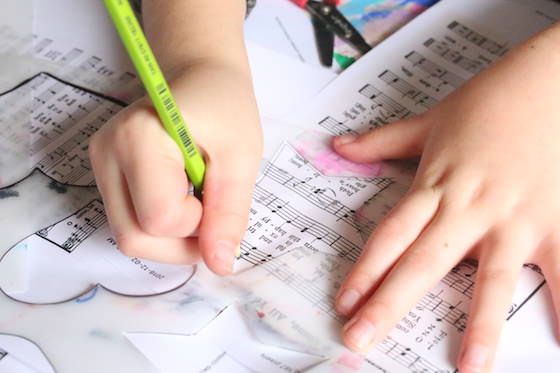
Then they traced slightly smaller stars onto the sheet music I had printed off.
Next, they cut out the cardboard stars and the sheet music stars.
The thick cardboard is a bit challenging to cut through, so your kids might need a hand with this step. My guys actually found it easier to cute cardboard with kids’ scissors rather than kitchen shears.
When their stars were cut out, they glued the sheet music star on top of the cardboard star using a glue stick.
Note: if you’ll be using a hole punch to make the hole in your ornaments (as opposed to a glue gun), punch your hole now before you’ve decorated your stars with glitter.
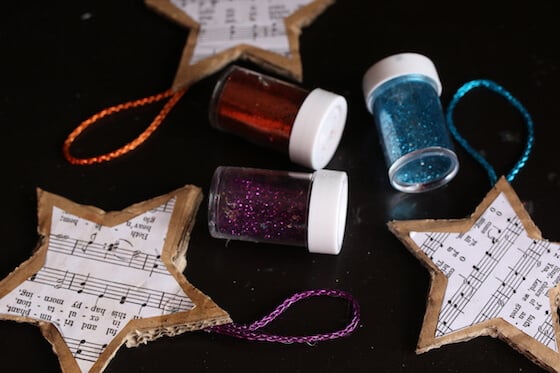
They looked pretty just like this, but we wanted to make our sheet music stars a little more dazzling, so we got out the glitter.
The kids squeezed a line of clear glue all around the outline of their ornaments, and rubbed it a little with the tip of the bottle to fill in that space between the sheet music and the outer edge of the ornament.
Then they shook the glitter all over the glue.
When the glue was dry, we shook off the excess, and used our hot glue gun to attach a length of metallic cord to the back of our ornaments.
So simple, but so beautiful!
Now, I told you I’d share a photo of an even simpler version of these sheet music star ornaments. Here it is:
You can see that we’ve used ordinary, thin cardboard (a cereal box), and instead of using loose glitter, the kids brushed on a coat of glitter glue. Not too bad at all, are they?
Hopefully one (or both) of these sheet music star ornaments inspires you to make a few with your kids or students this Christmas!
Follow the Hooligans on Facebook!

Jackie is a mom, wife, home daycare provider, and the creative spirit behind Happy Hooligans. She specializes in kids’ crafts and activities, easy recipes, and parenting. She began blogging in 2011, and today, Happy Hooligans inspires more than 2 million parents, caregivers and Early Years Professionals all over the globe.











Leave a Reply