Set up a sink or float experiment to teach toddlers and preschoolers about density and buoyancy. This play-based learning activity combines a science activity and a water activity, and for some extra fun, we’re adding a colourful twist.
My kids love science. Thankfully, there are tons of easy science activities that we can do at home to quench their thirst for scientific discovery. A simple sink or float activity is a great beginner science experiment that will introduce your toddlers and preschoolers to density and buoyancy.
Physics for Preschoolers
This sink or float experiment is a simple physics experiment that will encourage your child to make predictions and observations about buoyancy and density. Through their observations, they’ll learn that buoyant objects float and dense objects sink, and if they want to be true little scientists, they can even record their predictions.
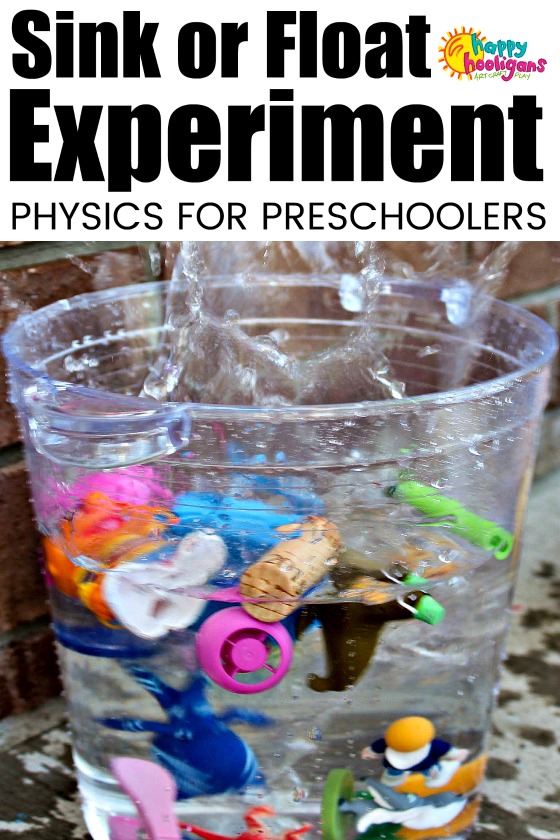
Low-prep activity for indoors or out
We love to do this low-prep activity in the backyard when the weather is nice. I set up this particular sink or float experiment three days ago and the kids have set it up themselves every day since. We’ve been enjoying it on the patio so they can get as wet and wild as they like with it.
Indoors, kids can do this activity at the kitchen sink, in the bathtub or on the floor with a tub or basin filled with water.
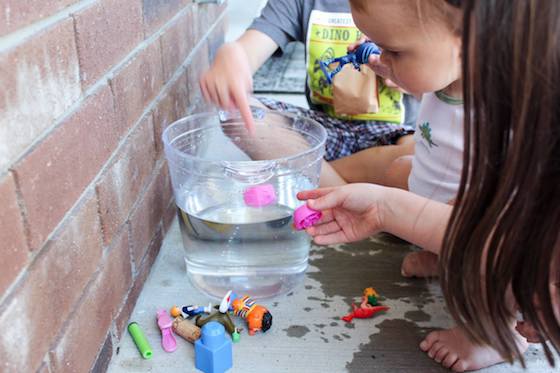
Engage their senses with a colourful twist!
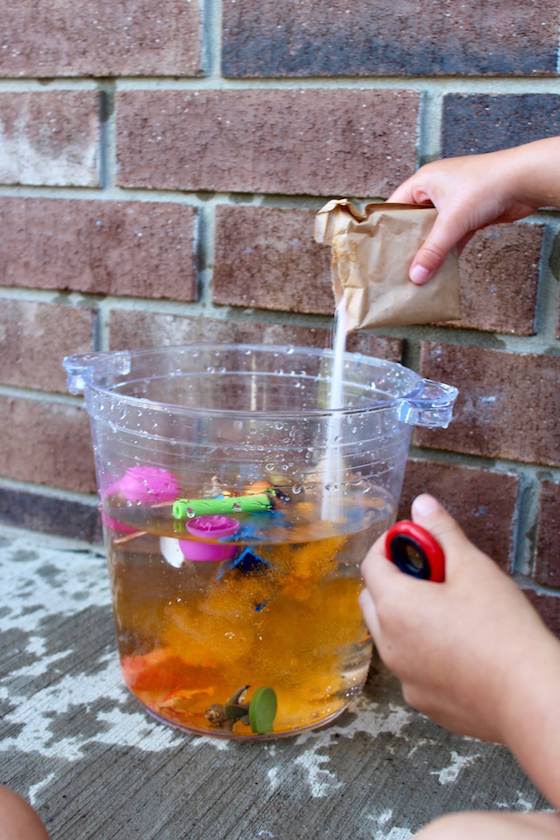
We love adding a packet of jello powder or juice crystals to the water. Not only does this colour the water, it gives it a wonderfully fruity scent.
The kids get a thrill out of watching the water change colour, and the pop of colour and the scent have educational benefits as well : kids retain more information when more than one sense is engaged.
What you’ll need for a sink or float activity
- waterproof toys and household items (see suggested items below)
- a container to do the experiment in i.e. plastic tub, basin, pot, bucket etc.
- drinking straws (optional)
- Jello or juice crystals (optional)
Note: If you’re doing this experiment indoors, place a plastic table cloth or some beach towels under the bin to soak up any spills.
Suggested items for a sink or float experiment:
items that sink
- metal utensils
- coins
- stones
- toy car/truck
- keys
- glass gemstones or marbles (not suitable for toddlers)
items that float
- Duplo/Lego
- stick or popsicle stick
- corks
- bathtub toys
- foam shapes
- crayon
- rubber ball
How to do an educational sink or float experiment
Start off by collecting the items for your experiment. If you give your kids a list of things to collect, this part of the activity can be a fun little scavenger hunt for your kids.
Fill a tub or bucket with lukewarm water.
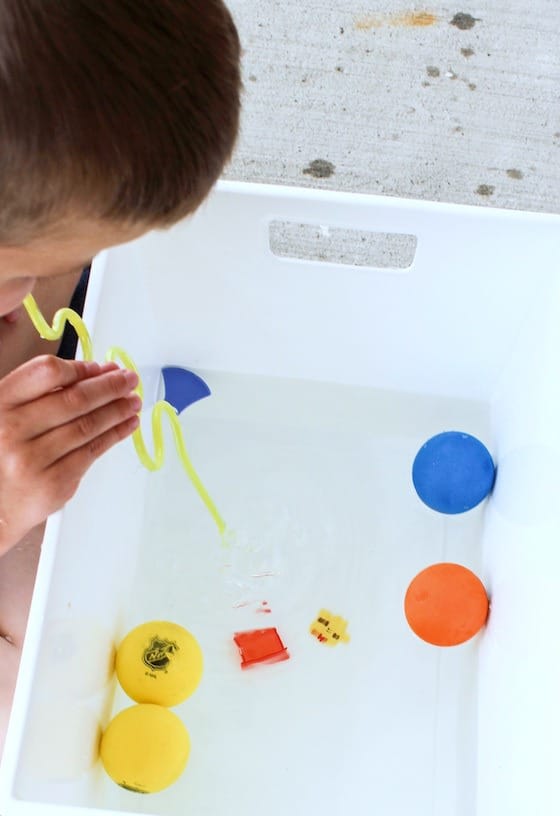
If colouring your water, you can add it now or once the toys have been added.
Before adding your objects to the water, ask your children to predict which objects they think will sink and which will float.
In a classroom, this can be done by a show of hands in favour of an item sinking or floating. If you’re doing this activity with a large group, it can be fun to have a tally beside each item to indicate each child’s hypothesis.
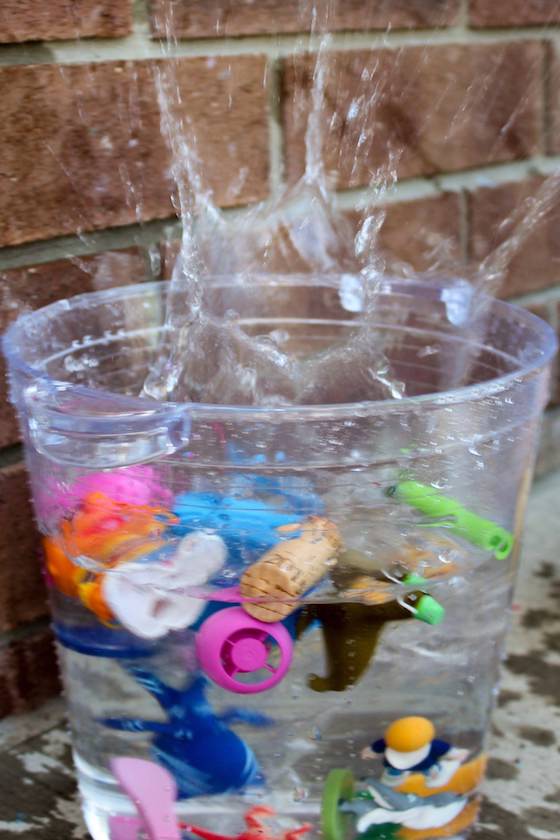
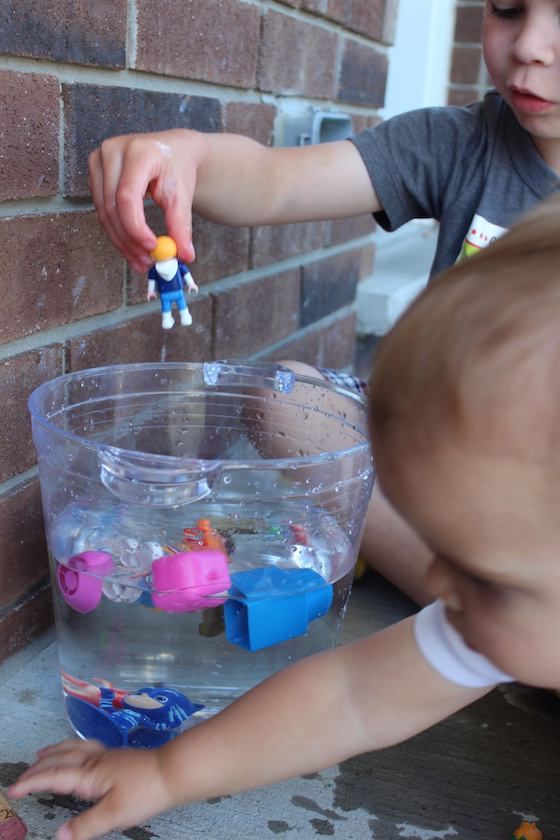
Now, have the kids drop the objects, one by one, into the water one observe what happens.
Once all of the items are in the water, you can extend the activity by giving the kids drinking straws to blow the floating items around. This is a fun way to teach children about kinetic energy as the air they blow through the straw propels the floating items forward.
The science behind the sink or float experiment
Before explaining why items sink or float, ask your children why they think an object sinks or floats. They may guess it’s because of size or weight or construction.
Then, explain that items sink or float based on their density. Density is determined by how close or far apart molecules are within an item. Molecules are tiny and only visible by a microscope. You can refer to this article to help explain this to your kids. I’ve also listed a few books below that you can read with your kids before doing the experiment.
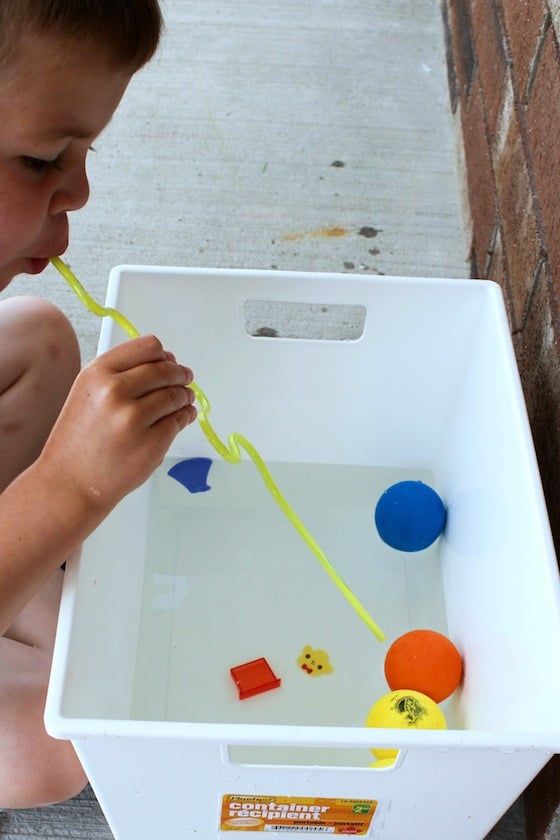
You can also use this opportunity to explain why blowing through a straw moves the floating items around the bin (kinetic energy).
Once you have prompted their learning by explaining the science behind the activity, allow your children to replicate the experiment as many times as they please. This will help to solidify their knowledge and reap the benefits of play-based learning.
Since first doing our sink or float experiment, my kids have set up their own version of the activity every day since. It’s been amazing to see their fascination with such an educational activity.
More easy science activities:
Three Chemical Reactions for Kids
Water Displacement Experiment for Preschoolers




Lindsay Robinson
Hi, I really enjoyed reading about your lesson. Thank you for the ideas. Where did you get the clear plastic buckets?
Jackie Currie
I’m not sure where that bucket came from, but if you search for “clear ice buckets” on Amazon, there are quite a few options there, Lindsay.
Ettina
What if, before explaining why things sink or float, you help them figure out ways to test their hypothesis? For example, if they guessed size, can they figure out what size is the cutoff? Can they find any objects that sink at a size they predict would float, or vice versa? Same with weight or whatever other theory they come up with.