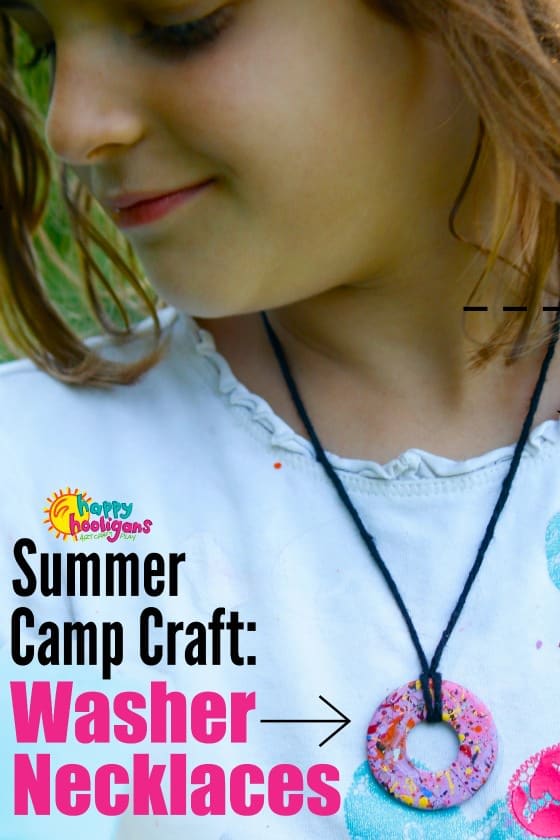
A painted washer necklace is a quick and easy craft for kids of all ages to make. Make them at home, at art camp, at summer camp or daycare. All you need is some acrylic paint to turn a washer into a beautiful piece of jewelry. The kids will love wearing them and they can make some extras to give as gifts.
Kids love making homemade jewelry that they can wear, but often, the jewelry we make here in our daycare doesn’t really look like “real” jewelry. Take our pasta necklaces, button bracelets, and toilet paper roll bracelets for example.
A washer necklace is a great craft for kids to make if they want to make an authentic-looking piece of jewelry.
Great craft for camp or an art party
This is a great craft for craft camp or art class or to do as an activity at an art-themed birthday party. And because it’s so so easy and affordable, your kids can make a few to keep and a bunch to give away to friends.
You may have seen washer necklaces dipped in nail polish and water to produce a beautiful swirly effect, but we’re using an easier process than that today. We may try that technique one day but today we’re simply painting our washers with acrylic paint. I’d love to also make these stamped washer necklaces. I would totally wear one.
We’re using a much simpler technique than that. All you need is acrylic paint and a coat of sealer to protect the paint from scratching or peeling.
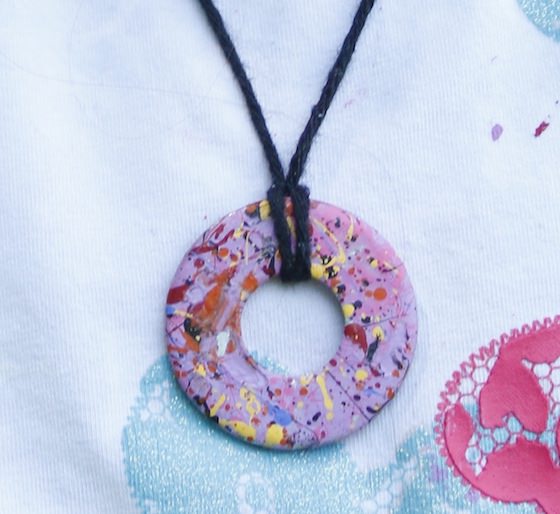
When I planned this activity, I envisioned the kids simply painting their washers a solid colour and adding some squiggles and dots. Some did just that, but one of the hooligans came up with the idea to splatter her necklace with several colours of paint and the results were fabulous.
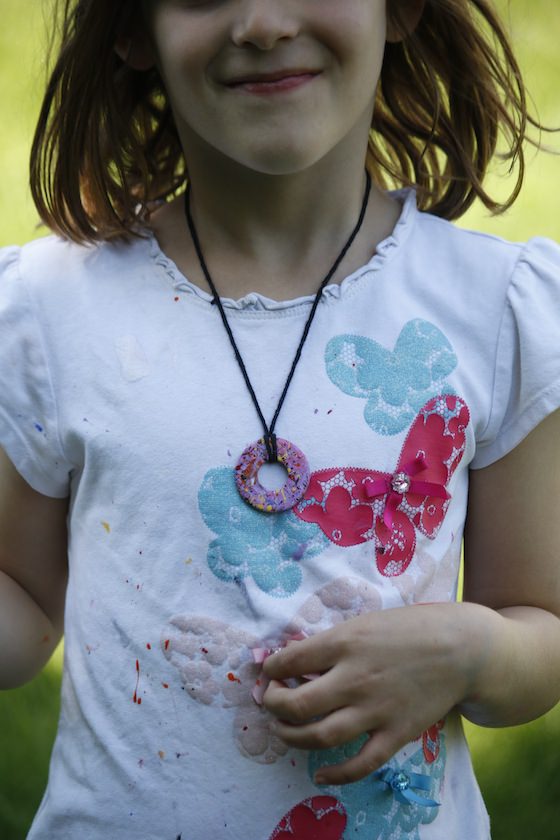
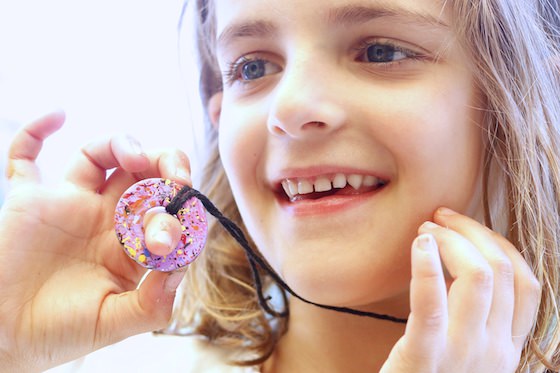
The kids were so proud to wear their necklaces home.
Let me show you how we made them!
To make your painted washer necklace, you’ll need:
- washers
- acrylic craft paint
- acrylic craft varnish
- yarn (you could also use twine, ribbon or a thin strip of leather)
To make your necklace:
Wash your washers
The first step for us was to wash our washers. If you’re using new washers they’ll likely be quite clean, but we were using washers that had been sitting in a drawer of my husband’s workbench for years, and they were a little dirty. A few of the washers actually an oily residue on them, so we gave them a scrub with hot, soapy water, and then dried them off.
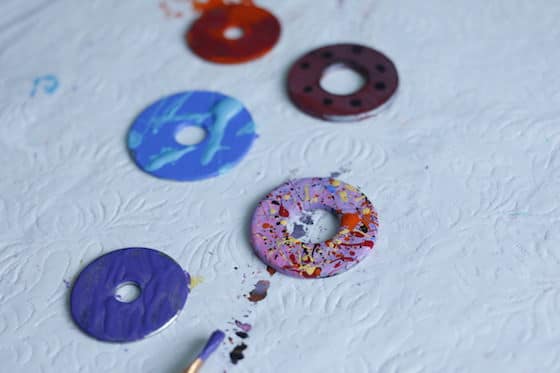
Next, we gave our washers a couple of coats of paint in one solid colour.
If you’re painting the front and back of your washer, they’ll need some drying time, but you can speed up the process with a hairdryer.
Painting your washers
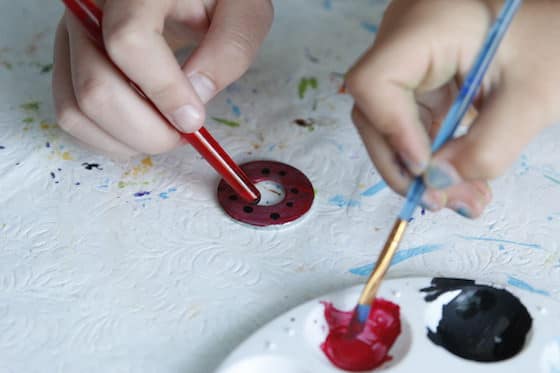
When your washers are dry, they’re ready to decorate. One of the hooligans simply painted dots on her washer. She dipped the handle end of her paintbrush in a puddle of black paint to make the dots on her necklace. Doesn’t it remind you of a ladybug?
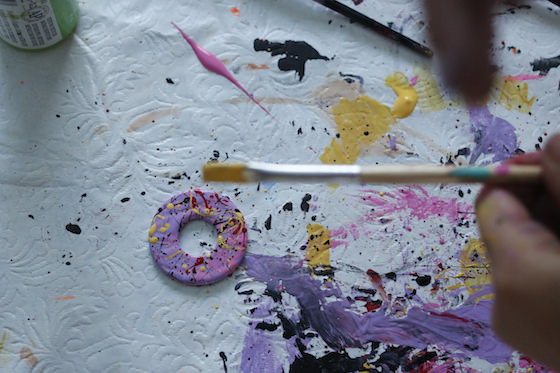
If your kids would rather splatter paint their necklaces, be sure to put something down to protect your work surface. I wouldn’t advise doing this where there’s carpet either. The paint splatters can really fly.
For the splatter technique, just dip your paintbrush into a colour of paint and holding the paintbrush over the washer, tap the paintbrush so the paint splatters on to the washer.
To be honest, the kids’ “taps” were more like karate chops, which is probably why I advise protecting your work area.
You can splatter as many colours as you want onto the washer. Your child might decide one or two contrasting colours is fine, or they may want to use a whole array of colours.
Both will look great. I honestly thought I would like the look of just one or two colours, but my favourite is the really busy one.
Doesn’t it look amazing?
Add a coat of varnish
Let your washers dry completely, and then, to protect the paint from scratching or chipping, brush on a coat or two of craft varnish or sealer. This will protect the paint and it will make the colours and designs really pop.
String your necklace
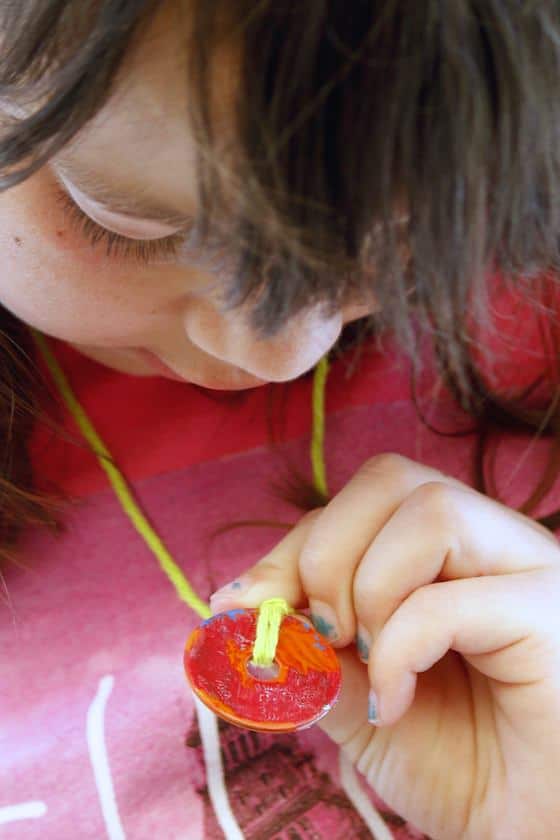
Lastly, once the paint is completely dry, add some string so your kids can wear their necklaces.
Don’t they look great?
And maybe one day soon, we’ll try the swirly nail polish technique to make more necklaces. I’ll share that process with you if we do!
Looking for more terrific craft ideas for kids to do this summer?
Print off my printable list of 100 things that kids can do at home this summer. Stick the list on your fridge, and whenever they say their bored, have them choose something on the list that they want to make or do. Or better yet, have them do a couple of simple chores in order to earn the activity.
More Necklace Crafts for Kids:

Jackie is a mom, wife, home daycare provider, and the creative spirit behind Happy Hooligans. She specializes in kids’ crafts and activities, easy recipes, and parenting. She began blogging in 2011, and today, Happy Hooligans inspires more than 2 million parents, caregivers and Early Years Professionals all over the globe.






Leave a Reply