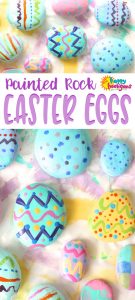
Painted rock Easter eggs are fun and easy to make. It’s a great Easter craft for kids of all ages, and adults will enjoy it too. With a little paint and a few dots and squiggles, you can transform an ordinary rock into an “Easter Egg” that can almost pass for the real thing.
I’m so excited to show you our first Easter craft of the season. I love finding unique ways to decorate Easter eggs and I’ve had these Painted Rock Easter Eggs planned for a while now. We always have a collection of smooth beach stones for crafting here in my daycare, and months ago, it occurred to me that we could paint some of the oval ones to look exactly like Easter eggs.
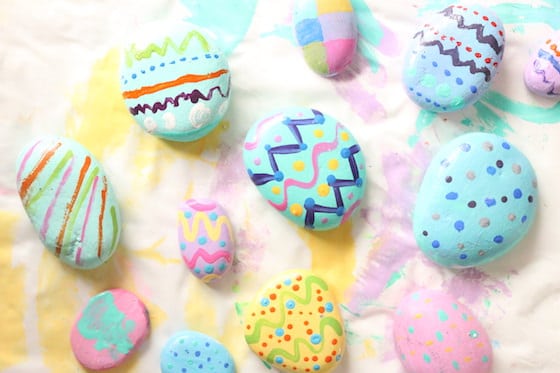
Some of our rocks aren’t perfectly egg-shaped but that’s ok. With the pastel-coloured paint and the colourful designs we painted on them, they still look very much like real Easter eggs.
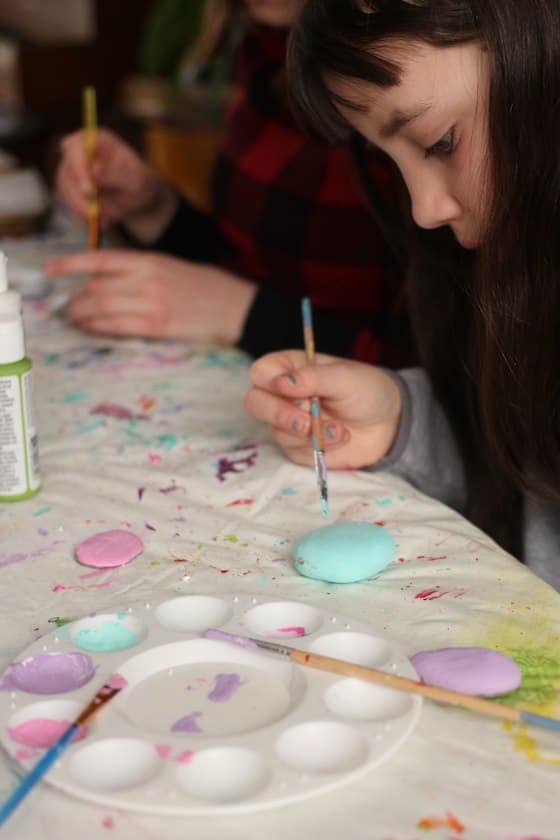
The nice thing about this project is that it’s great for all ages. Toddlers and preschoolers will have fun just painting their rocks, and pre-tweens, tweens and teens will enjoy designing and painting intricate patterns on theirs.
Grown-ups who enjoy painting will love this project too. I had fun making a bunch of my own.
Ways to Use Them:
Your painted rock Easter eggs would look cute tucked into a nest of Easter grass or in an Easter basket. They’d be pretty displayed on a window sill or scattered around your Easter dinner table too. A large rock could be used as a paperweight, and kids can exchange smaller ones with friends. (There are more creative ways to display Easter eggs here).
You could even use your painted rock Easter eggs for Pretend Easter egg hunts with your kids. Kids love a good search and find activity, and bonus: this Easter egg hunt would be sugar-free!
How to Make Painted Rock Easter Eggs
For your conviencience, this post contains affiliate links. As an Amazon associate, I earn from qualifying purchases.
Supplies:
-
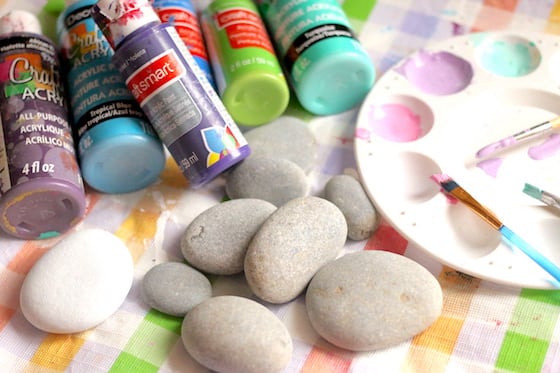
- smooth rocks and stones
-
- acrylic paint in pastel colours
- Gesso primer (optional – see note below)
-
- paint brushes
- fine tip brush or pointy wooden skewer for fine details
To prime or not to prime?
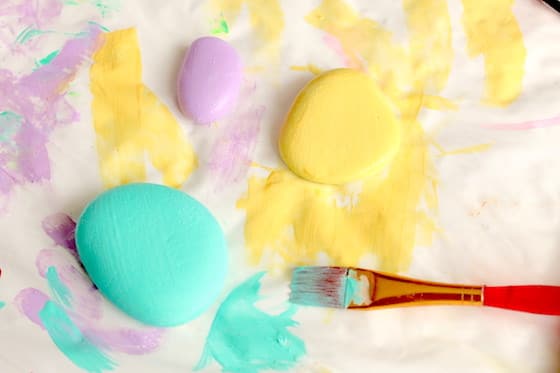
Note: Gesso (primer) is not required, but you can brush a coat of it on your stones before painting them if you like. We primed some of ours first, but not all of them. The rocks primed with Gesso required only 1 or 2 coats of paint. Some colours (like yellow) required a 3rd coat when Gesso was not used.
Painting your Rocks:
Scrub and rinse your stones well to will remove any grit and residue. This will ensure that your paint adheres well.
Let your stones dry completely before painting them. They’ll dry quickly in a warm, sunny spot, but you can speed things up with the help of a hair dryer if you’d rather not wait.
Give your stones a couple of coats of acrylic paint, letting the stones dry in between coats. (A hair dryer comes in handy here too.)
When the base colour is dry and the coverage is good, you can go ahead and decorate your rocks.
Dots, lines, squiggles, dashes, stripes and zig-zags all work well to create the look of an Easter egg.
An easy way to make dots:
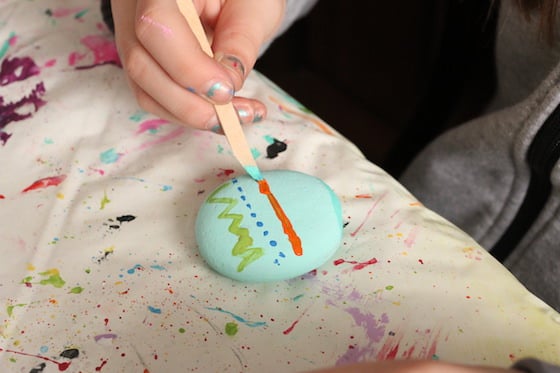
The easiest way to make perfectly round dots when you’re painting is to dip the end of your paintbrush into a puddle of paint and press it to your rock. You can make dots in various sizes based on how thick your paint is and the size end of your paint brush.
A liner brush is handy for making fine lines and details, but as you can see here, a pointy skewer or craft stick works well too. To be honest, Sophie snapped a Starbucks stir stick to the pointy end that you see her designing with here.
When your eggs are decorated, let them dry completely and then give them a coat of craft varnish to make the colours pop and to protect the paint.
I’d love to hear how you display and use your painted rock Easter eggs at your house. Leave a comment below to let me know, or better yet, share a photo over on our Facebook page!
More Easter Egg Crafts for Kids
Doodle Eggs – Easy Easter Art for Kids
Marbleized Eggs with Oil, Food Colour and Vinegar
Tie Dyed Eggs with Sharpies and Rubbing Alcohol

Jackie is a mom, wife, home daycare provider, and the creative spirit behind Happy Hooligans. She specializes in kids’ crafts and activities, easy recipes, and parenting. She began blogging in 2011, and today, Happy Hooligans inspires more than 2 million parents, caregivers and Early Years Professionals all over the globe.




Leave a Reply