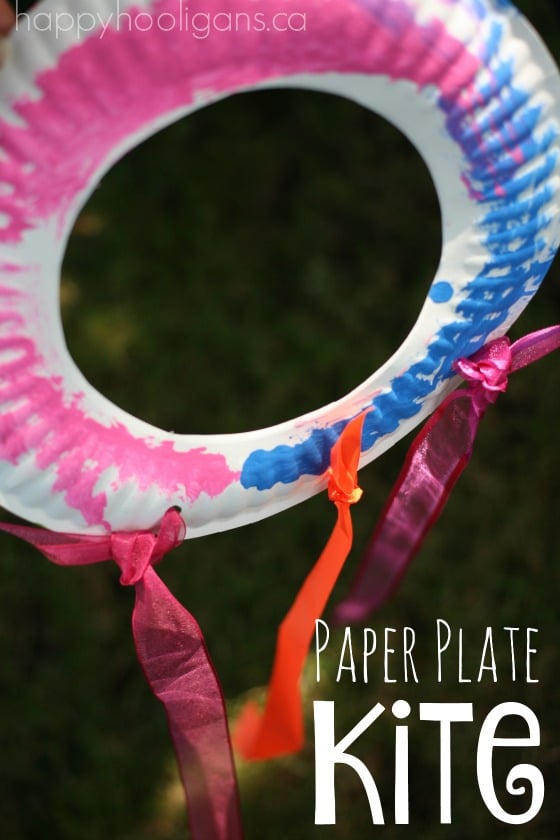
Toddlers and preschoolers can make this easy paper plate kite craft to celebrate the sunny skies and warm breezes of spring!
Ah, those gentle spring breezes are just around the corner, and today we’re getting ready for them by making kites!
You may have heard about the A-Z collection of paper plate crafts that we’re just completed. Well, today’s paper plate kite is the second letter “K” craft in that series. The first was our paper plate Kitty. Be sure to visit the A-Z post to check it out.
You may also like our paper bag kite with winder handle
So… back to our kite! Let me show you how we made this one. It’s quite quick and easy – a perfect little craft for when you and your child have a few minutes on a breezy spring day.
To make our paper plate kite, you’ll need:
- a paper plate
- paints in your child’s favourite colours
- hole punch
- colourful ribbons
- string/yarn/fishing line
Have your child trace a circle on the center of the paper plate. You’ll be cutting this circle out. Kids love tracing, so give your child the lid of a small pot or something similar to trace around.
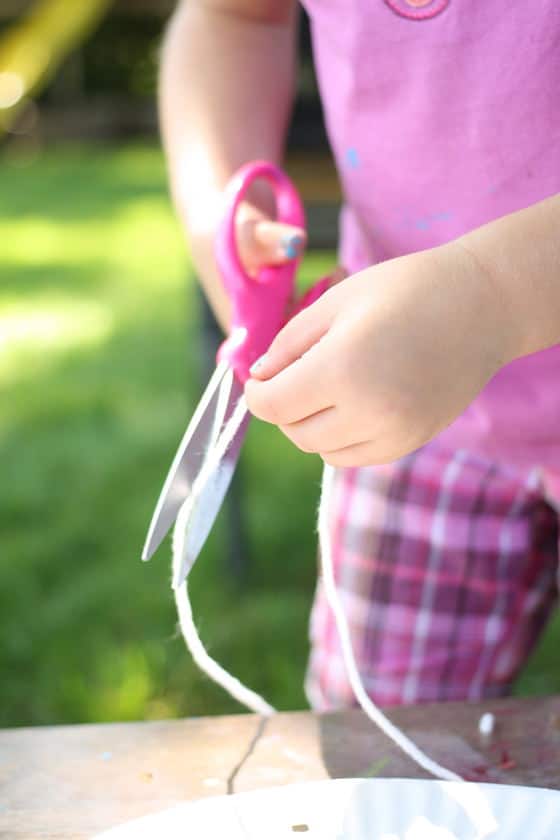
Now, have your child cut out their traced circle. You may need to poke a hole in the plate to get your child started. If your child is quite skilled with a pair of scissors, he or she may be able to cut out the circle with little to no assistance.
If your child is just learning how to use scissors, help as needed. It’s very tricky to hold and turn the plate with one hand while cutting with the other, so be patient, and let your child tackle the job at his or her own pace.
It’s important to remember that the circle doesn’t need to be perfect. You’re not aiming for perfection here. You’re spending some creative time together, and making memories. That’s what’s important and what your child will remember. 🙂
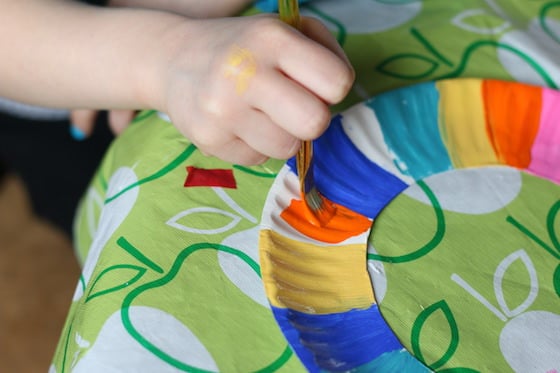
Once the center of the plate is cut out, your child can paint the kite.
When your child is happy with the way the kite is painted, set it aside to dry, and go through your stash of ribbons to select a few for the tails of the kite.
If you need to speed up the drying of the paint, give your kite a quick blast with your hair-dryer. That’s my favourite trick for drying paint quickly when I’m crafting with the hooligans.
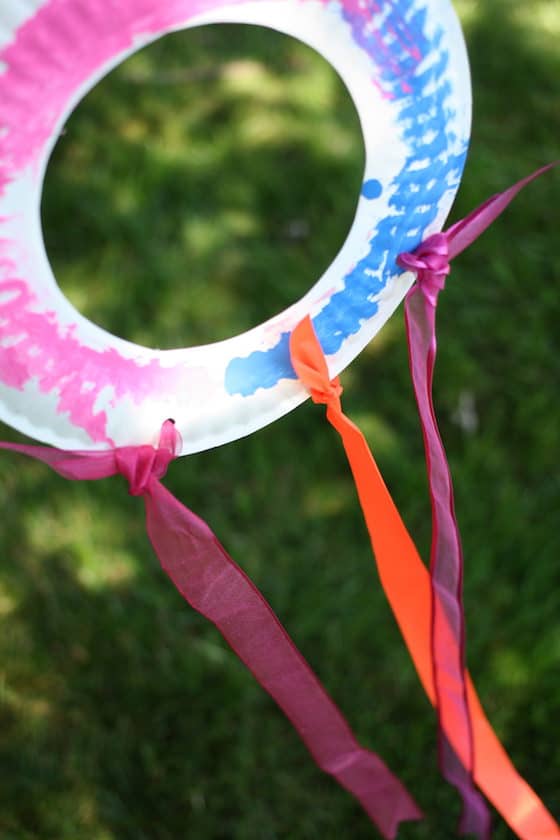
Next, punch a few holes in the bottom section of the plate, and attach your ribbons by threading them through the holes and knotting them. This part is great for helping to develop fine-motor skills.
Lastly, thread a long length of yarn, string or fishing line through a hole in the top of the plate.
Voila! Your paper plate kite is complete!
Now, get outside, and enjoy that breeze!
Get the 3-5 Playful Preschool e-Book!
25+preschool activities by 25 bloggers, 10 printables, 50 links to activities not featured in the book all for $8.99!
Follow the Hooligans on Facebook, Pinterest and Twitter!

Jackie is a mom, wife, home daycare provider, and the creative spirit behind Happy Hooligans. She specializes in kids’ crafts and activities, easy recipes, and parenting. She began blogging in 2011, and today, Happy Hooligans inspires more than 2 million parents, caregivers and Early Years Professionals all over the globe.




Kerrie-Lee Britnell
Hello! I am loving your crafting ideas and have used several in my home day care! I am wondering were you are able to purchase these paper plates? I have looked everywhere and have not been able to find them. The stores seem to have the thicker ones only. I would appreciate any tips on locating these!
happyhooligans
You’re right! It’s so hard to find the flimsy ones anymore. Likely because they didn’t hold food too well, and manufacturers improved the quality. Here’s my affiliate link to Amazon.com. These ones look like the ones I used: http://amzn.to/22qH4bd