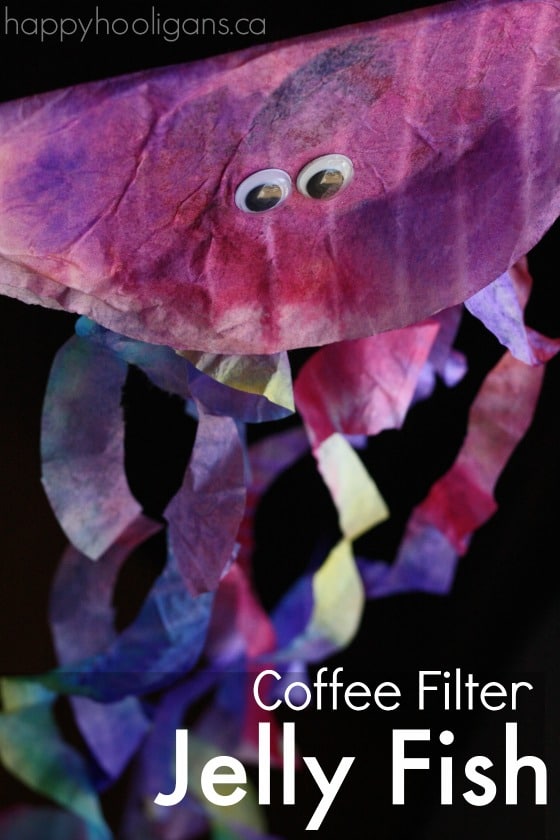
Making this vibrant coffee filter jellyfish craft is a great way for kids to explore colour and water absorption while developing fine motor skills and co-ordination. Our jellyfish craft is perfect for a “letter J” craft, or for an ocean animal unit in preschool.
There are a lot of preschool jellyfish crafts floating around out there. Ha! Get it? Jellyfish? Floating around out there? Sorry. I couldn’t resist. Seriously though, there are loads of them out there. We, in fact, made this paper plate jellyfish not too long ago ourselves.
I think our coffee filter jellyfish is so much prettier than our paper plate jelly though. His body and his long swirly legs are made out of coffee filters that we coloured with our homemade liquid watercolours. You could also use food colouring to dye the coffee filters as well, or even washable markers and water for the process.
In itself, dying coffee filters is an awesome artful science activity for toddlers and preschoolers. It’s a fun way for kids to explore colours and water absorption, and the process helps to develop fine motor skills and co-ordination.
To make our coffee filter jellyfish craft, you’ll need:
- 4 coffee filters
- liquid watercolours (or food colour)
- pipettes (medicine droppers)
- paint brush
- small bowls or ice cube tray (to hold your watercolours)
- scissors
- glue
- googly eyes
- piece of cardboard or styrofoam produce tray cut in semi circle
**Always protect your work surface to prevent water damage or staining. A vinyl table cloth from the Dollar Store is great for this kind of thing.
Colouring the coffee filters:
We used 4 coffee filters for this project. One for body of the jellyfish, and 3 for the legs.
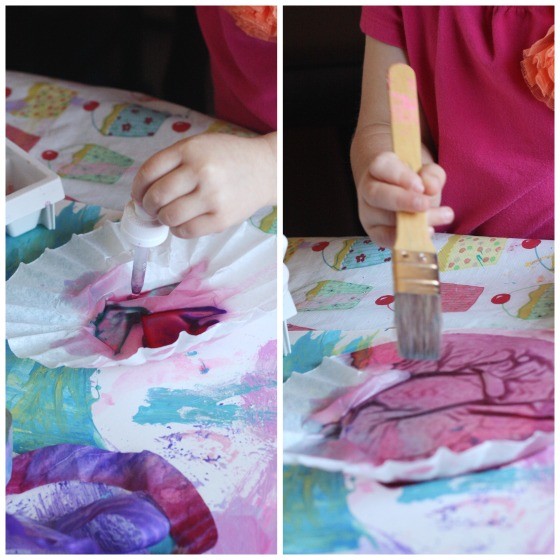
We dripped liquid water colours all over the coffee filters and swished the colour around with a paint brush. We had slightly diluted our watercolours for this project, but we discovered that a few drops at full-strength added a nice pop of colour to some areas.
We placed our coffee filters by the fire to dry while we had our snack, but you could speed up the drying process with the help of a hair dryer. That’s a little trick I use often here to cut down on wait-time when we’re crafting.
Making the legs for the jellyfish:
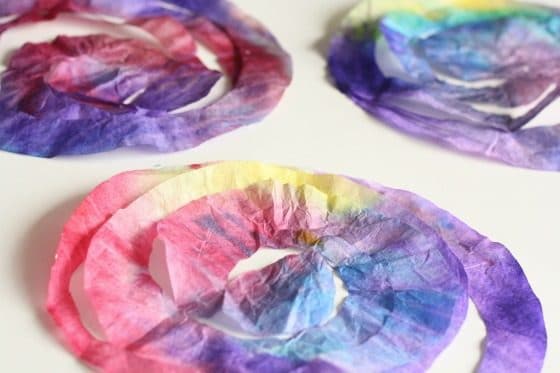
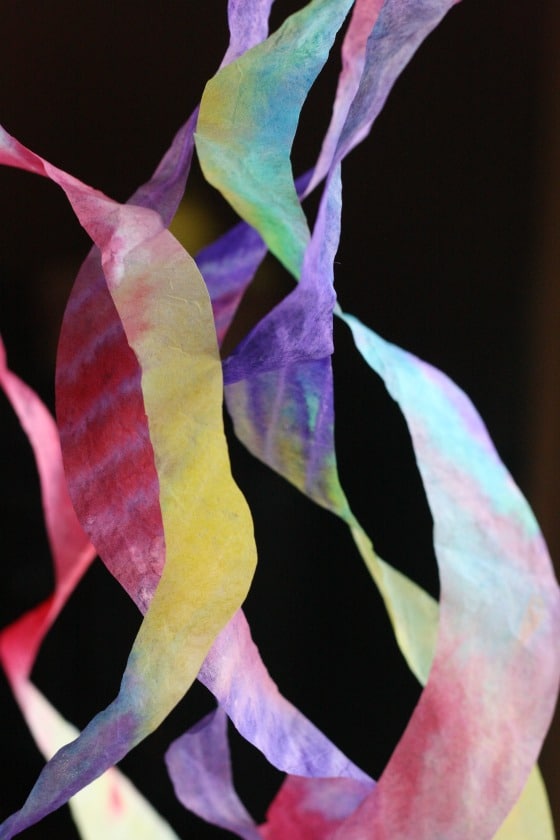
To make our jellyfish’s legs, take one coffee filter, and cut it into a spiral. To make your spiral a little more frilly, cut it into two, stopping a couple of inches from the centre so it stays intact.
Now, each coffee filter will look like it has 2 legs dangling from it.
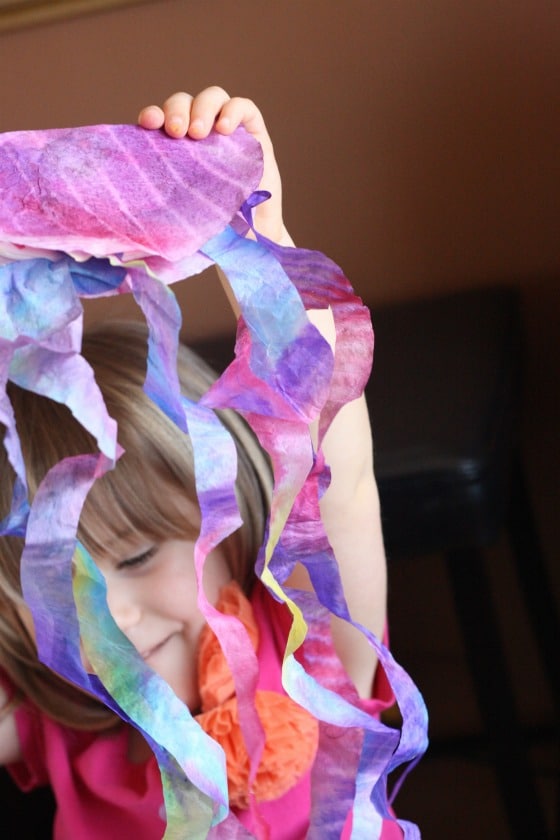
Don’t they look gorgeous? Ohh! I just love these yummy colours and the way the spirals dance and bounce so delicately!
Making the jellyfish’s body:
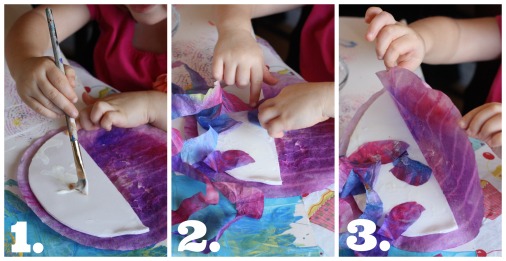
For the body of the jellyfish, we folded the whole coffee filter in half. To give it a bit of support, we cut a styrofoam semi-circle (from a produce tray) to fit just inside of the folded coffee filter.
We glued the semi-circle onto one half of the inside of the body, and then we glued the legs to that.
We finished by gluing the coffee filter shut.
Almost done! We were getting pretty excited!
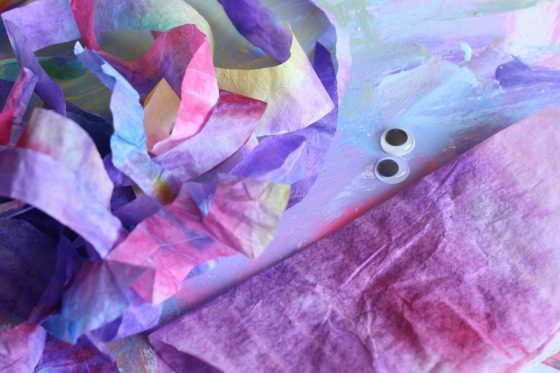
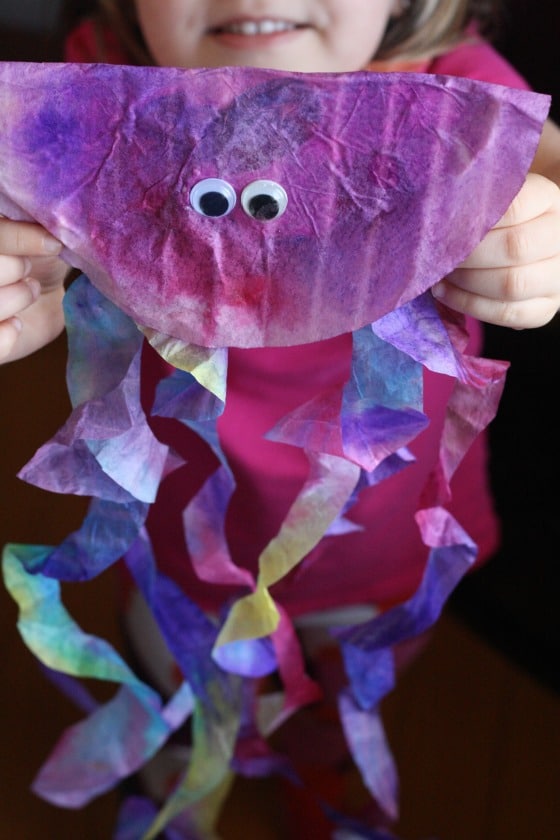
To complete our jellyfish, we added a couple of googly eyes.
Isn’t he just adorable? The cutest little jellyfish I ever did see (if I do say so myself)!
Looking for more coffee filter crafts? Check these out!
Vibrant Coffee Filter Snow Flakes
Get the 3-5 Playful Preschool e-Book!
25+preschool activities by 25 bloggers, 10 printables, 50 links to activities not featured in the book all for $8.99!
Follow the Hooligans on Facebook, Pinterest and Twitter!

Jackie is a mom, wife, home daycare provider, and the creative spirit behind Happy Hooligans. She specializes in kids’ crafts and activities, easy recipes, and parenting. She began blogging in 2011, and today, Happy Hooligans inspires more than 2 million parents, caregivers and Early Years Professionals all over the globe.




Karen Baez
Love these ideas!