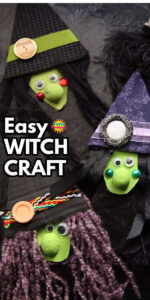
This adorable witch craft is easy for kids to make, using cardboard, yarn and fabric scraps and a few other odds and ends from the craft cupboard.
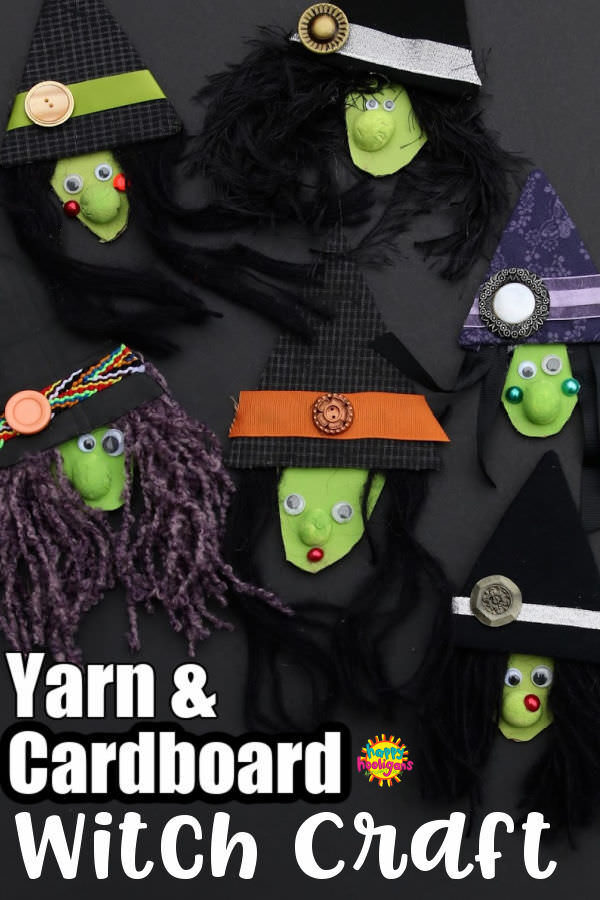
Believe after all these years of crafting with my daycare kids, this is our very first witch craft. We’ve made plenty of creepy Halloween creatures over the years, like ghosts, mummies, monsters and spiders, but for some reason, we’ve never made witches. Until now, that is…
The other day, I came across the gnome ornaments we made last Christmas, and I thought, “Hey, I have a feeling we could make some pretty cute witches this way, and with a few minor tweaks and modifications, that’s exactly what we did.
Aren’t they adorable?
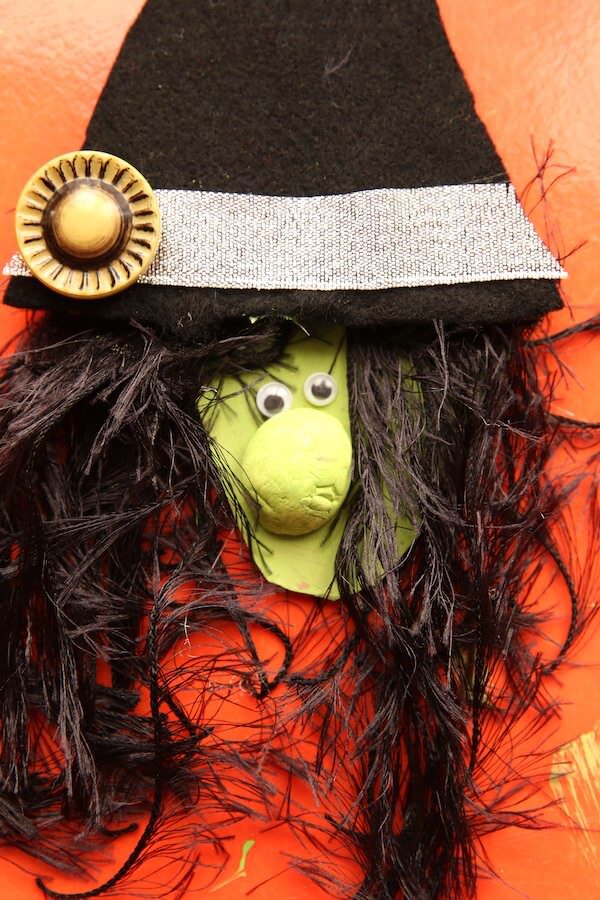
Our witches are easy to make, with a bunch of scraps and odds and ends from the craft cupboard. The witches face and hat are a couple of triangles cut out of cardboard, and you’ll decorate them with a few basic craft odds and ends.
Substitute materials:
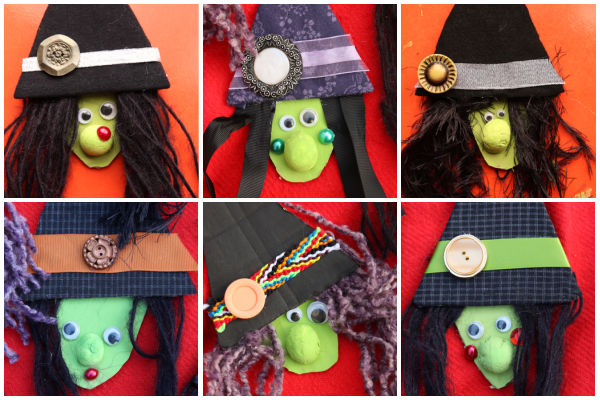
Don’t worry if you don’t have exactly the same supplies that we used. You can substitute with other materials in your craft cupboard:
- Hair can be made with yarn or fabric ribbon or twirling ribbon
- Hat can be covered with fabric, felt or black paper (or you can paint it)
- Nose can be 1/2 styrofoam ball, a pom pom, or just painted on
Improvise with whatever you have on hand, and if you’re stuck, ask the kids for ideas! They’re so creative they’re bound to come up with a great substitute
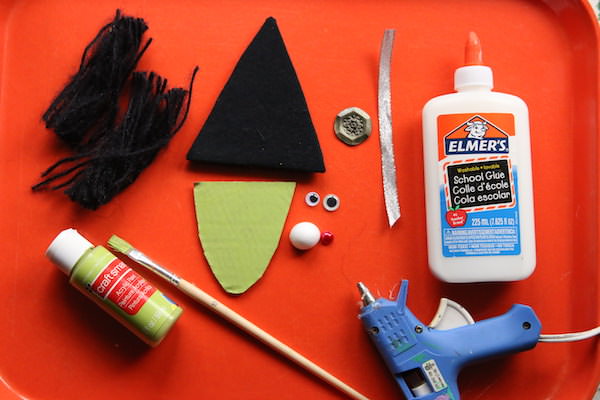
Supplies:
For your conviencience, this post contains affiliate links. As an Amazon associate, I earn from qualifying purchases.
- Hat: cardboard triangle (5.5″ tall x 4.5″ wide at the base)
- Face: slightly smaller triangle with rounded tip
- Scrap fabric for hat (old tee shirt, felt, cotton)
- Ribbon
- Button
- Yarn
- Green paint
- Paint brush
- Googly Eyes
- Small styrofoam ball cut in half (I would get these ones as you can use the small ones for this craft, and the larger ones for lots of other crafts)
- Scissors
- Glue and/or Glue Gun
- Sequin or small bead or gem (wart)
Instructions:
Time needed: 45 minutes
How to Make our Cardboard Witch Craft
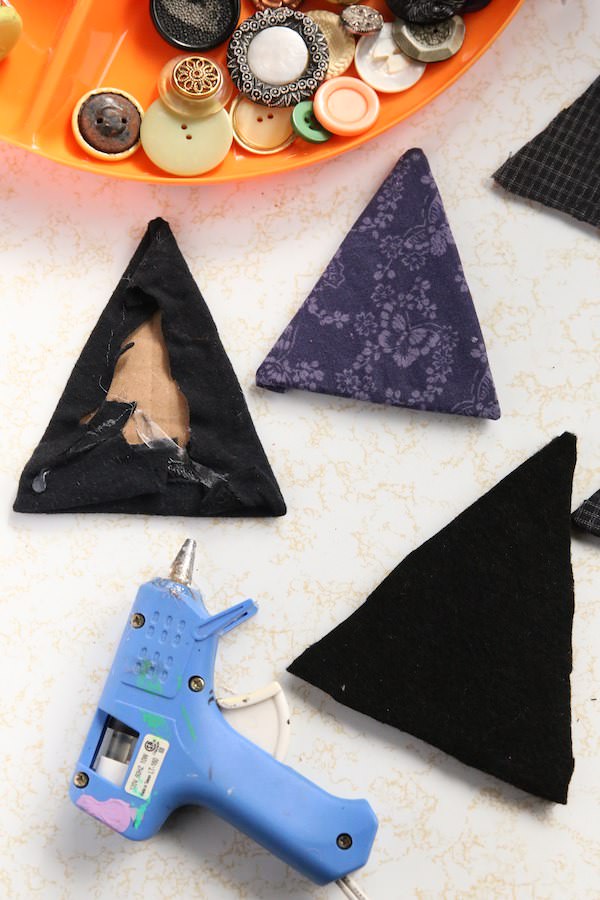
- Make the Witch’s Hat
Cut a triangle out of a piece of cardboard, approximately 5 inches tall and 4 inches across the base.
Cut a piece of fabric a little larger than the cardboard, and wrap excess around to the back and secure with a hot glue gun.
Note: If using felt, it can be cut exactly to size and glued to the front of the cardboard as felt doesn’t fray.
Alternatively, you can paint the cardboard black. - Decorate Hat
Cut a strip of ribbon for the “hat band” and glue it to the front of the hat.
Glue a button “buckle” to the ribbon. - Make the hair
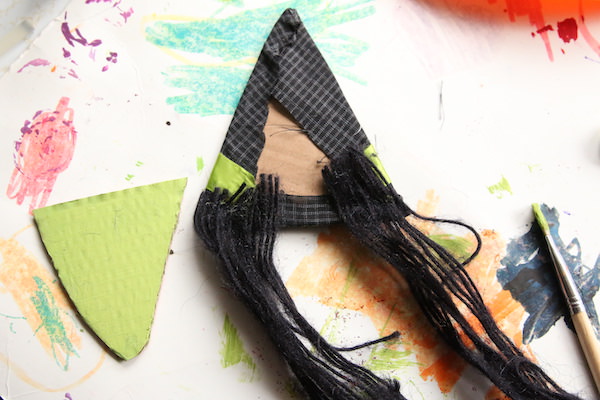
Loop some black yarn around your hand several times, and cut through this loop to make your witch’s hair.
Glue the hair to the back of the hat. - Make the witch’s face
Cut a smaller triangle for the witch’s face, and paint it green. Round the tip of the triangle slightly. This will be your witch’s pointy chin.
- Glue face and hat together
Glue the green triangle to the bottom of the back of the hat. Your pieces will overlap slightly with the hair sandwiched in between.
- Decorate Face
Cut a styrofoam ball in half for the nose, and paint it green.
Glue it to the green cardboard face along with a pair of googly eyes.
Add a wart (bead, gem or sequin) to the witch’s nose or chin if you’d like.
You may also like our:
- Cardboard Roll Monsters
- Cardboard Roll Ghosts
- Coffee Filter Jack-o-lanterns
Click here to see all of our Halloween Crafts and Activities!
Get the 3-5 Playful Preschool e-Book!
25+ Preschool activities by 25 bloggers, 10 printables, PLUS 50 links to activities not featured in the book.
Click to download your copy now!
Follow the Hooligans on Facebook!

Jackie is a mom, wife, home daycare provider, and the creative spirit behind Happy Hooligans. She specializes in kids’ crafts and activities, easy recipes, and parenting. She began blogging in 2011, and today, Happy Hooligans inspires more than 2 million parents, caregivers and Early Years Professionals all over the globe.





Leave a Reply