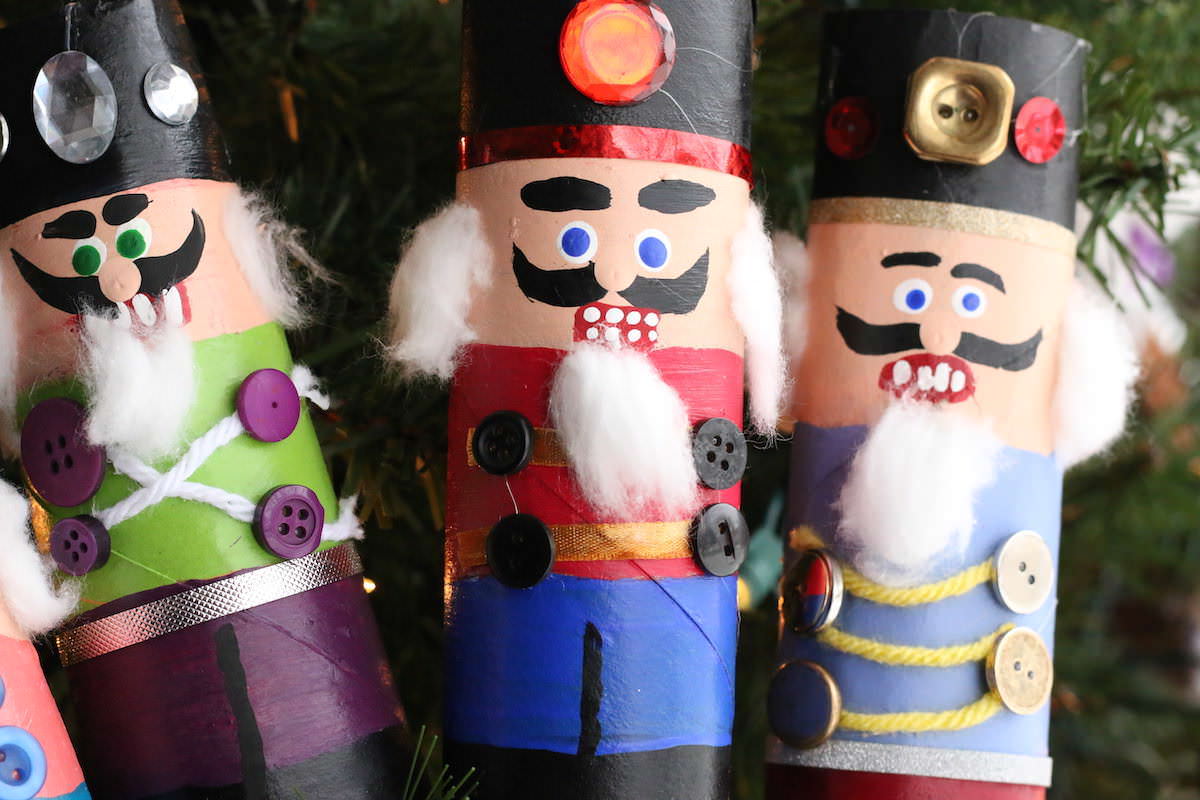
Make a cardboard roll nutcracker with a paper towel roll, toilet paper roll or wrapping paper roll. Paint a few blocks of colour and a face, and add buttons gems and yarn for detail. The end result is a set of handsome, nutcrackers to display on a mantel or windowsill, or to hang on your Christmas tree.
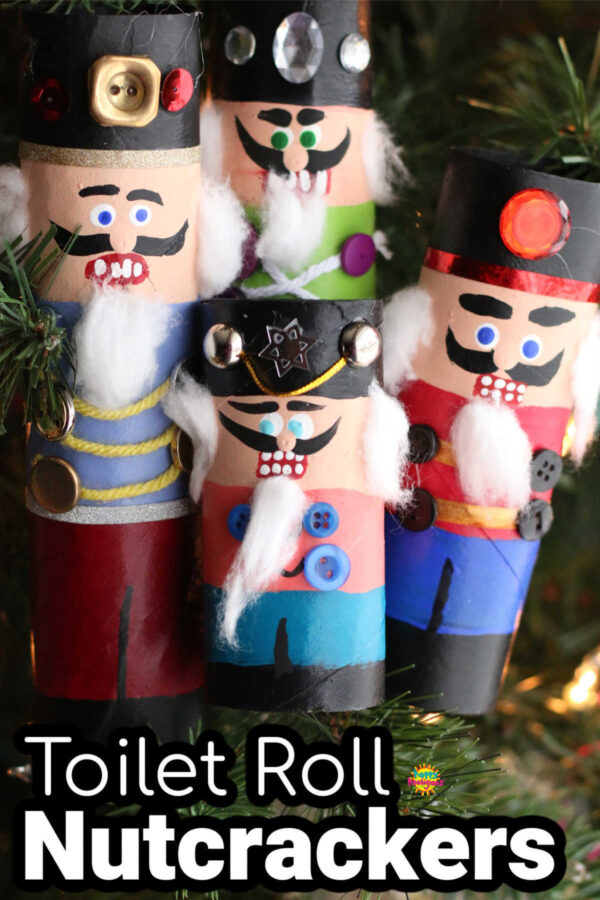
I’ve become a little obsessed with nutcracker crafts for Christmas. After making our first homemade nutcracker ornaments last December, we’ve since made:
So far, we’ve made:
- Wine Cork Nutcracker Heads
- Cork and Clothespin Nutcracker Ornament
- Painted Clothespin Christmas Ornaments
I have a few more nutcracker crafts planned for this year, but today we’ll start with our cardboard roll version.
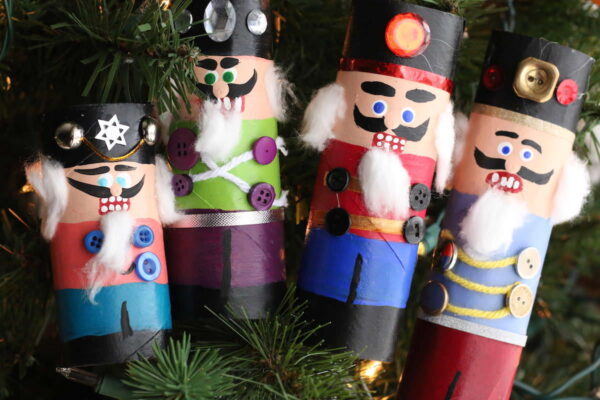
Aren’t they cute?!
These stately characters will look terrific displayed in your home or classroom, or you can add a string and hang them from your Christmas tree.
You don’t have to be an artist; it’s just blocks of colour.
The thing I love about our nutcracker crafts is that they look spectacular, but you don’t have to be an artist to make them. You’re really just painting blocks or bands of colour just like we did with our Santa Stones.
Of course, you have to paint a face, but that’s not hard, and I’ll walk you through it.
To transform those blocks of colour into a nutcracker’s uniform, add crafty odds and ends like buttons, gems, yarn and ribbon.
Get creative with colour!
Have fun with your paint colours. There’s no rule that says a nutcracker has to wear black pants and a red or blue jacket. Get creative, with all kinds of colour combinations. That’s a big part of the fun and the WOW factor when your cardboard roll nutcracker troupe is complete. See our colourful clothespin and cork nutcrackers to see what I mean.
Supplies:
For your conviencience, this post contains affiliate links. As an Amazon associate, I earn from qualifying purchases.
- cardboard roll (paper towel, toilet paper, wrapping paper etc)
- acrylic craft paint
- clear craft varnish
- buttons
- ribbon (we used metallic curling ribbon)
- gold yarn
- beads gems and sequins
- cotton balls
- white glue/hot glue gun
- stapler (for attaching ribbon)
White Glue vs. a Hot Glue Gun
You can use white glue for this project, but a hot glue is stronger and dries faster, so it’s best for attaching buttons and gems.
Tip for using glue guns with kids: buy a low heat glue gun for very young crafters. My daycare kids start using them at about 3 years of age. A bowl of ice water on the craft table works like a charm if they get hot glue on their fingers. .
Instructions for Cardboard Roll Nutcrackers:
Tip: Use different kinds of cardboard rolls so you can vary the height of your nutcrackers. Toilet paper rolls are great for short, stalky nutcrackers and paper towel and wrapping paper rolls will give you taller fellows.
How To Make a Cardboard Roll Nutcracker
- Paint cardboard roll
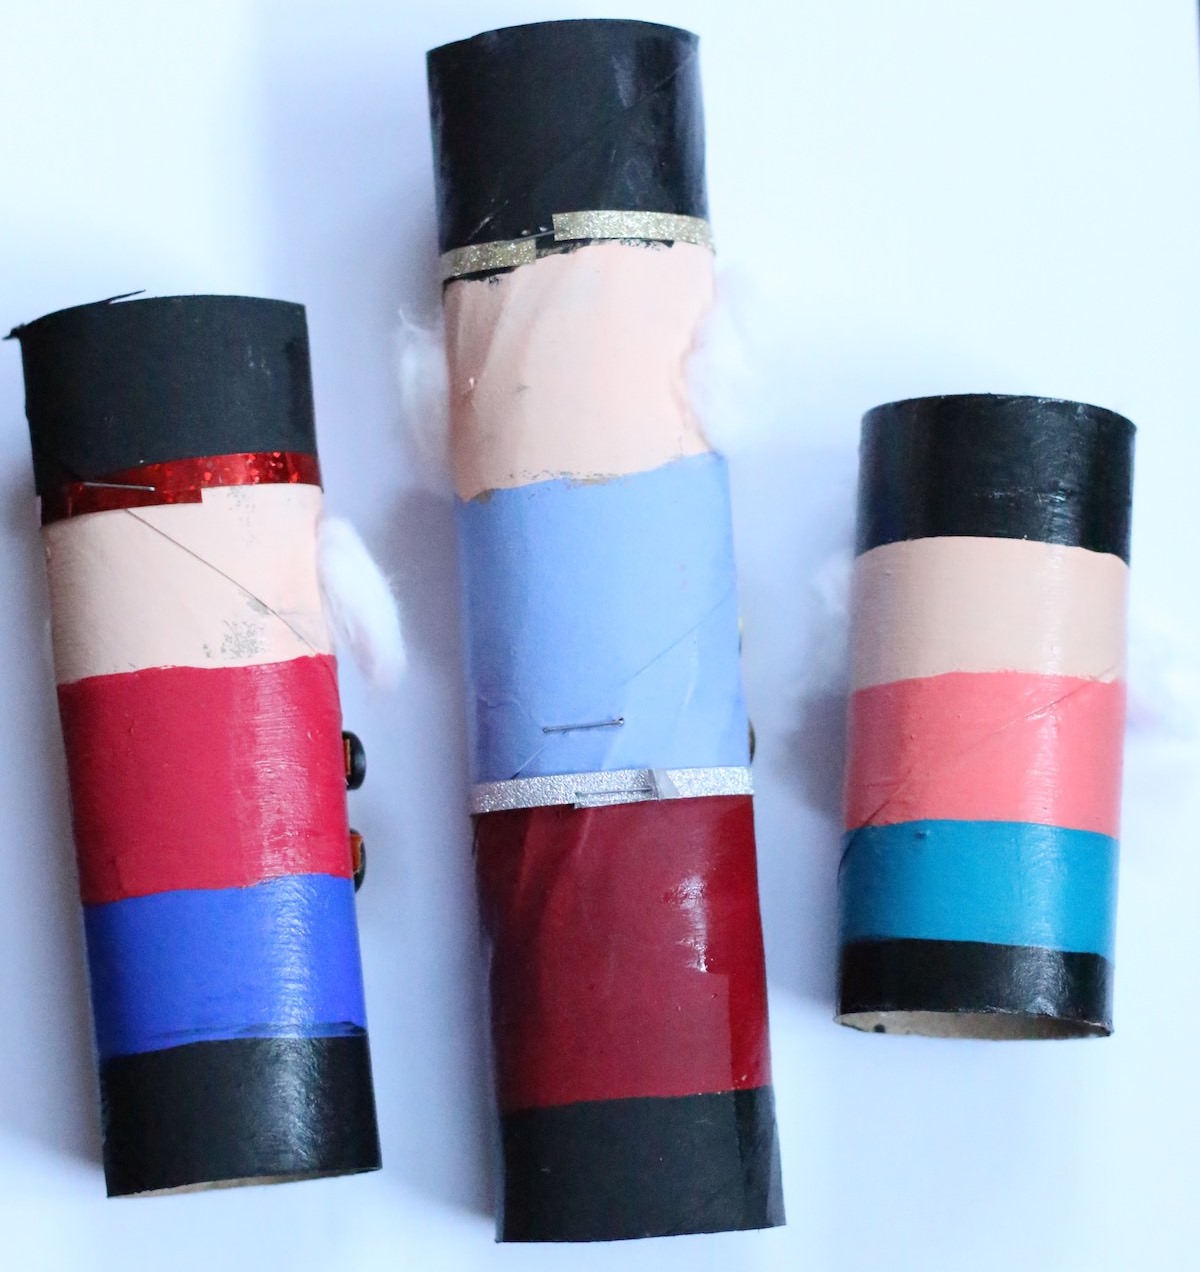
Paint the cardboard roll in blocks of colour: Black for the hat, skin colour for the face, colours of your choice for jacket and pants, and black for the boots. (see photo below)
Add a black line up the nutcracker’s pants to define his two legs. - Paint face
Note: If varnishing, you will varnish after painting, but BEFORE gluing the details on.
Paint your nutcracker’s face in this order so you can make some parts overlap: eyes, mouth, moustache, nose, eyebrows.
EYES: Dot 2 eyes with the handle end of a big paint brush. With a smaller brush, dot some eye colour inside the white dots. Make sure you leave enough room above for eyebrows and below for nose, mustache and mouth.
MOUTH: Paint a red rectangle or oval just above the nutcracker’s shirt. Allow to dry, and dot the teeth on with the handle of a paintbrush. Let dry.
MUSTACHE: When the mouth is dry, paint a mustache with a couple of swipes of black paint. It’s ok if the mustache overlaps the mouth a little.
NOSE: With the end of a large paintbrush, dot on a skin-coloured nose. This will likely overlap the mustache a little.
EYEBROWS: Swipe a couple of eyebrows on with black paint. - Varnish
Allow your paint to dry completely, and brush on a coat of clear craft varnish. This will make your paint colours really pop and make your cardboard roll very sturdy. Allow to dry.
- Decorate!
Glue buttons, yarn, ribbon and gems to your nutcrackers hat, shirt, and even his boots.
A stapler will come in handy for stapling ribbon in place. - Add Beard and Hair
To finish, tear 3 small pieces from a cotton ball. Glue the a beard right below the nutcracker’s mouth and a tuft of hair to either side of his head.
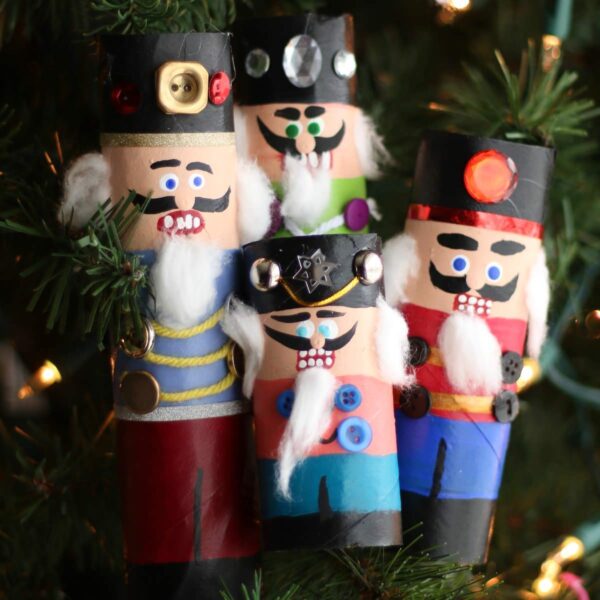
Now you just need to find the perfect place to display your nutcrackers.
Stand them on a windowsill or table top, or add a thread and hang them on your Christmas tree!
Stay tuned for more easy nutcracker crafts in the coming days!
You may also like these cardboard roll Christmas crafts:
- Toilet Roll Nativity Set
- Cardboard Roll Icicles
- Paper Towel Roll Tree Topper
- Toilet Roll Reindeer Ornament for Kids to Make
- Toilet Paper Roll Christmas Candles
Get the 3-5 Playful Preschool e-Book!
25+ Preschool activities by 25 bloggers, 10 printables, PLUS 50 links to activities not featured in the book.
Click to download your copy now!
Follow the Hooligans on Facebook!

Jackie is a mom, wife, home daycare provider, and the creative spirit behind Happy Hooligans. She specializes in kids’ crafts and activities, easy recipes, and parenting. She began blogging in 2011, and today, Happy Hooligans inspires more than 2 million parents, caregivers and Early Years Professionals all over the globe.



Leave a Reply