Easy Crafts For Kids
We do a lot of crafting here in my daycare, so you'll find hundreds of crafts for kids of all ages in this category. There are loads of toddler crafts, preschool crafts, kindergarten crafts, and crafts for elementary kids and tweens as well.
If you're looking for seasonal and holiday crafts, we have tons. You'll also find handprint crafts, nature crafts, wind chimes, bird feeders and everything in between. We have loads of kid-made gift ideas too.
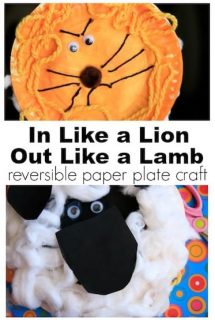
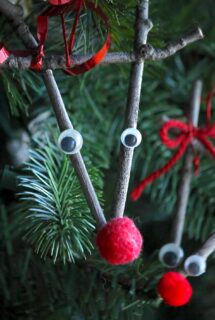
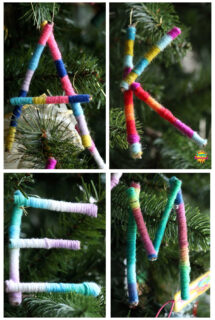
Almost all of our crafts are made from common materials like paper plates, toilet rolls, tissue paper and other common supplies and materials that you have around your house. And of course, our projects are creative, inexpensive, and always fun and easy for to kids to make.