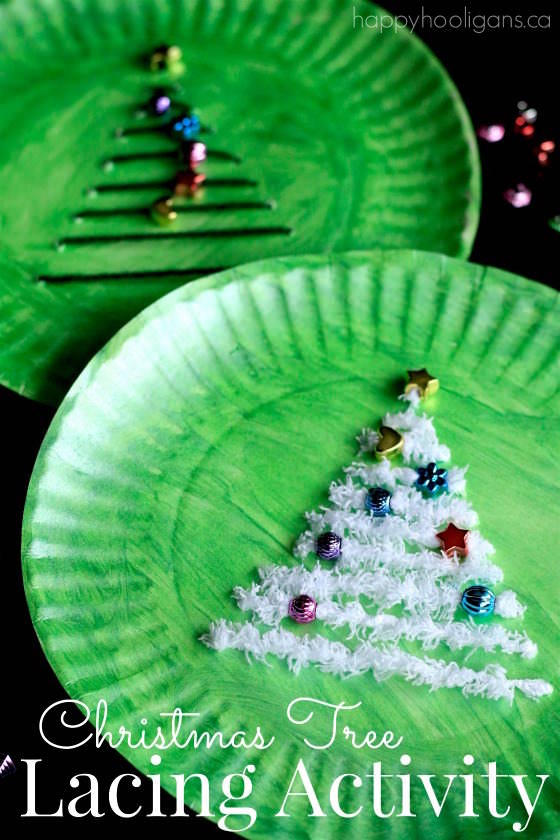
This CHRISTMAS TREE LACING ACTIVITY is a fun way for kids to practice their sewing skills and strengthen fine-motor skills Great for kids aged 3 and up.
Christmas is IN THE HOUSE, peeps!
To kick the season off here in my home daycare, we did a fun fine-motor Christmas activity to make these pretty paper plate Christmas trees.
Lacing activities are great for kids because they help to strengthen fine-motor skills and hand-eye co-ordination. They also give children an opportunity to thread a needle, tie knots, and to learn some basic sewing stitches.
This lacing activity also involves paint and beads which are always a hit with kids of all ages.
When your children are finished lacing their trees, they’ll end up with a pretty Christmas decoration that they can hang on a door or in a window.
For the record, you don’t have to use a paper plate for this activity.
You could use the panel from a cereal box or a styrofoam produce tray. We used paper plates because we always have a huge stack on hand in the craft room.
We’re kind of crazy about paper plate crafts. If you’ve seen our A-Z paper plate craft collection, you know what I mean.
For your convenience, this post contains affiliate links.
For this Christmas Tree Lacing Activity, you’ll need:
- paper plate
- child’s sewing needle
- yarn
- paint
- beads
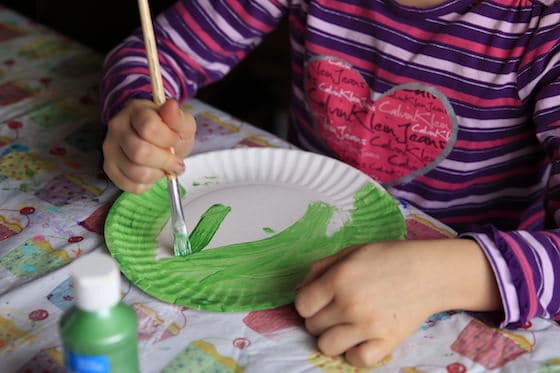
We started off by painting our paper plates. Your kids can paint the plates any colour. They may even want to swirl a couple of colours together or add some glitter to them.
The hooligans both chose metallic green for their plates.
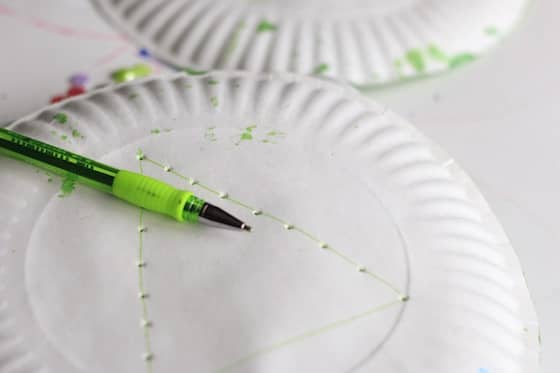
When the paint had dried, I drew a triangular Christmas tree on the back of the plate.
Then I set the plate on top of a styrofoam produce tray, and used a pen to poke holes along the outline of the plate. I worked back and forth across the plate, lining up the holes with each other.
Note: I only made one hole at the very top of the plate, but you’ll see in a moment that I had to make another one just above that hole.
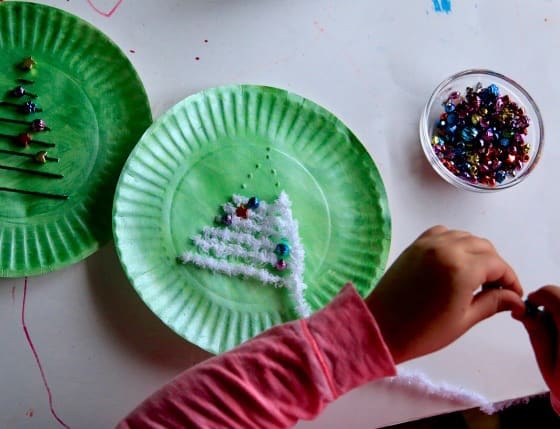
Then the hooligans chose their yarn colours, and threaded their needles. If your child is very young, he or she may need help with the threading.
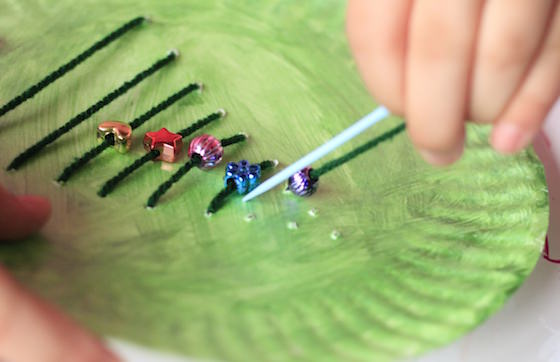
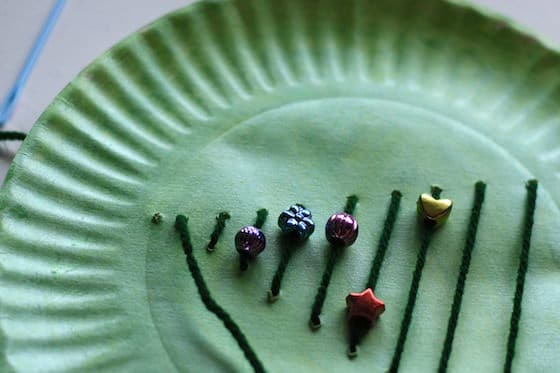
Starting at the back of the plate, they began to weave back and forth across their tree. I mention the ‘back of the plate” because you want to push through from the back, leaving a tail of yarn behind the plate.
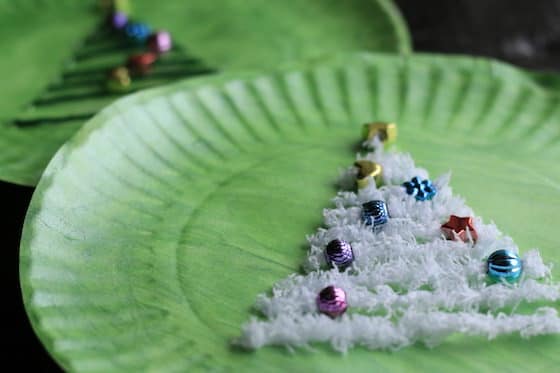
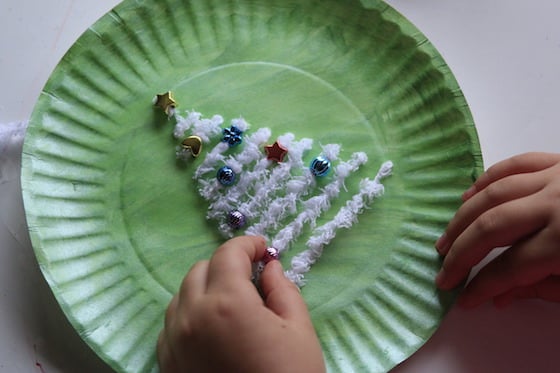
As they wove their Christmas trees, they added shiny, metallic beads to their trees.
Aren’t they pretty?
Back and forth, in and out, put another bead on…
They thought the star beads would be perfect toppers f their Christmas trees, and that’s when we discovered we’d need a second hole above the top one in order to finish with a bead.
In the picture above, you can see that second hole.
After adding the star to the top of the tree, they pushed the needle through one last time, and knotted the two tails of yarn behind the plate.
Then they adjusted the beads on their trees, sliding them along the yarn to where they wanted them.
Beautiful!
Now we can attach a loop of yarn to the top of the plates, and find a place to hang them.
More fun Fine Motor Crafts for Kids:
Wool Wrapped Christmas Tree Ornaments
Get the 3-5 Playful Preschool e-Book!
25+preschool activities by 25 bloggers, 10 printables, plus links to 50 additional crafts and activities all for $8.99!
Follow the Hooligans on Facebook, Pinterest and Twitter!

Jackie is a mom, wife, home daycare provider, and the creative spirit behind Happy Hooligans. She specializes in kids’ crafts and activities, easy recipes, and parenting. She began blogging in 2011, and today, Happy Hooligans inspires more than 2 million parents, caregivers and Early Years Professionals all over the globe.








Leave a Reply