Skip to primary navigation
Skip to main content
Skip to primary sidebar
Skip to footer
Happy Hooligans
Crafts and Activities for Toddlers and Preschoolers to Tweens
Home
About
About Jackie Currie
Contact
Work With Me
Privacy Policy
Happy Hooligans Accessibility Statement
HOLIDAY CRAFTS
Christmas
Valentines Day
Mardi Gras
St. Patrick’s Day
Easter
Mother’s Day
Father’s Day
Canada Day
4th of July
Halloween
Thanksgiving
Remembrance Day
CRAFTS
Fall Crafts and Activities
Winter Crafts
Spring Crafts and Activities
Nature Crafts
Paper Plate Crafts for Kids
Toilet Roll Crafts
ART FOR KIDS
Kids’ Art Projects
Homemade Paint Recipes
Activities
Science Activities for Kids
Concoctions
Outdoor Activities
Backyard Play Ideas
Winter Activities
Sensory Play Ideas
Water Play
Messy and Muddy Play Ideas
Ice Play
Homemade Games and Toys
Fine Motor Activities
Recipes
Easy Family Recipes
Easy Soup Recipes
Dessert Recipes
Cookie Recipes
Kid-Friendly Recipes
Christmas Recipes
Parenting
Parenting 0-5
Books
Best Books for Boys – 40+ Fantastic Reads for Boys ages 8-16
75+ Best Chapter Books for Girls Ages 5-13
25+ More Great Books for Boys
Get My e-Books
Easy Sewing Projects
House and Home
Home Daycare
Search
Home
»
recipes
recipes
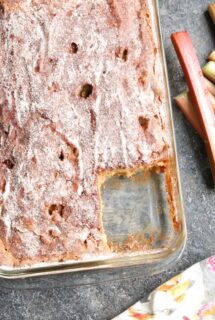
Easy Rhubarb Cake {From Scratch} – a Delicious Summer Dessert
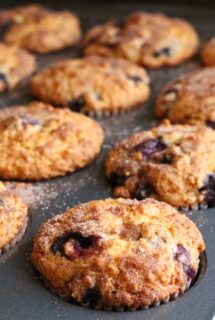
Easy Blueberry Oatmeal Muffins
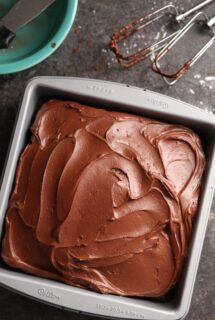
Chocolate Depression Cake – (Wartime Cake or Wacky Cake)
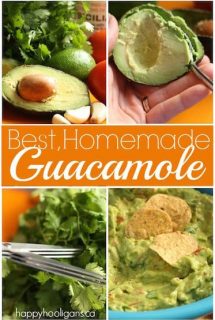
Easy Homemade Guacamole Recipe with Fresh Avocados
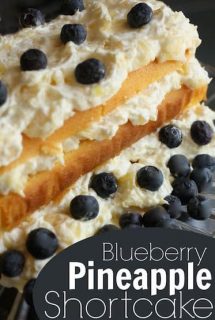
Quick and Easy Blueberry-Pineapple Shortcake
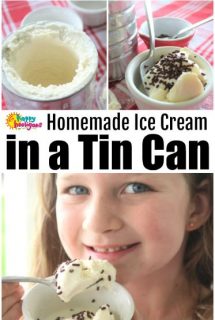
Coffee Can Ice Cream – How to Make Homemade Ice Cream In a Tin Can
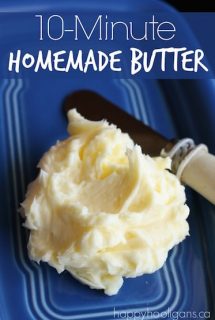
How to Make Butter In a Jar
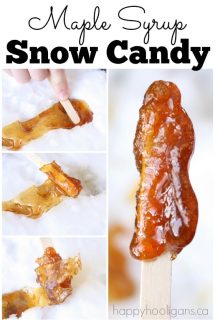
How to Make Maple Syrup Snow Candy – 3 Simple Steps
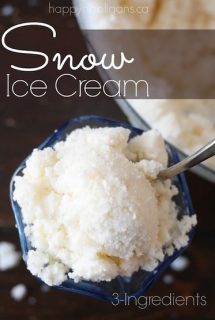
3-Ingredient Vanilla SNOW Ice Cream
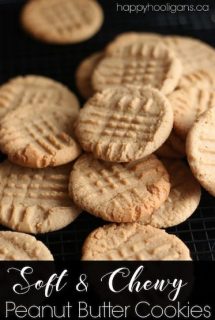
Best Soft and Chewy Peanut Butter Cookies
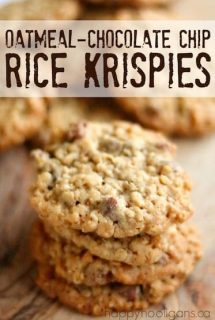
Oatmeal Chocolate-Chip Rice Krispy Cookies
Heart Shaped French Toast – Valentines Lunch Idea for Kids
Easiest White-Chocolate-Dipped Gingerbread Cookies
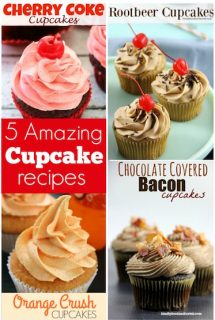
5 Amazing Cupcake Recipes Made with Unusual Ingredients
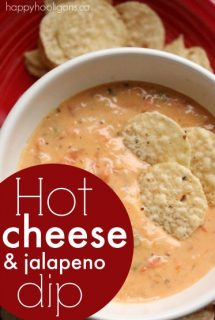
Hot Cheese Dip (with Velveeta, White Cheddar and Jalapeno Pepper)
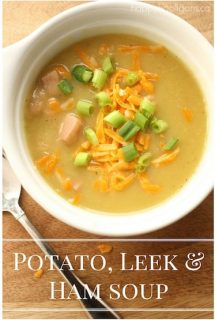
Potato, Leek and Ham Soup Recipe
Pumpkin Chocolate Chip Muffins
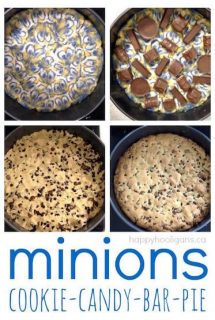
Giant Candy Bar Cookie “Pie”
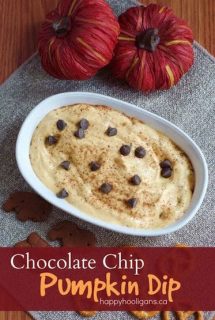
Chocolate Chip Pumpkin Dip
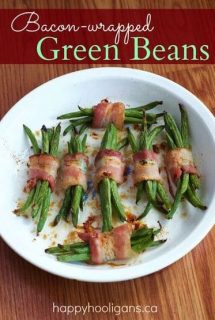
Easy Bacon-wrapped Green Beans
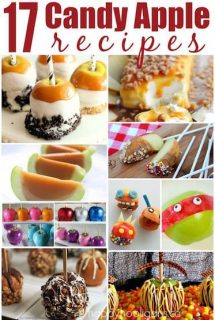
17 Candy Apple Recipes That Will Rock Your World This Fall
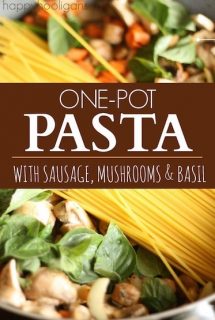
One-Pot Pasta with Sausage, Mushrooms and Basil
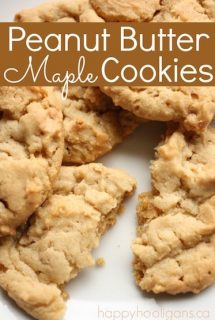
Peanut Butter Oatmeal Maple Cookies
Crazy-Good Carrot Cake Recipe With Cream Cheese Frosting
Page
1
Page
2
Go to
Next Page »